
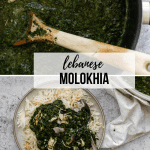


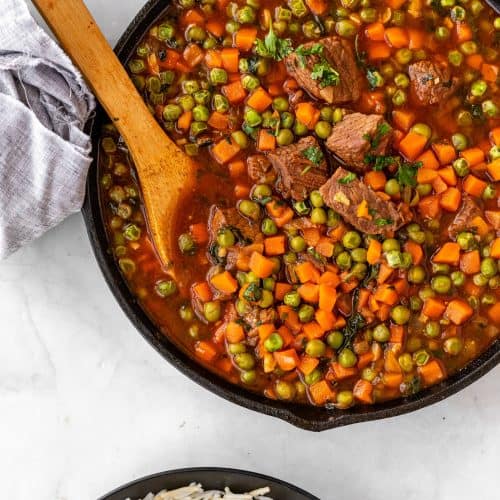
Mulukhiyah (also known as molokhia or jew’s mallow stew) is one of the most comforting Middle Eastern recipes you can make. This soupy, garlicky dish is made with tender shredded chicken simmered in a flavorful broth and thickened with finely chopped jute mallow leaves. It’s cozy, nourishing, and always served with fresh lemon juice and rice.
Jump to:
- What is mulukhiyah?
- What makes this recipe so good:
- How do you prepare mulukhiyah?
- Ingredients in Mulukhiyah:
- How to make mulukhiyah:
- Pro Tip
- What to serve with:
- Recipe variations:
- Storing leftover mulukhiyah:
- Expert tips and tricks:
- Top Tip
- Recipe FAQS:
- If you liked this recipe, you might like:
- Pairing:
- Mulukhiyah
What is mulukhiyah?
Mulukhiyah (Arabic: ملوخية), also spelled molokhia, mulukhiya, or molukhia, is a classic Middle Eastern stew made with jute mallow leaves. When cooked, the leaves create a slightly silky, almost velvety texture in the broth that makes the dish so unique.
Different regions have their own twist on molokhia — Egyptian versions often include tomatoes, while Levantine styles (like the one I grew up with) focus more on garlic, coriander, and lemon. No matter the version, it’s a dish that feels like home.
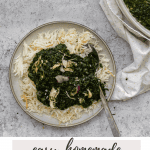
Even within families, you’ll find some deviation in their mulukhiyah. My mom does a beautiful version with whole roasted chicken on the side. Personally, for ease, I serve mulukhiyah with shredded chicken, vermicelli rice, and always plenty of lemon on the side. It’s a dish that brings everyone around the table.
What makes this recipe so good:
- Mulukhiyah is a classic Middle Eastern comfort food, yet easy enough for weeknights
- Uses simple pantry spices and frozen mulukhiyah leaves for convenience
- Naturally gluten-free and easily adaptable for vegetarian diets, and SO healthy!
- Packed with flavor from fresh garlic, coriander, and homemade chicken broth.
- Kid friendly- for some reason, I haven’t yet met a kid who doesn’t like mulukhiyah. You know how good it feels when your kid loves something that’s so good for them.
How do you prepare mulukhiyah?

It is traditionally prepared by simmering in a stock briefly. We don’t boil for too long, so that it doesn’t become excessively slimy.
What type of stock to use?

The most commonly used is homemade chicken stock. Some people prepare it with meat, and meat stock. You can also in a pinch use store bought chicken stock, or bouillon cubes dissolved in water.
To make this vegetarian, sub vegetable stock or vegetable bouillon cubes.
The advantage of using homemade chicken stock is that you can use the same chicken you cooked in the stock in the dish itself. If using storebought stock, you could always get rotisserie chicken and shred it in the mulukhiya.
Ingredients in Mulukhiyah:

The ingredients can be summed up into two parts:
Chicken stock ingredients:
I use a whole chicken cut into pieces, a mix of whole aromatics and spices, spice powders, and fresh vegetables. It usually looks like this:
Whole spices: Cloves, cardamom pods, cinnamon stick, bay leaves.
Spice powder: salt, pepper, seven spices or mixed spices,
Whole vegetables: Onions are essential, everything else is pretty much optional. I throw in whatever I have! Usually, carrots, fennel or parsnips, a bunch of fresh herbs like coriander.
The good thing is you don’t need to dice anything too finely, just roughly chop it all. The veggies will be discarded anyway so we are just using them for flavor.
You can find a complete post on homemade chicken broth here: I usually make a big batch and store it in the freezer, which comes in such handy. I usually have small bags of shredded chicken in the freezer that I got when I cooked the broth too, so that makes mulukhiya unbelievably easy to throw together.
You can use prepared chicken stock in a pinch!
Mulukhiyah ingredients:
Mulukhiyah: I always use frozen. Some people might be scandalized by that, but it’s so much more convenient and easy! It tastes great too!
I like to use two bags of mulukhiyah so that I have a big pot of goodness, because leftovers taste amazing.
Onion: Adds a ton of flavor
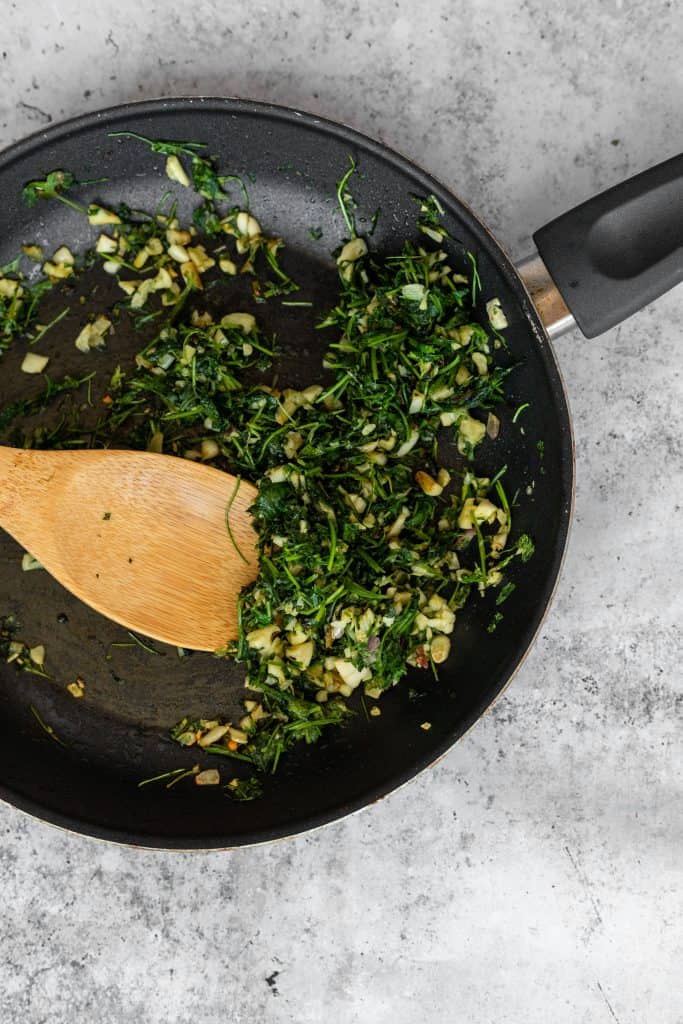
Cilantro (coriander), garlic, and olive oil: You fry chopped cilantro and crushed garlic in olive oil, and add these at the end of the mulukhia cooking process. This is absolutely essential for flavor!
Ground spices (coriander, seven spice or mixed spice, salt, black pepper): to amplify the flavor even more.
This along with coriander powder, seven spice or mixed spice powder, and salt and pepper gives all we need as mulukhiyah has its own very distinct flavor.
One trick of my moms is to add an ice cube to the mulukhiya as it cooks, she says it reduces any excess sliminess. I have no idea if this is an old wives tale, but I do it anyway! It’s fun to carry on these traditions.
How to make mulukhiyah:
Step 1: Make the chicken stock. Place chicken, aromatics, spices, and vegetables in a large pot. Cover with water and bring to a boil. Skim off any foam that rises to the top.
Step 2: Lower the heat and let simmer uncovered for 3–4 hours, until you have a rich broth and fully cooked chicken.
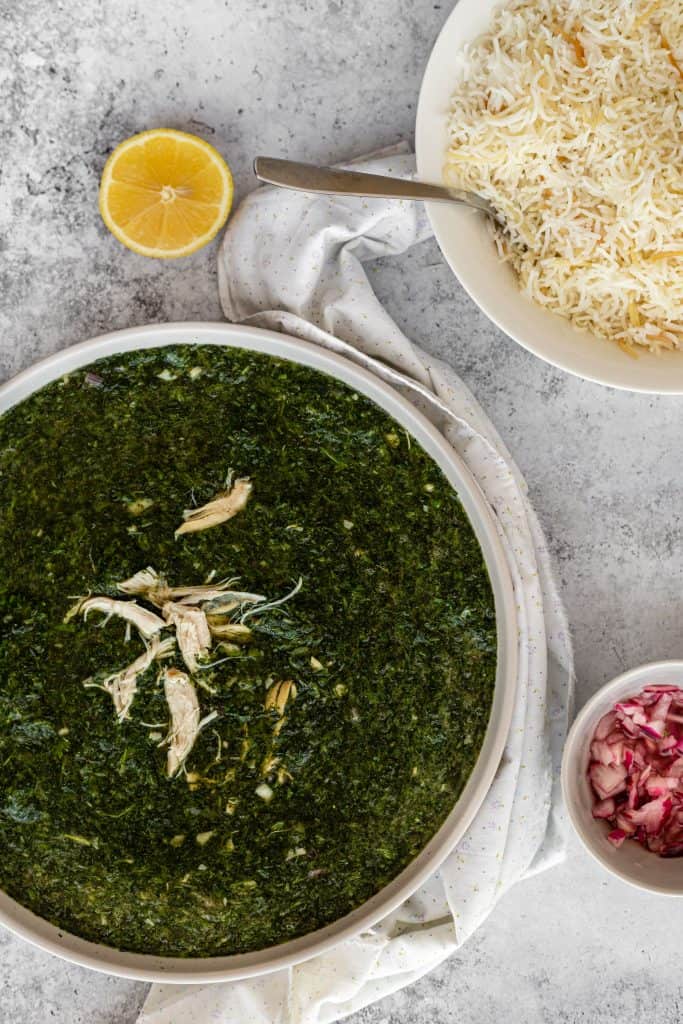
Step 3: Strain the stock, keeping the broth. Pick out the chicken pieces, discard vegetables, and once cooled, shred the chicken into bite-sized pieces.
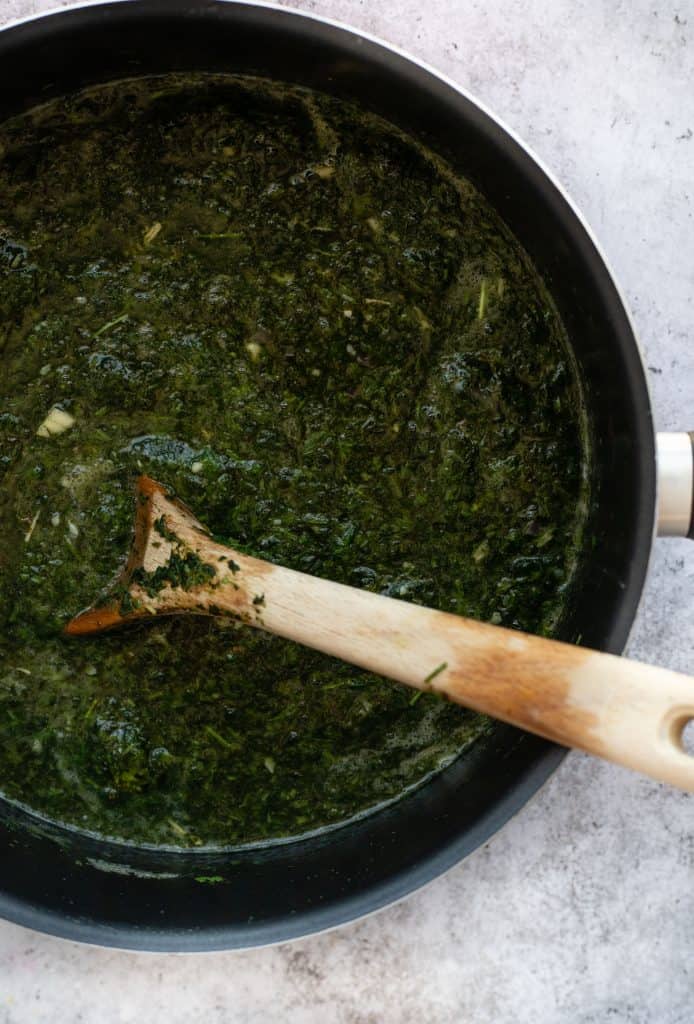
Step 4: Place the strained broth back into a pot. Add diced onion, ground spices, salt, and frozen mulukhiyah leaves (no need to thaw). Simmer gently until the leaves melt into the broth.
Step 5: Return the shredded chicken to the pot. Heat through, but don’t let the mixture boil — this helps avoid excess sliminess.
Step 6: In a separate skillet, sauté crushed garlic and chopped fresh coriander in olive oil until golden and fragrant. Stir this mixture into the stew.
Step 7: Adjust seasoning to taste. Remove from heat just before boiling.
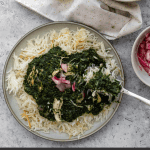
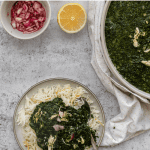
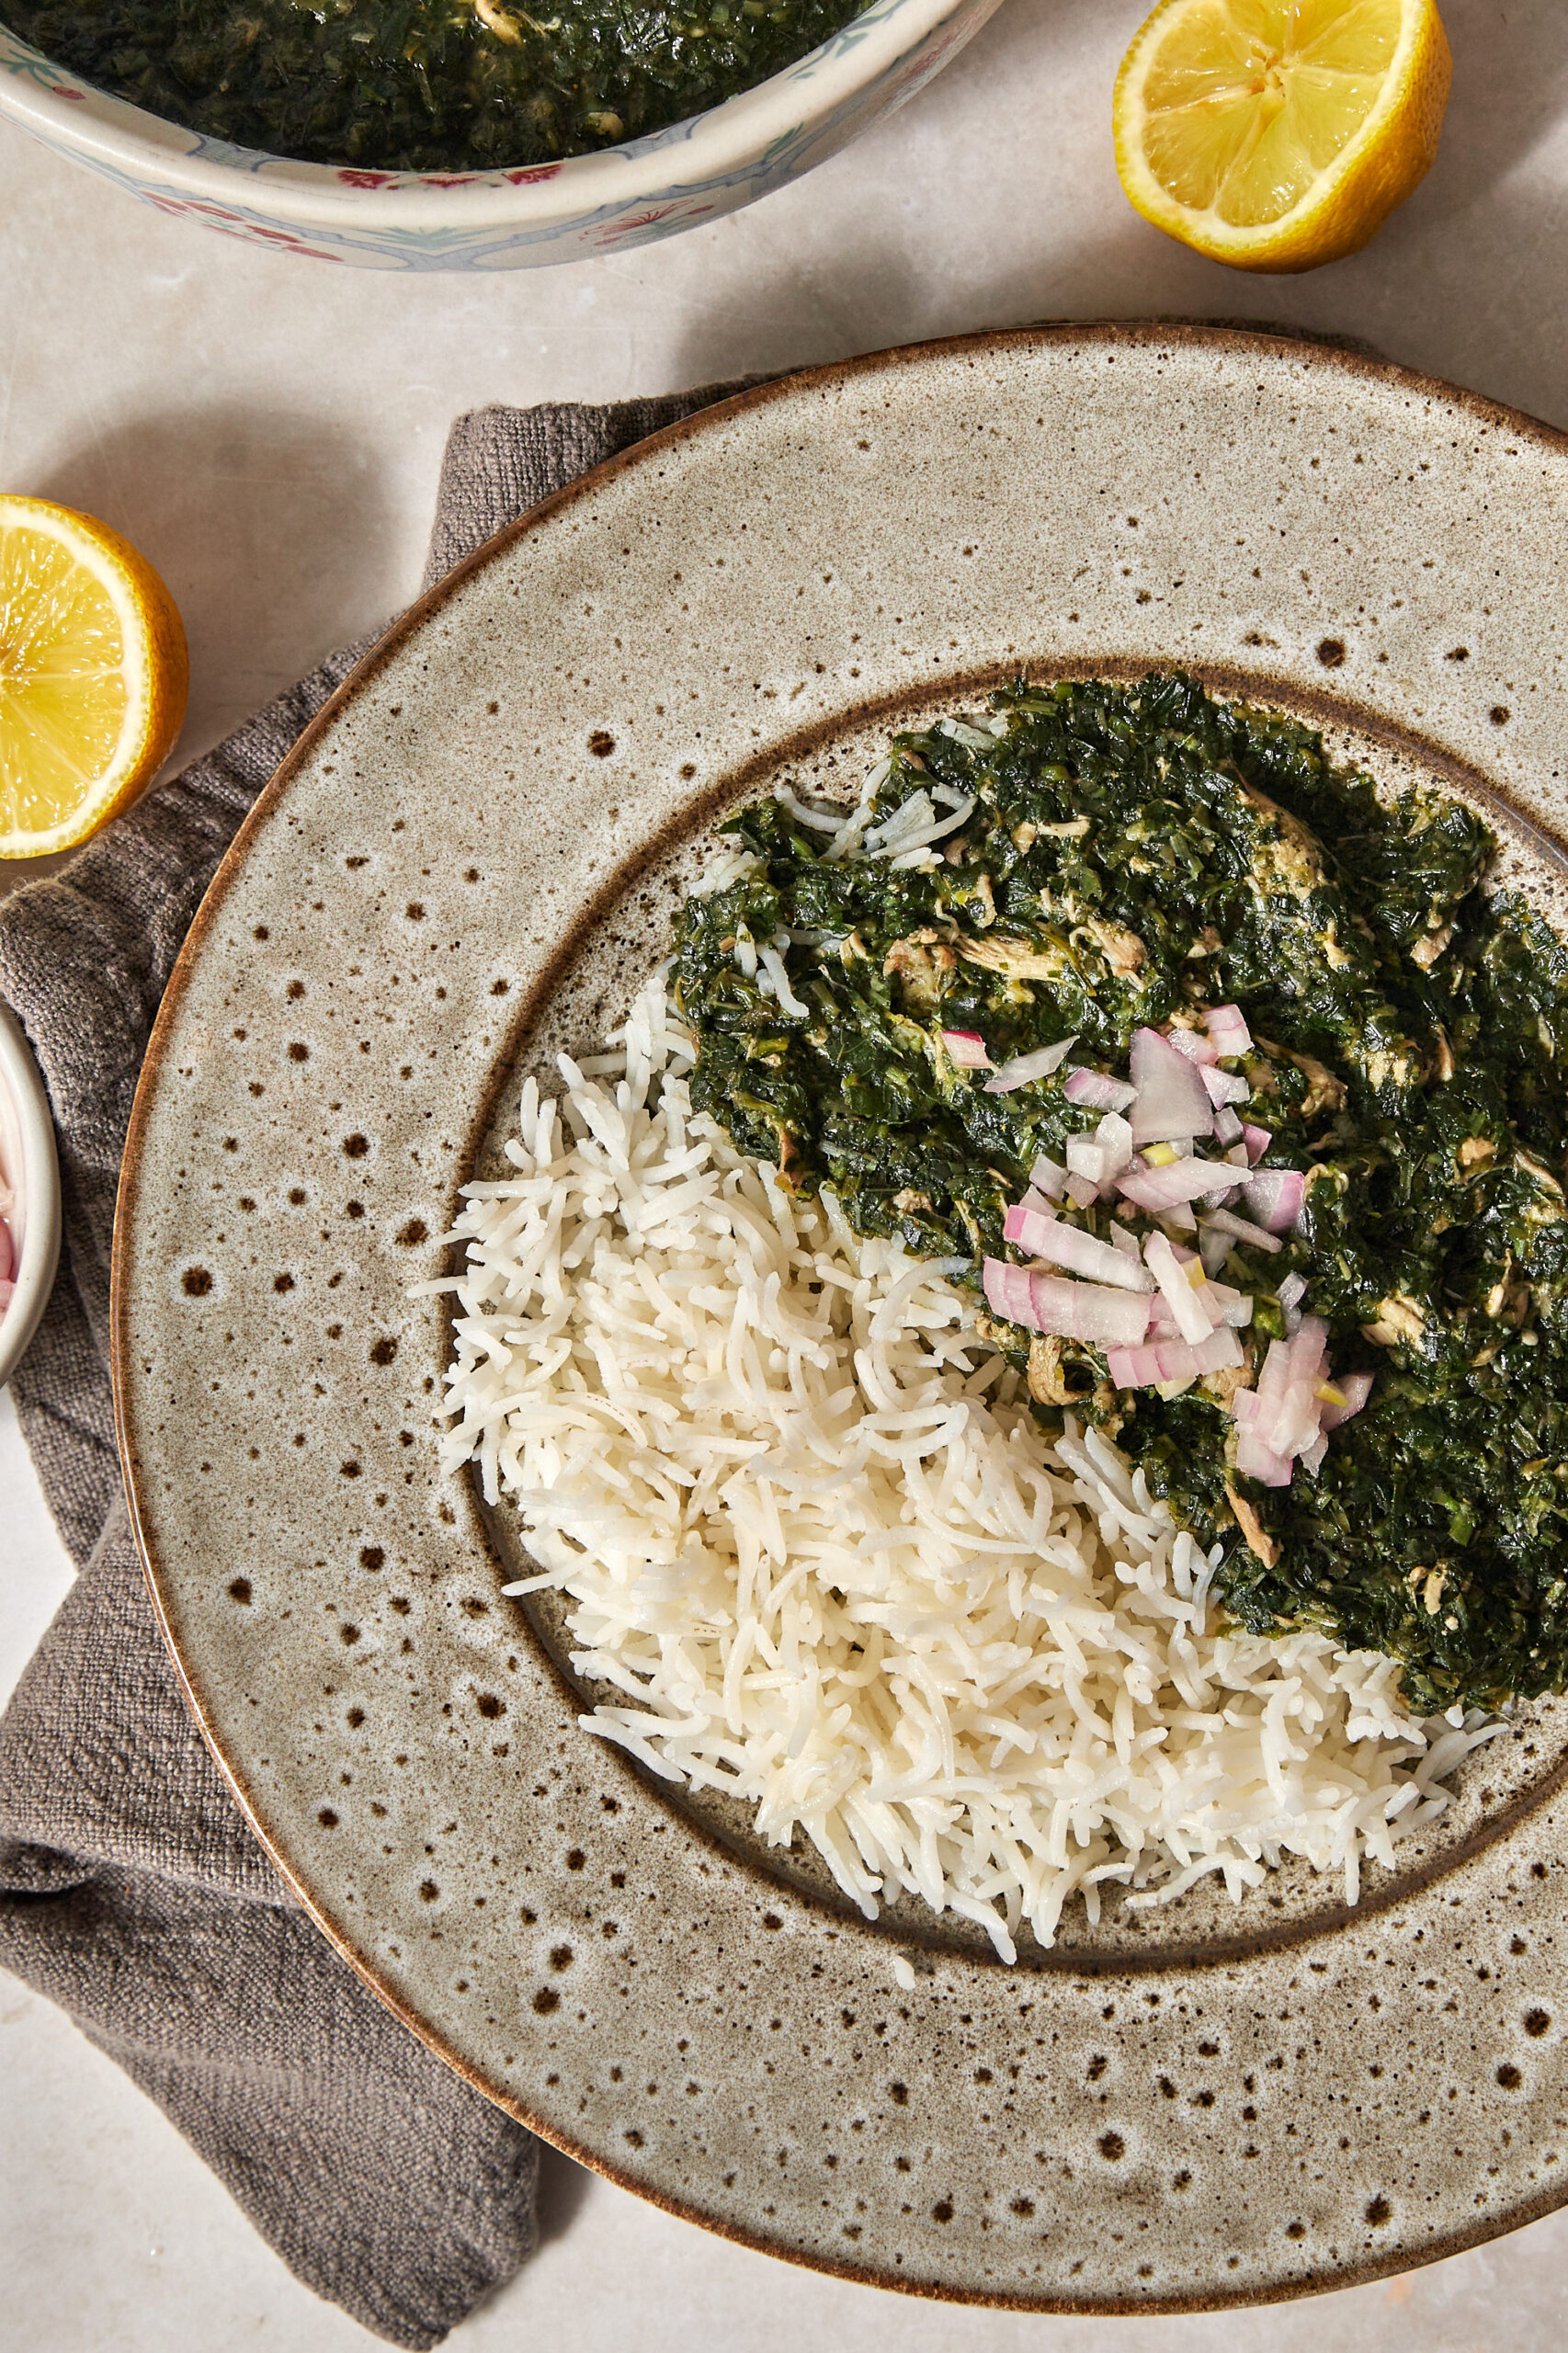
Step 8: Serve hot with vermicelli rice, fresh lemon juice, and optional pickled onions.
Pro Tip
A trick I learned from my mom: drop an ice cube into the mulukhiyah as it simmers. It’s said to reduce sliminess, and while I can’t prove it, I always do it! Who am I to fight tradition?
What to serve with:
Always serve mulukhiyah with plenty of fresh lemon juice on the side. The citrus cuts through the richness and brightens the flavor. My kids like so this with so much lemon juice, practically a whole lemon each.
Pair with fluffy vermicelli rice for the perfect bite of rice + stew. I have a great post on how to make it, follow along and you’ll see how easy it is.
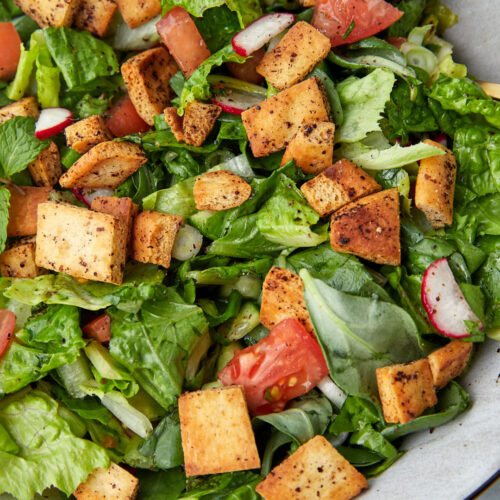
Add quick pickled red onions- just finely chop red onions, and cover with apple cider or white vinegar, storing in the fridge for a couple of hours until onions are pickled. You can also serve with a classic salad like fattouche.
Recipe variations:
- Vegetarian version: -For a vegetarian version, swap the chicken stock for vegetable broth and leave out the meat.
- Meat Mulukhiyah- Although chicken is definitely more common, there is a beef or lamb take on mulukhiyah, where you use bone in meat cubes instead to make the broth, then continue the rest of the recipe as indicated.
- Egyptian version- Stir in a little tomato paste for a richer, Egyptian-style flavor.
- Spicy- Spicy molokhia – add a pinch of chili flakes or fresh chili for heat.

Storing leftover mulukhiyah:
- Store cooled mulukhiyah in an airtight container in the fridge for up to 3 days.
- Reheat gently on the stove over medium low heat. Avoid boiling.
- You can also freeze mulukhiyah for up to 2 months. Thaw overnight in the fridge before reheating.
Expert tips and tricks:
- Always add lemon juice at the table, never while cooking — it can dull the flavor if heated.
- Make homemade chicken broth for the best flavor and for the best nutritional profile.
- Don’t skip the garlic-coriander sauté step — it’s the heart of the dish.
- Don’t thaw the frozen mulukhiyah, add them frozen straight to the pot.
Top Tip
The key to the perfect mulukhiyah is not letting it boil. Gentle simmering keeps the stew smooth and velvety instead of overly slimy.
Recipe FAQS:
Mulukhiyah has a unique earthy, slightly bitter flavor balanced by garlic, spices, and lemon juice. Its texture is silky, and dare I say a little slimy? But I promise, in the best of ways!
No, add it before serving, so that the lemon juice doesn’t lose it’s flavor while being heated (or turn bitter).
Yes! I love making and freezing the chicken broth so it’s ready for me in the freezer. I even shred the cooked chicken, and store it separately. That way, when it’s time to make the mulukhia, I just defrost the frozen broth in a pot, then continue the recipe as directed.
Yes, for a more runny stew, add some more broth. For a thicker mulukhia, simmer for longer (making sure not to let it come to a boil).

If you liked this recipe, you might like:


Pairing:
These are my favorite dishes to serve with mulukhiya:


Mulukhiyah
Ingredients
For the chicken broth (or can substitute about 4 cups of chicken broth of choice)
- 1 whole chicken, cut into pieces (I usually get a smaller chicken, 1 kg or around 2-2.5 pounds)
- 2 onions, cut into wedges
- 5-6 peeled garlic cloves
- 1 bunch coriander(cilantro) or parsley
- handful assorted veggies cut into chunks, like one carrot, one bulb fennel, etc. optional
- 2 bay leaves
- 3-4 cloves
- 3-4 whole cardamom pods
- big pinch salt and pepper
- 1/2 teaspoon cinnamon powder or 1 cinnamon stick
- big pinch seven spices or mixed spices
For the mulukhiyah:
- 1 onion, chopped
- 2 bags frozen mulukhiya each bag is 400 g (15oz)
- 1/2 teaspoon ground coriander
- 1/2 teaspoon mixed spices or seven spices
- salt and pepper to taste
- 1 ice cube (optional)
- 1 tablespoon olive oil
- 1 bunch coriander (cilantro) chopped
- 8-10 garlic cloves, crushed
- fresh lemon juice for serving
Instructions
For the chicken broth:
- Place all the ingredients for the broth in a large pot, then add enough room temperature water to just cover everything.
- Bring to a boil over medium heat, then reduce to a simmer.
- Skim off the foam that accumulates on top and discard. You may have to do this several times during the cooking process. Simmer for 3-4 hours. Chicken will be cooked through, and you'll have a flavorful stock.
- Once stock is ready and chicken is cooked, Strain the chicken stock to separate chicken from the broth. Pick out the chicken pieces from the cooked vegetables and discard the veggies. Set chicken aside until chicken has cooled enough to handle, then use your hands to debone and shred the chicken into pieces. Set aside shredded chicken for now.
For the mulukihya:
- Place the chicken stock back into a large saucepan. On medium heat, add the diced onion, the bags of mulukihya (you don't need to thaw them), the ground coriander, mixed or seven spices, and a big pinch of salt and pepper.
- Add the ice cube (optional), and return the shredded chicken to the pot and bring mixture to a simmer. Simmer for five minute or so until mulukihya has completely melted and warmed through, and is just about to come to a boil. Don't let it boil, or it'll turn slimy.
- While mulukihya is simmering, place olive oil in a skillet, and heat on medium. Add the chopped coriander and crushed garlic, and sauté for a couple minutes until garlic just turns light golden brown. Add this mixture to the mulukhiya stew, and stir through. Taste for seasoning and adjust.
- If you like the mulukhiya thinner, you can add a little more broth. Serve with rice, and lemon juice on the side.
Notes
- Chicken stock is the traditional base, usually made with a whole chicken, onions, spices, and herbs. Using homemade stock adds the best flavor, but store-bought or bouillon cubes also work.
- Bone-in chicken gives richer flavor and the meat can be shredded back into the stew.
- Frozen mulukhiyah leaves are the most convenient option and taste just as good as fresh. No need to thaw before adding to the pot.
- Garlic and fresh coriander sautéed in olive oil are essential flavor boosters and should be added right at the end.
- Lemon juice is always served on the side and balances the earthy flavor of the stew.
- Simmer the stock gently and skim off foam for a clean, flavorful broth.
- Don’t let the mulukhiyah boil once added — it can turn slimy. Heat just until warmed through.
- Avoid over-stirring to keep the texture smooth.
- Add the garlic-coriander sauté at the very end to preserve its fragrance.
- A squeeze of lemon is essential — never skip this finishing step.
- Optional: adding an ice cube while cooking is a traditional trick said to reduce excess sliminess.
- Store leftover mulukhiyah in an airtight container in the fridge for up to 3 days.
- The flavor deepens overnight, so it tastes even better the next day.
- Reheat gently on the stovetop over low heat to preserve the texture.
- Can be frozen for up to 2 months — thaw overnight in the fridge before reheating.
Leave a Reply