
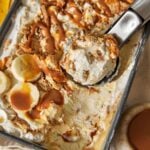
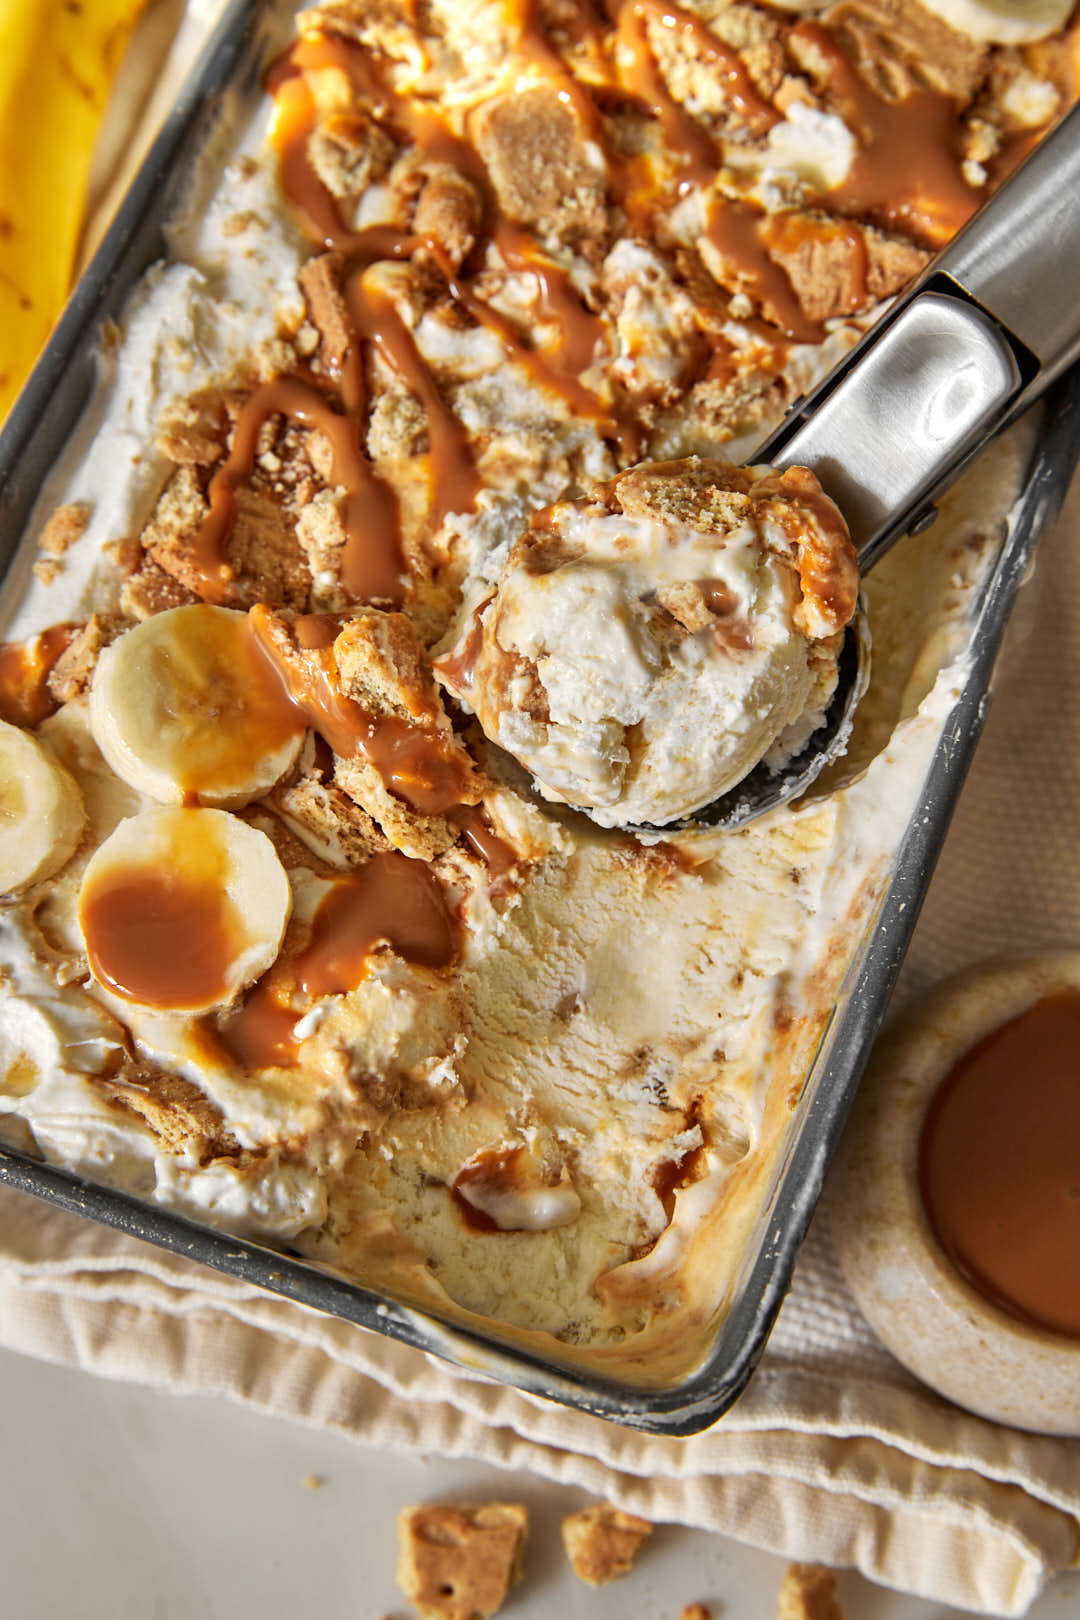
This Banoffee Ice Cream takes everything you already love about banoffee — banana, toffee, and crunchy biscuit — and turns it into a rich, no-churn ice cream. It’s SO easy, because no ice cream maker is needed: just an electric mixer (hand mixer is fine too!), a loaf pan, and your freezer.
It uses the same simple no-churn method as my Homemade Oreo Ice Cream — whipped cream folded with sweetened condensed milk — but swirled through with toffee sauce, mashed banana, and digestive biscuit pieces instead. You can also swap the toffee for caramel, and use graham crackers or any other biscuits for an easy swap.
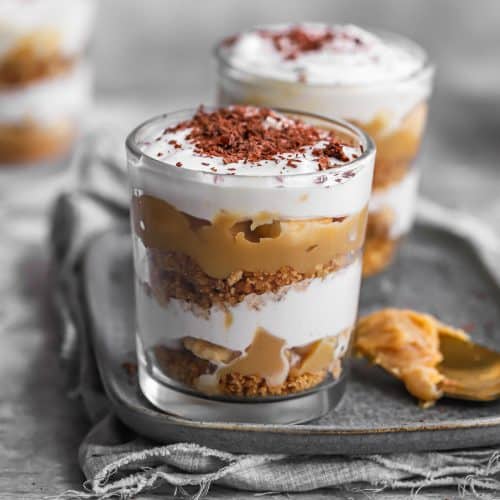
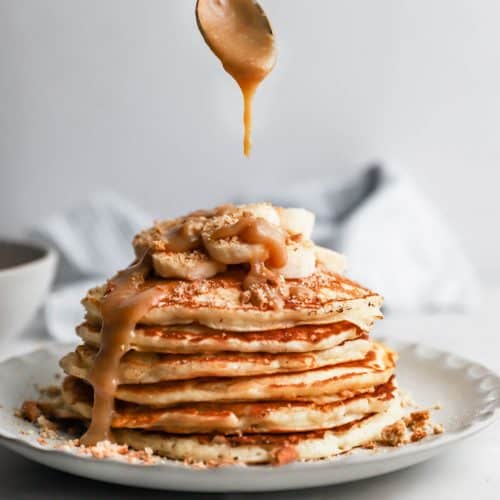
If you’re already a banoffee fan, you’ve probably made my Banoffee Pie, Banoffee Cups, or Banoffee Pancakes — this is that same beloved banana-toffee combo, reimagined as a scoopable, make-ahead freezer dessert.
This is perfect for the hot summer months when you just need a cold and creamy dessert, or for any gathering when you really want to bring a smile to someone’s face!
Jump to:
What makes this a great everylittlecrumb recipe:
- No-churn, no ice cream maker. Just an electric mixer and a freezer — the same easy method as my Homemade Oreo Ice Cream.
- A great way to use up ripe bananas- you don’t always need to make banana bread (but if you want to, you MUST try my favorite recipe ever)
- All the banoffee flavor you already love, in a new format — banana, toffee, and biscuit, the same combination from my Banoffee Pie and Banoffee Cups, swirled into ice cream instead of layered in a crust.
- Make-ahead friendly. Comes together in about 15 minutes, then the freezer does the rest.
- It’s genuinely so fun to make. Swirling in the mix-ins, then adding some flair with extra sauce and biscuits on top. It’s an easy recipe to make with kids. Layla and Fahad got SUCH a kick out of making it and obviously had even more fun eating it.
Ingredients you need:
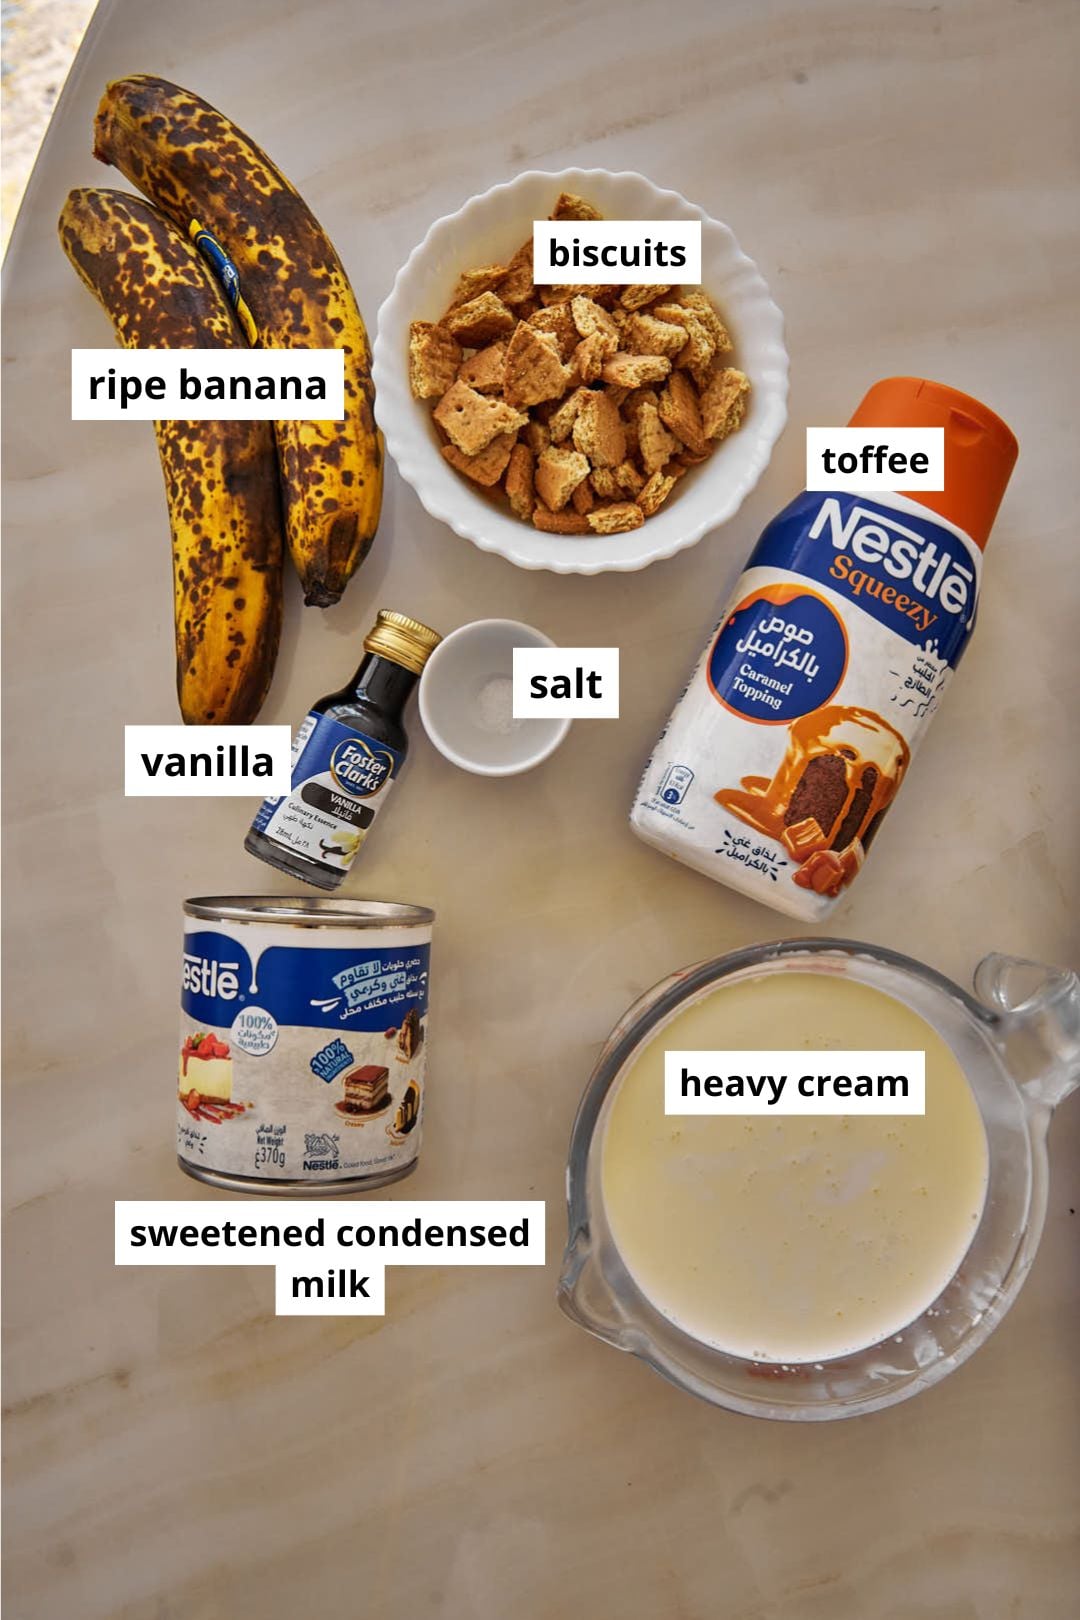
- Cold heavy cream (whipping cream) — whipped to stiff peaks, this is what gives the ice cream its scoopable texture without a machine. Keep it in the fridge until right before you use it — cold cream whips faster and holds more volume.
- Vanilla extract — rounds out the flavor of the whipped cream base.
- Pinch of salt — balances the sweetness of the condensed milk and toffee.
- Sweetened condensed milk — sweetens the ice cream and keeps it smooth and scoopable straight from the freezer, rather than freezing rock-hard.
- Ripe bananas, mashed well — blending bananas into the cream base is what gives this banoffee ice cream that signature flavor! Use ripe bananas, so you really get the flavor across.
- Digestive biscuit pieces — broken into a mix of chunks and crumbs, the same way you do it for Banoffee Pie and Banoffee Cups. Graham crackers work as a substitute if you can’t find digestives.
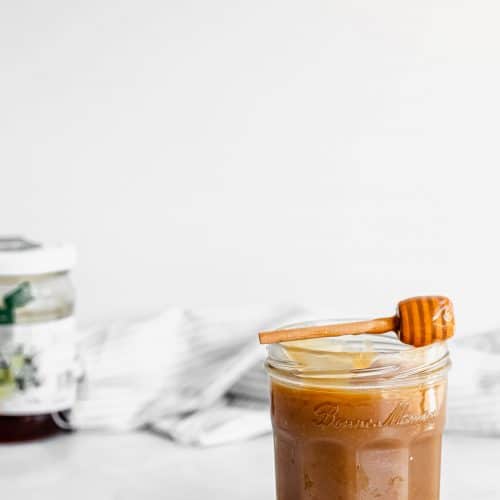
- Ready-made toffee or caramel sauce — swirled through the ice cream in two layers. Store-bought keeps this quick, but you could also use your own stovetop toffee from the Banoffee Pie/Cups recipes if you’d rather make it from scratch, or a salted caramel sauce like this one (leave out the rose water).
See recipe card for quantities.
How to make easy banoffee ice cream:
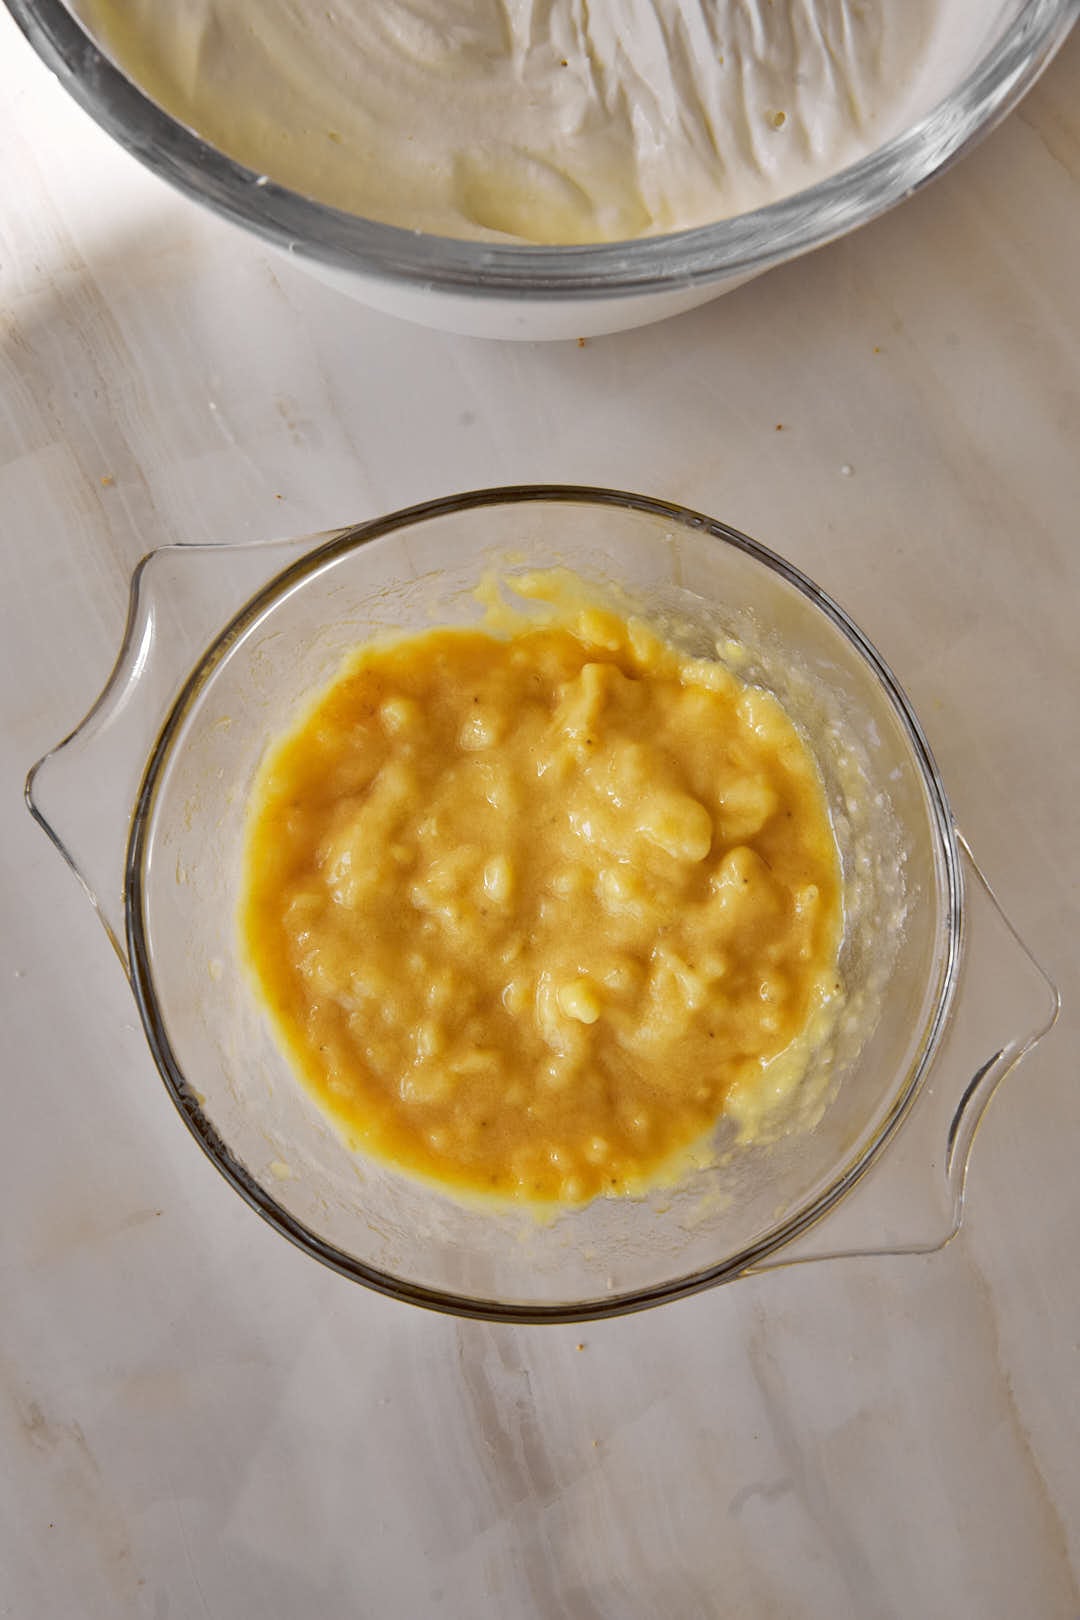
- Step 1: Mash the banana very well.
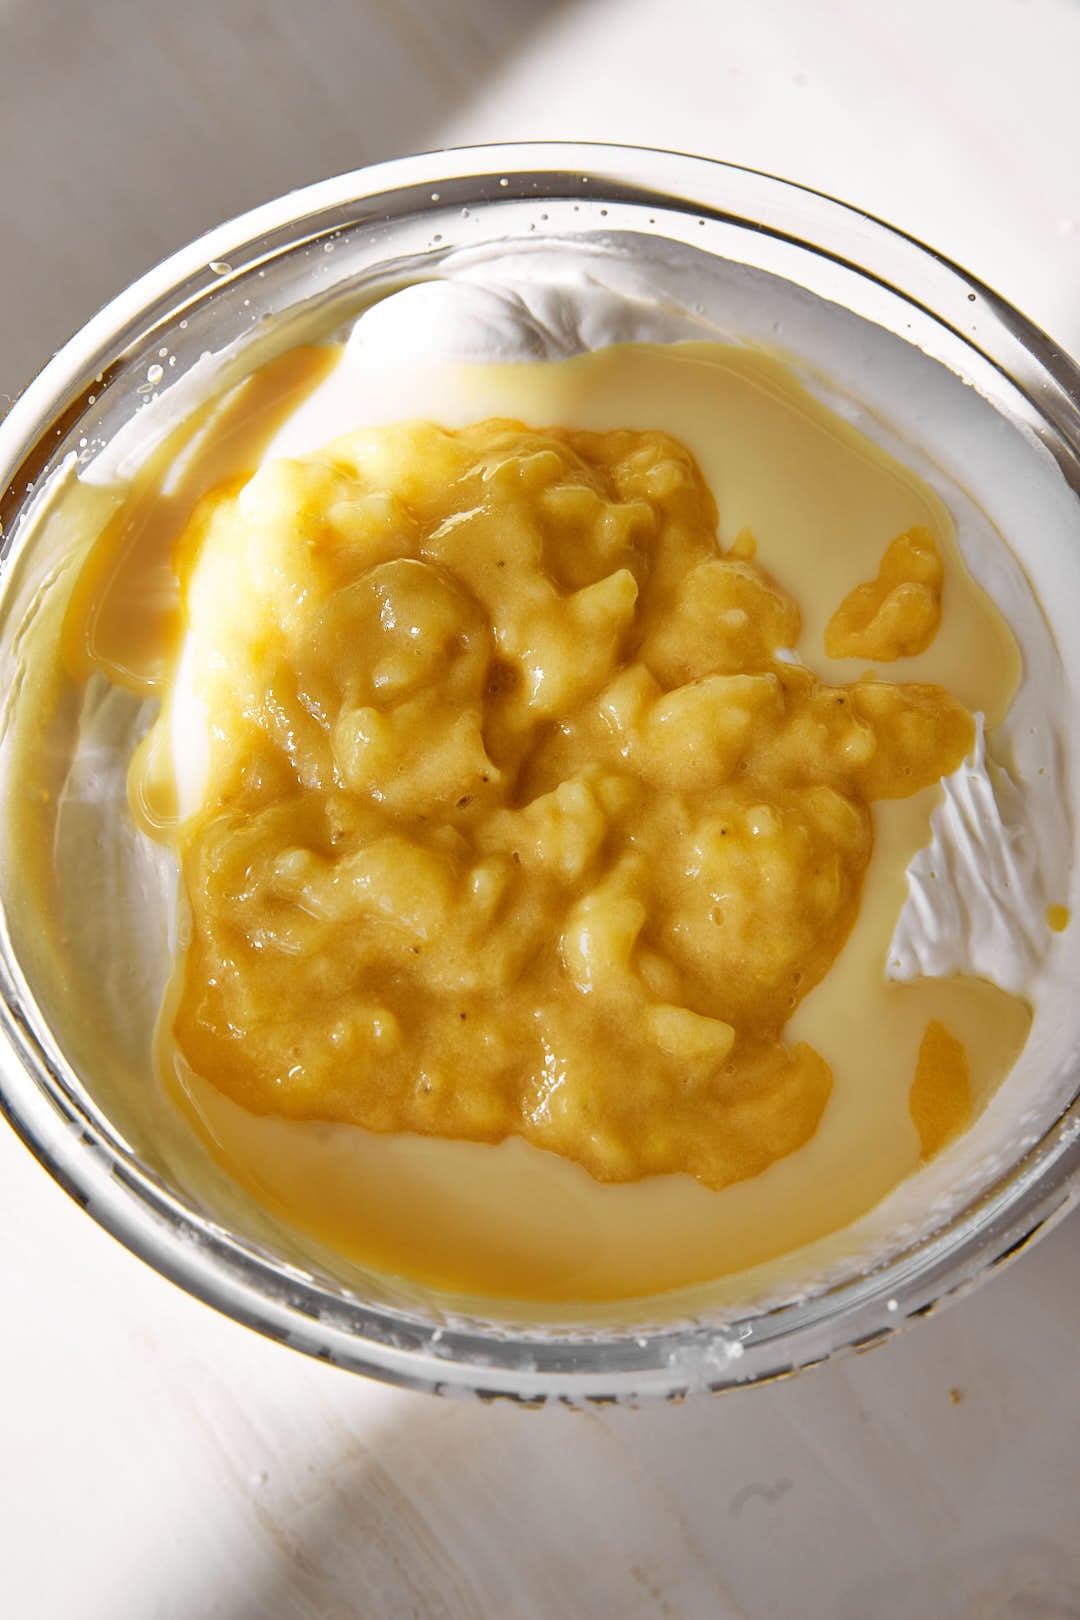
- Step 2: Add to a bowl with the whipped cream and condensed milk.
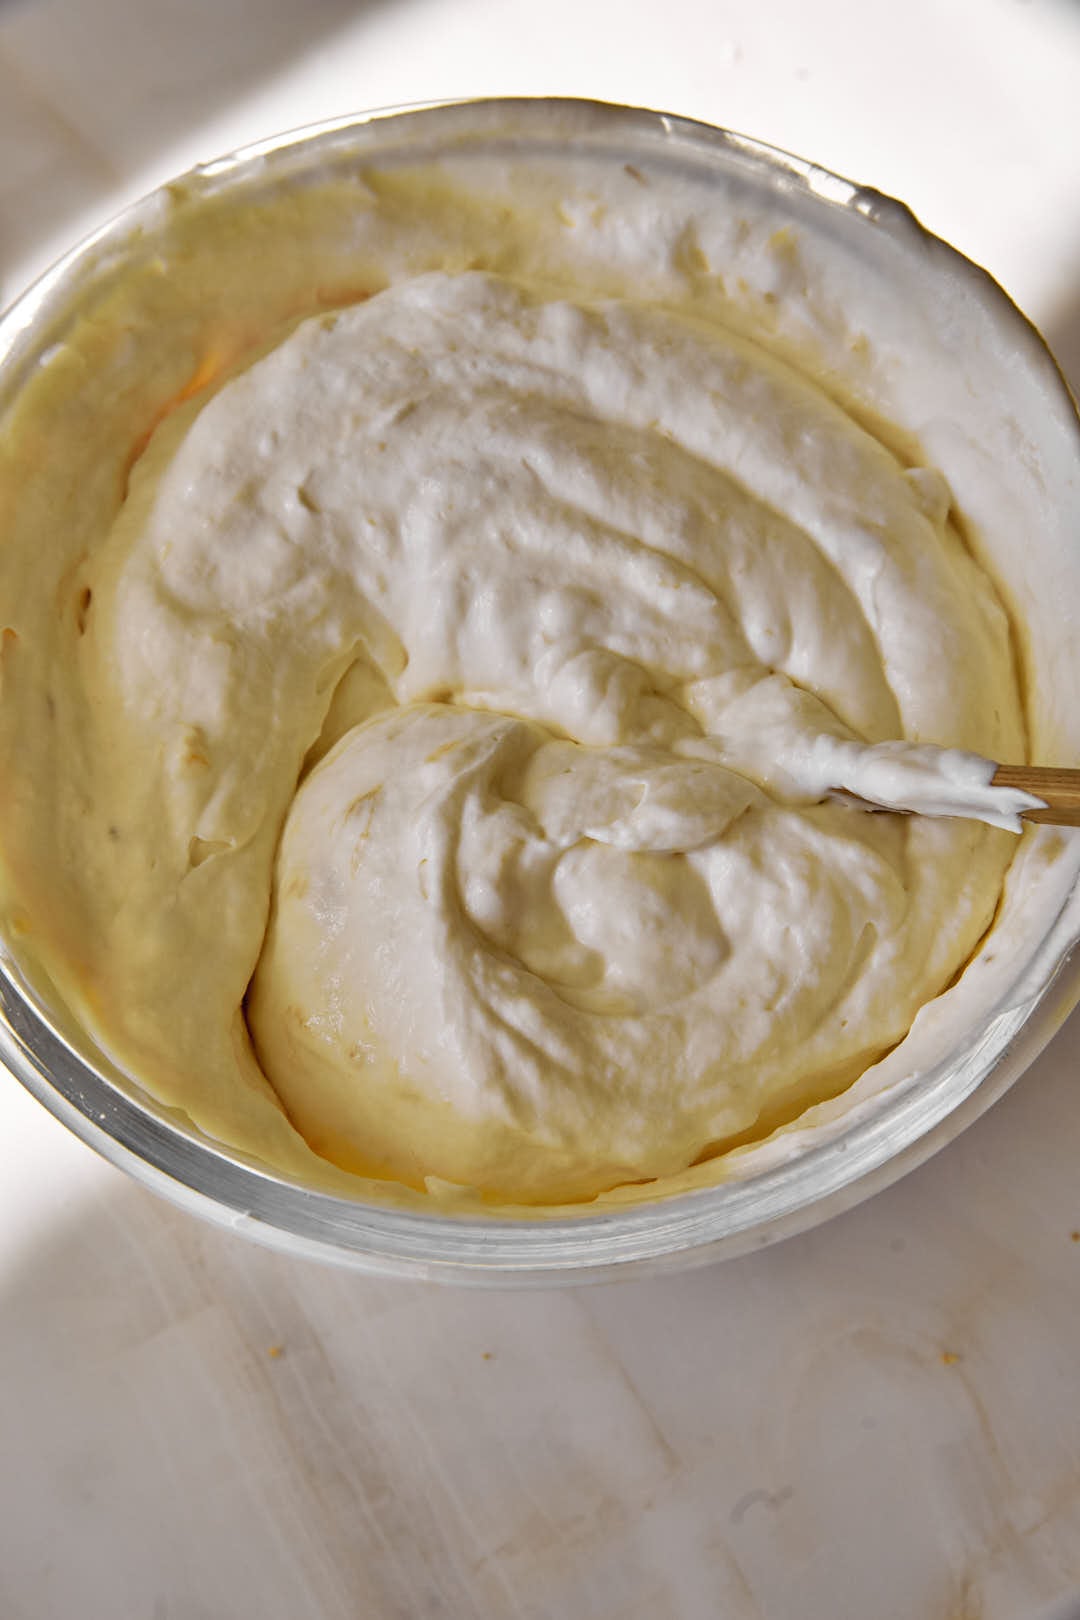
- Step 3: Gently fold to combine.
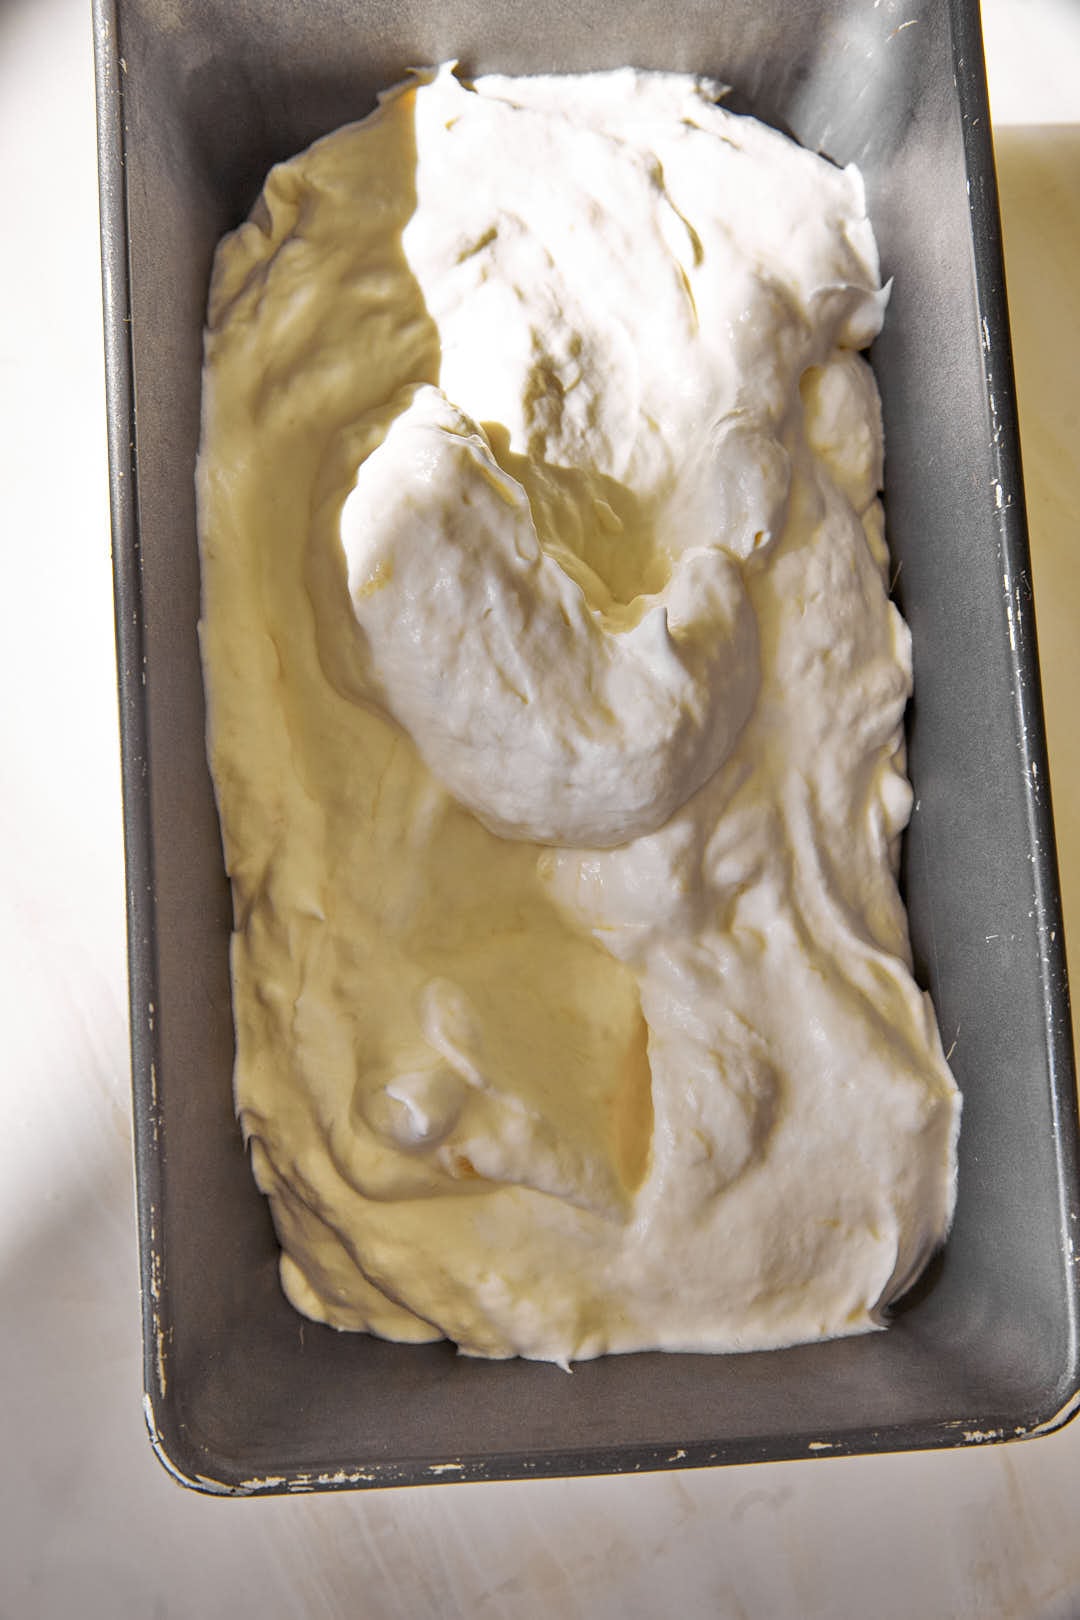
- Step 4: Spread half this mixture into a loaf pan.
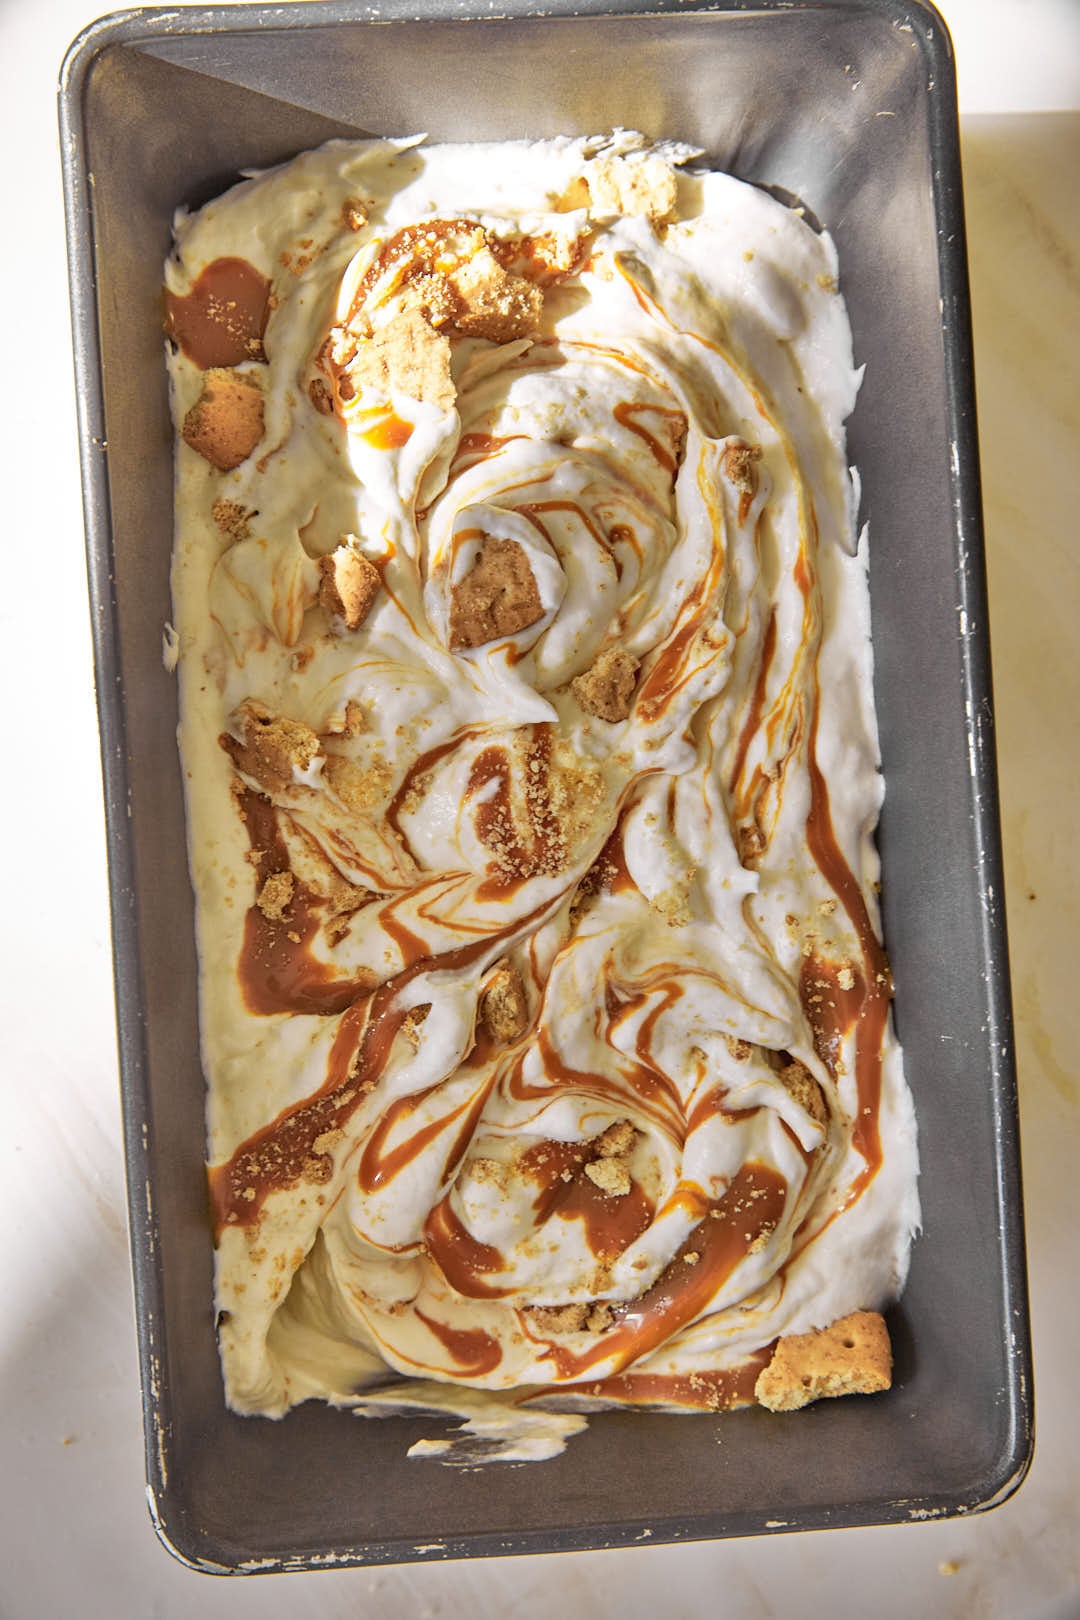
- Step 5: Add toffee sauce and biscuits and gently swirl with a butter knife.
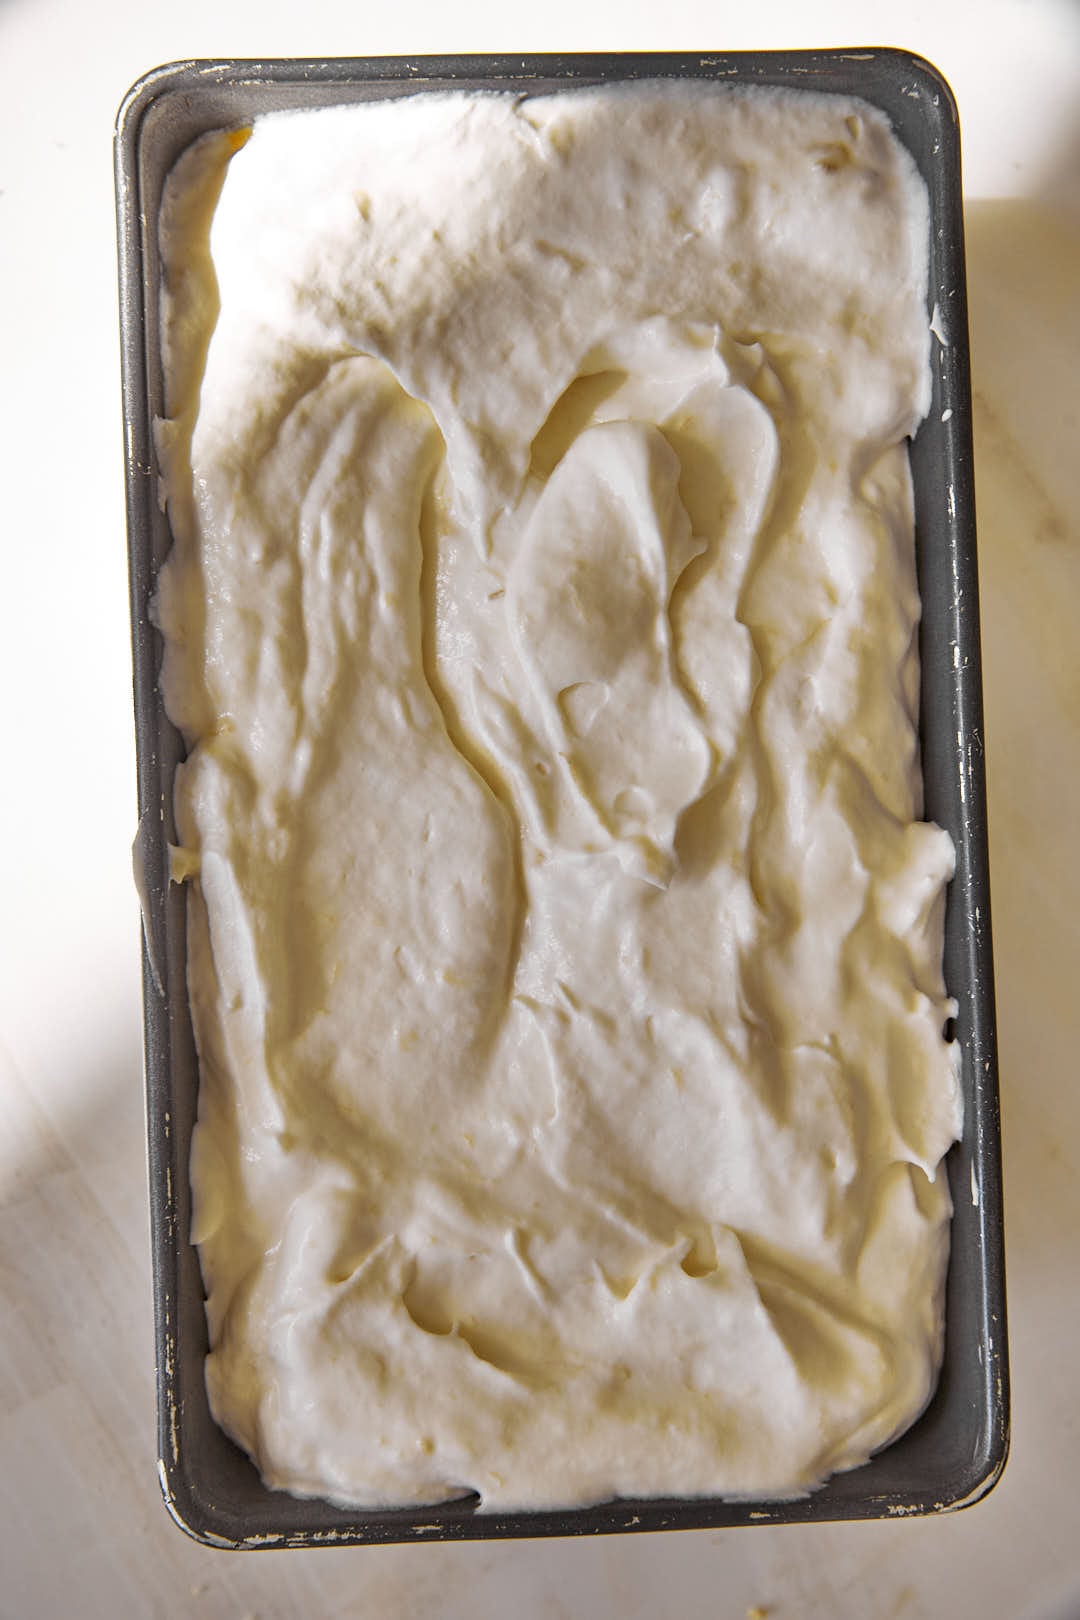
- Step 6: Top with the remaining half of the banana ice cream mix.
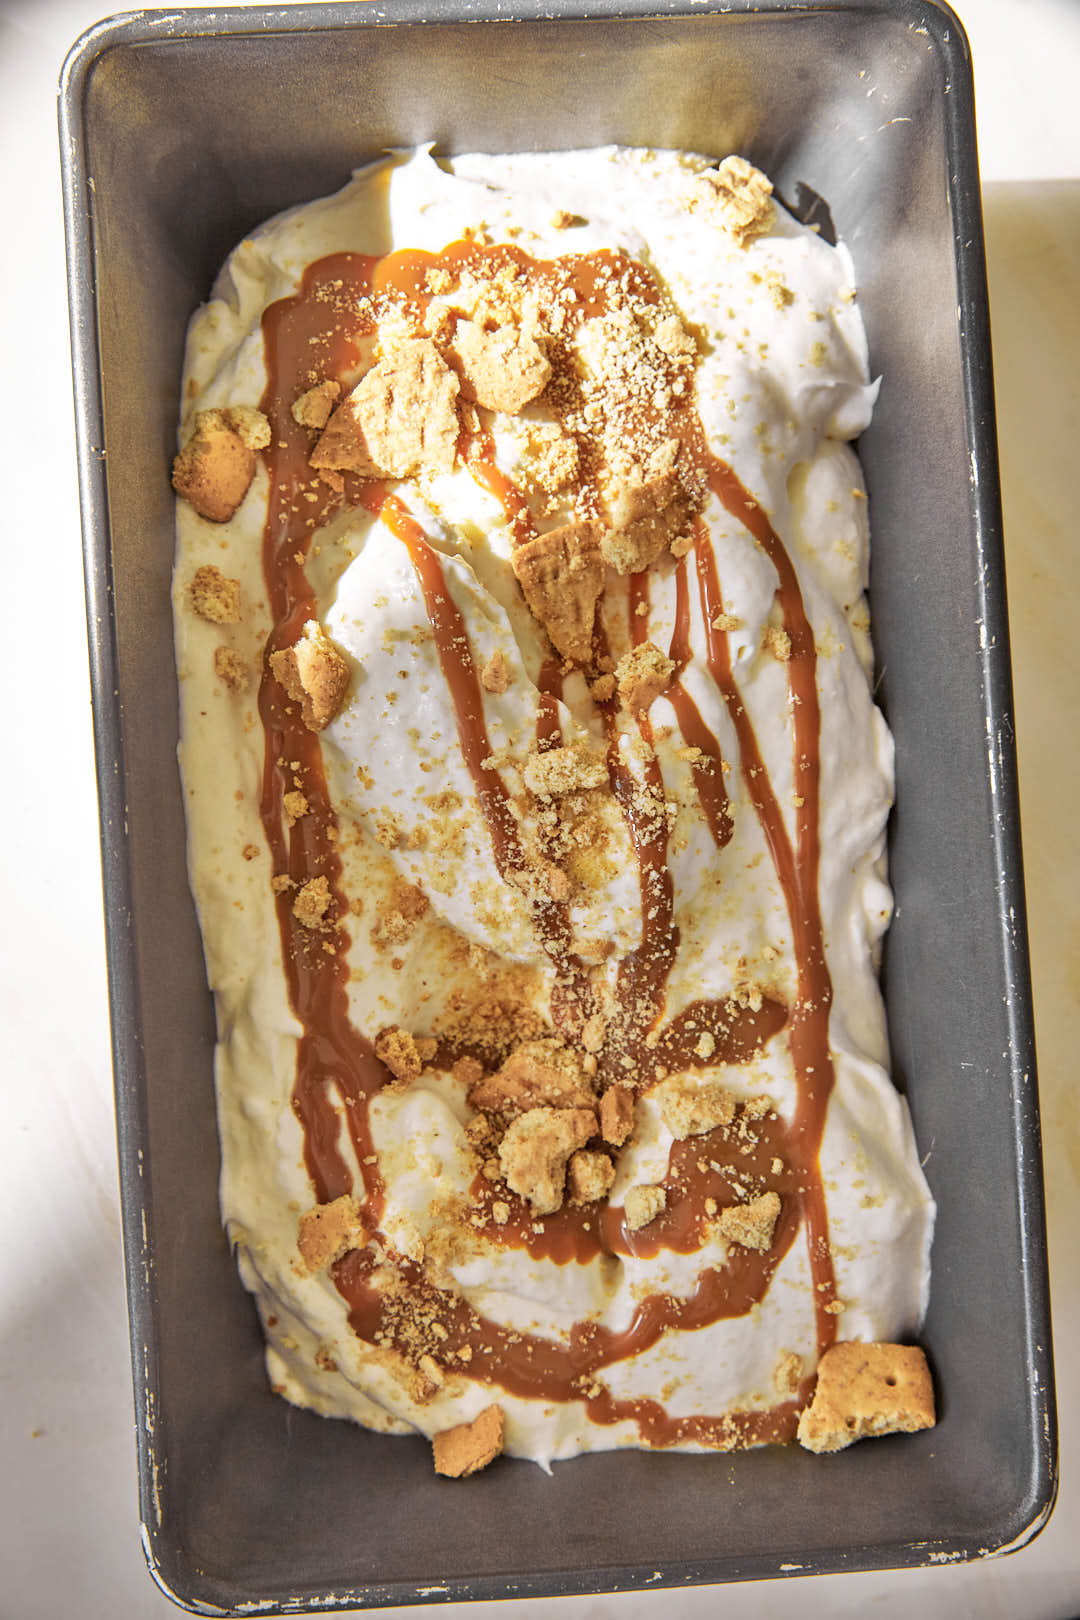
- Step 7: Add more toffee and biscuits and swirl.
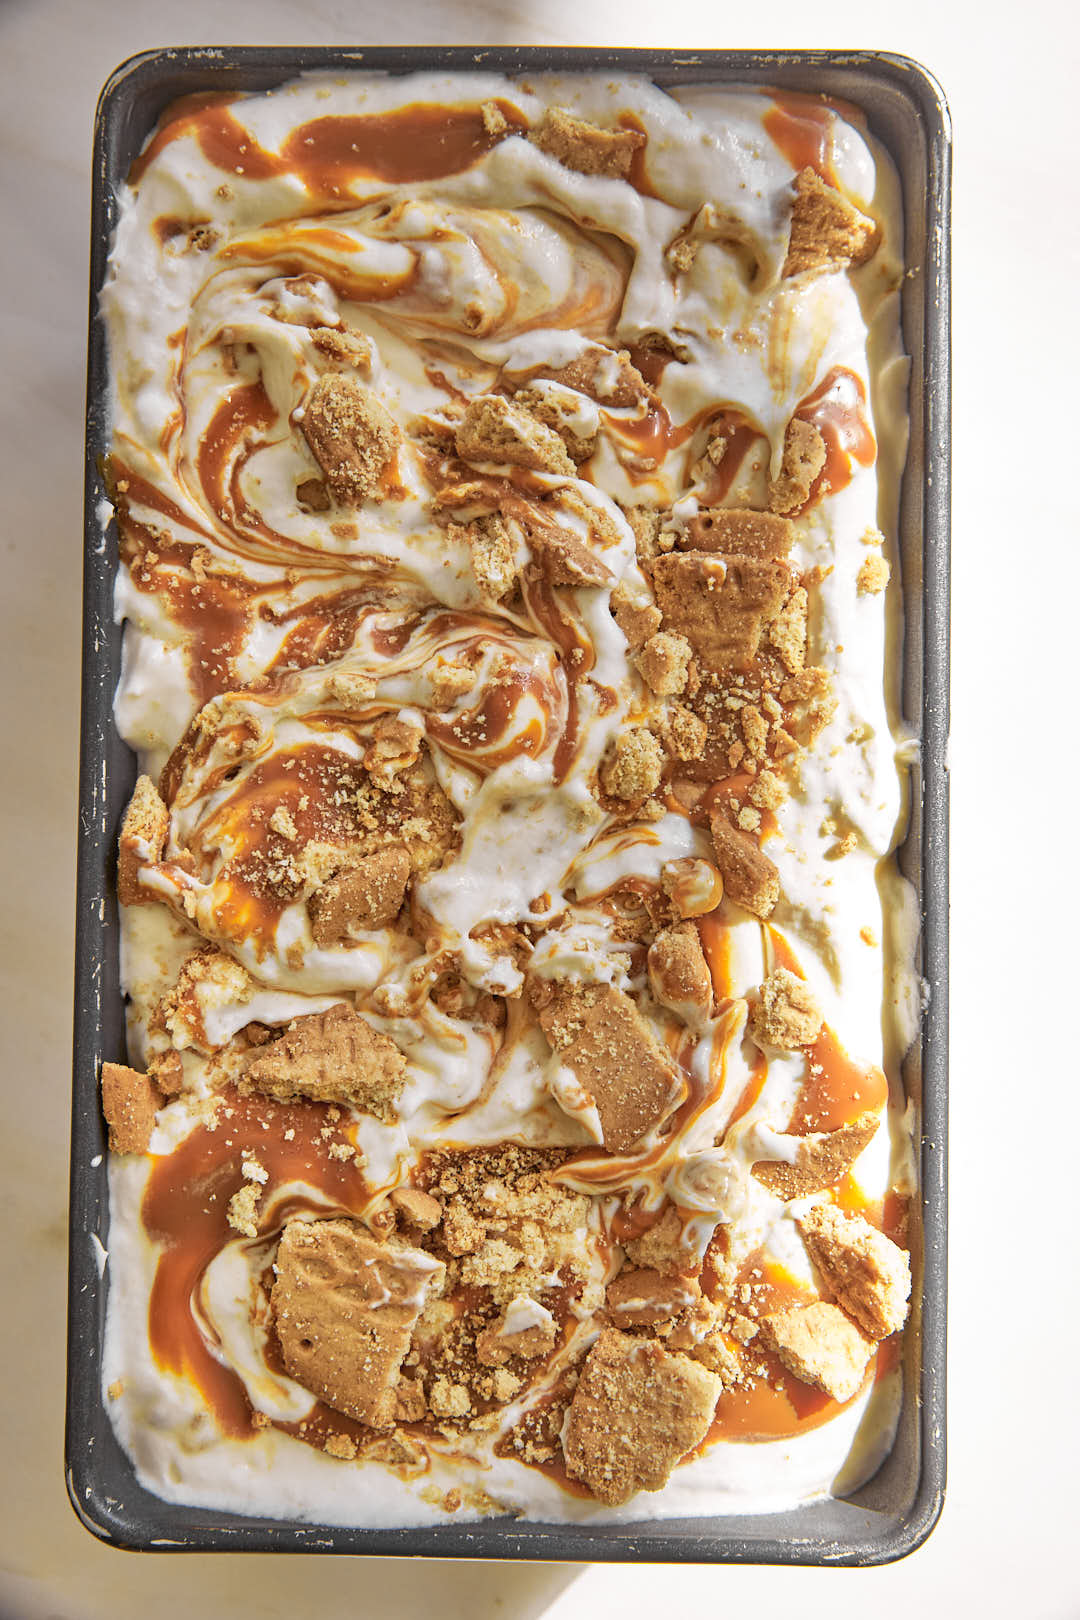
- Step 8: Tightly cover and freeze for at least 6 hours before enjoying.
Hint: Don’t over swirl, I like to have really distinct thick layers of toffee in this so you get the ultimate mouthful.
Pro Tip
Make sure your cream is properly cold before whipping — straight from the fridge, not sitting out. This is the same tip from my Oreo ice cream: if you sometimes have trouble getting good volume when whipping cream, stick your mixing bowl in the fridge for about 30 minutes first. Cold cream (and a cold bowl) whips faster and holds more air, which is what keeps this banoffee ice cream soft enough to scoop straight from the freezer.
How to serve:
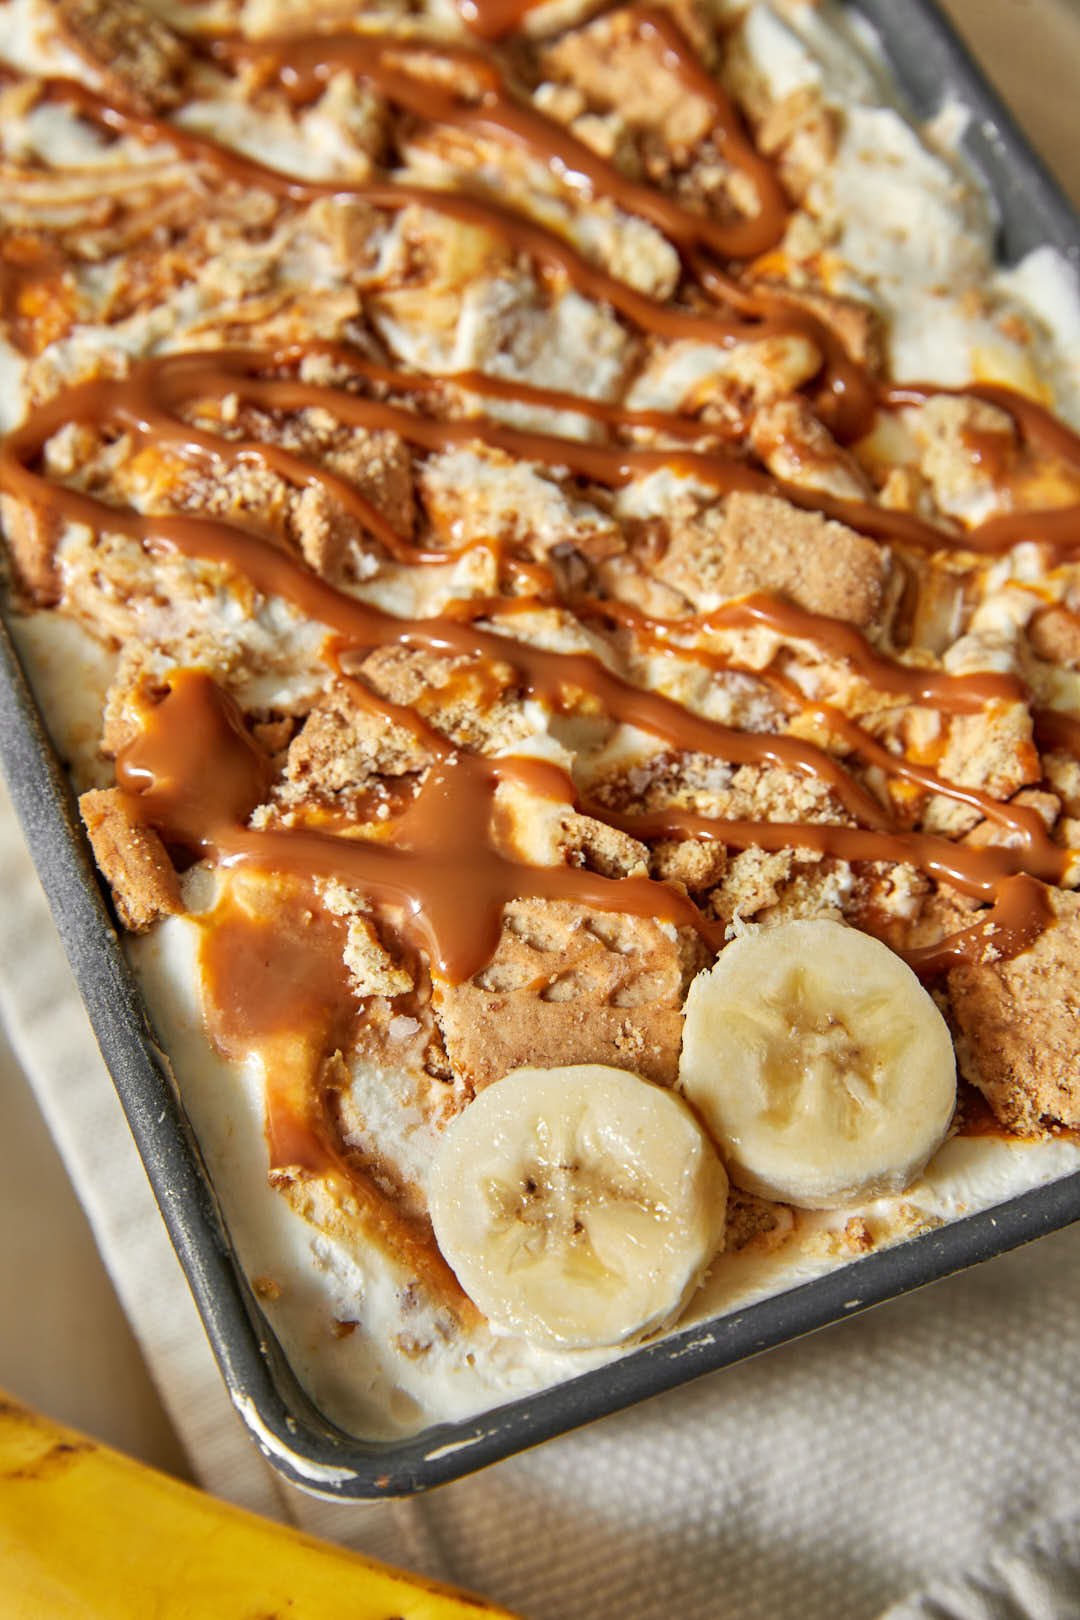
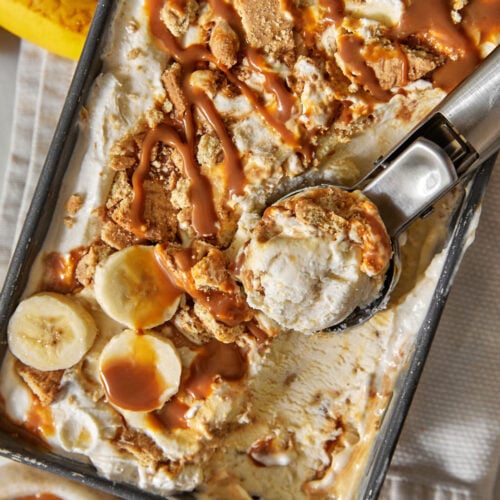
Scoop the banoffee ice cream straight from the loaf pan after it’s frozen, and for extra visual appeal, top with fresh banana slices and an extra drizzle of toffee sauce.
- As the best topping for cake– try a big scoop of this alongside a simple, moist chocolate cake.
- On top of pancakes– the more banoffee the better! Try this on top of a stack of banoffee pancakes for a restaurant worthy dish.
Recipe variations:
- Lotus/speculoos swap — use crushed lotus biscuits instead of (or mixed with) digestives, for an extra caramel-y cinnamon-y note!
- Nutty — this would be amazing with some toasted pecans or almonds mixed into the ice cream base
- Chocolate finish — a dusting of cocoa powder or grated chocolate (Flake) on top before freezing or serving, the way I finish my Banoffee Pie and Banoffee Cups.
See this classic version of banoffee pie on my website, one of my most popular recipes ever!
Storing Leftovers:
- Store tightly covered (first with a layer of plastic wrap then a layer of aluminium foil), and keep it toward the back of the freezer where the temperature is more stable for up to 2 weeks.
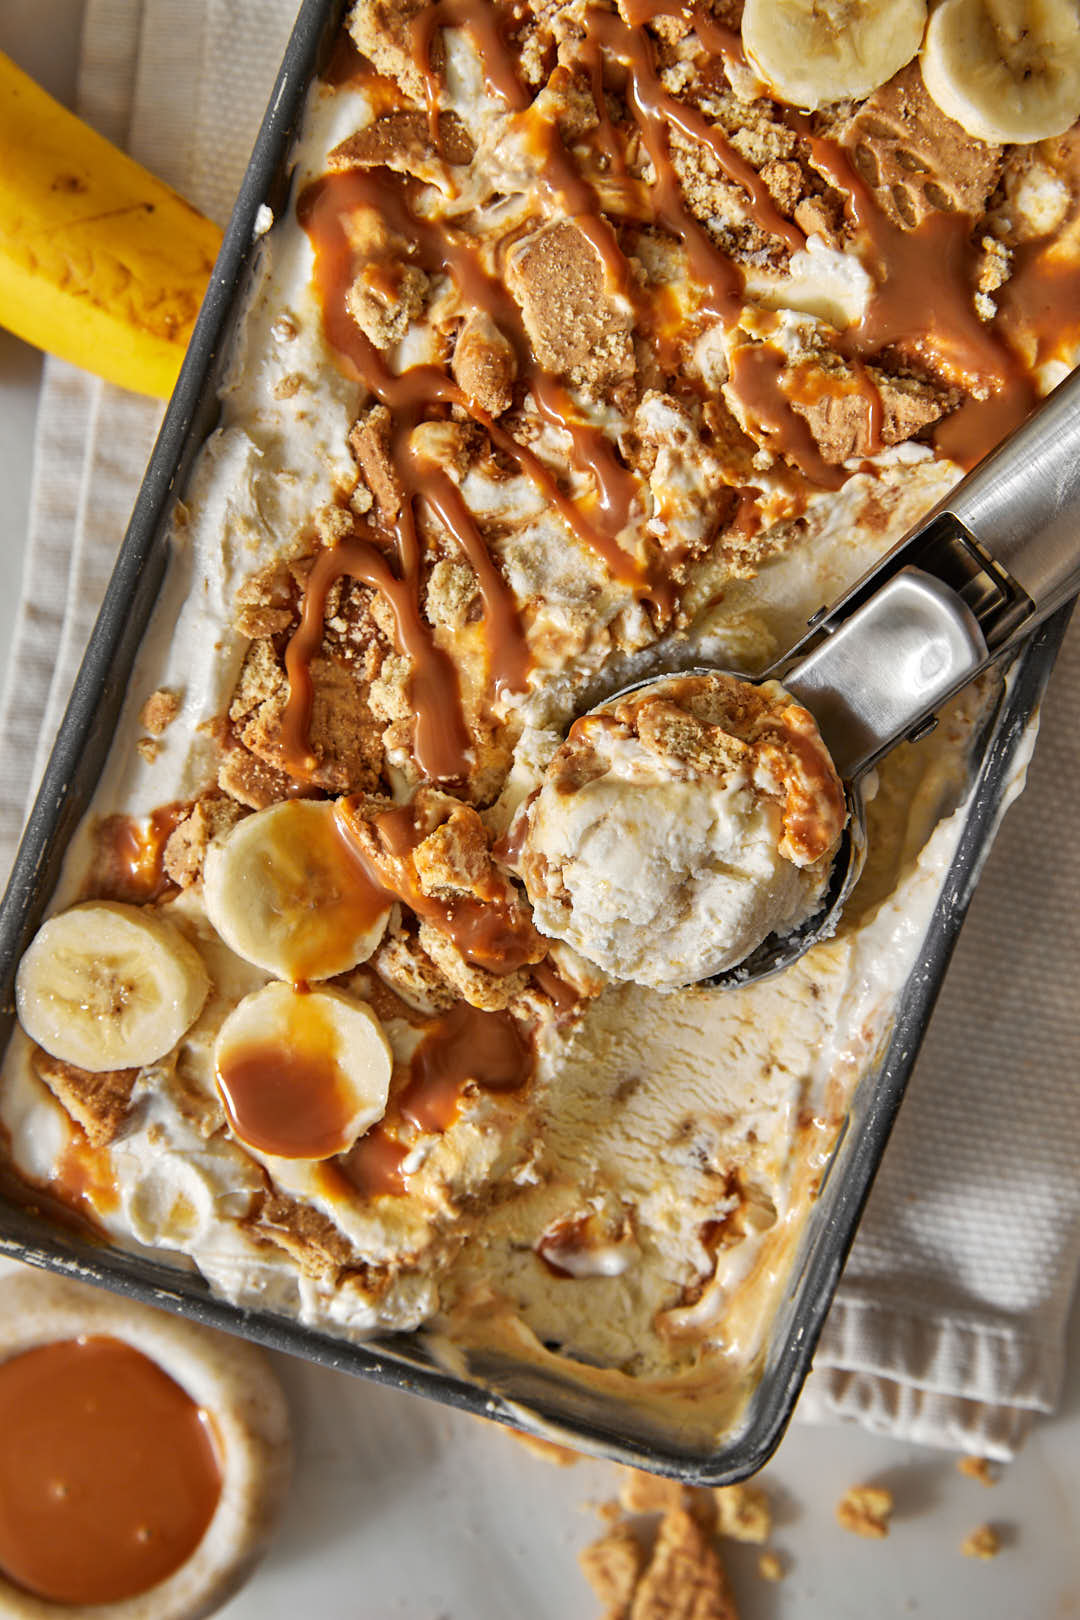
Expert tips and tricks:
- Use cold cream, and chill your mixing bowl if needed. This will help the heavy cream whip up a lot faster, and reach those thick voluminous peaks.
- Fold gently, don’t stir. Folding in the condensed milk and banana keeps the whipped air intact; stirring vigorously will deflate it and give you a denser, icier result.
- Break the biscuits into a mix of chunks and crumbs, not all one size —don’t be scared to have some pretty big chunks in there, so that you get some texture of biscuits when you are biting into the ice cream.
- Cover the loaf pan tightly with plastic wrap then with a layer of foil when storing in the freezer to avoid freezer burn.
Top Tip
Use black spotted bananas to get that banana flavor prominently in the ice cream and lend it some sweetness.
Recipe FAQs:
No — this is a no-churn ice cream, whipping the cream to stiff peaks is what gives it a scoopable texture without a machine.
You absolutely can, but I try to make this no churn banoffee ice cream super easy and approachabl, which is why I went with store-bought in this case.
Yes — this needs at least 6 hours (or overnight) in the freezer before serving, so it’s naturally a make-ahead dessert.
If you liked this recipe, you might like:
Looking for other recipes like this? Try these:


Pairing
These are my favorite dishes to serve with banoffee ice cream:


Love this recipe? Please leave a 5-star 🌟🌟🌟🌟🌟rating in the recipe card and a comment!
Stay in touch with me through social media @ Instagram, Pinterest, and Facebook. Don’t forget to tag me when you try one of my recipes!
Banoffee Ice Cream
Equipment
- An electric mixer or hand mixer
Ingredients
- 2 cups cold heavy cream (whipping cream) 500 ml
- 1 teaspoon vanilla extract
- pinch salt
- 3/4 can sweetened condensed milk 280 g total
- 2 ripe bananas, mashed well
- 1/2 cup digestive biscuit (or graham cracker or other biscuit) pieces (4 digestive biscuits broken into a mixture of chunks and crumbs) 60 g
- 1/2 cup ready made toffee or caramel sauce
Instructions
- With an electric mixer, beat the cold heavy (whipping) cream, vanilla, and pinch of salt until stiff peaks form. Remove the bowl from the stand and fold in the sweetened condensed milk and mashed bananas gently.
- Layer half this ice cream mixture into a 9×5 inch loaf pan. Drizzle half the toffee sauce, and sprinkle half the biscuit crumbs, then use a dull butter knife to swirl the mix-ins evenly into the ice cream.
- Top with the remaining half of the ice cream, then drizzle on the remaining toffee sauce and biscuit crumbs. Press them gently into the ice cream so they stick well. Cover the pan with plastic wrap, then with foil, and place in the freezer for at least 6 hours or overnight.
- Before serving, you can top with fresh sliced bananas if desired and some more toffee sauce. Enjoy!
Leave a Reply