Instant Pot Recipes
Instant Pot recipes make short work of mealtime. I especially love using mine to make complex Middle Eastern stews in a fraction of the time!
Need a suggestion? Consider the Instant Pot Black Eyed Pea Stew, or the Instant Pot Mujaddara.
-
Instant Pot Potato Leek Soup
-
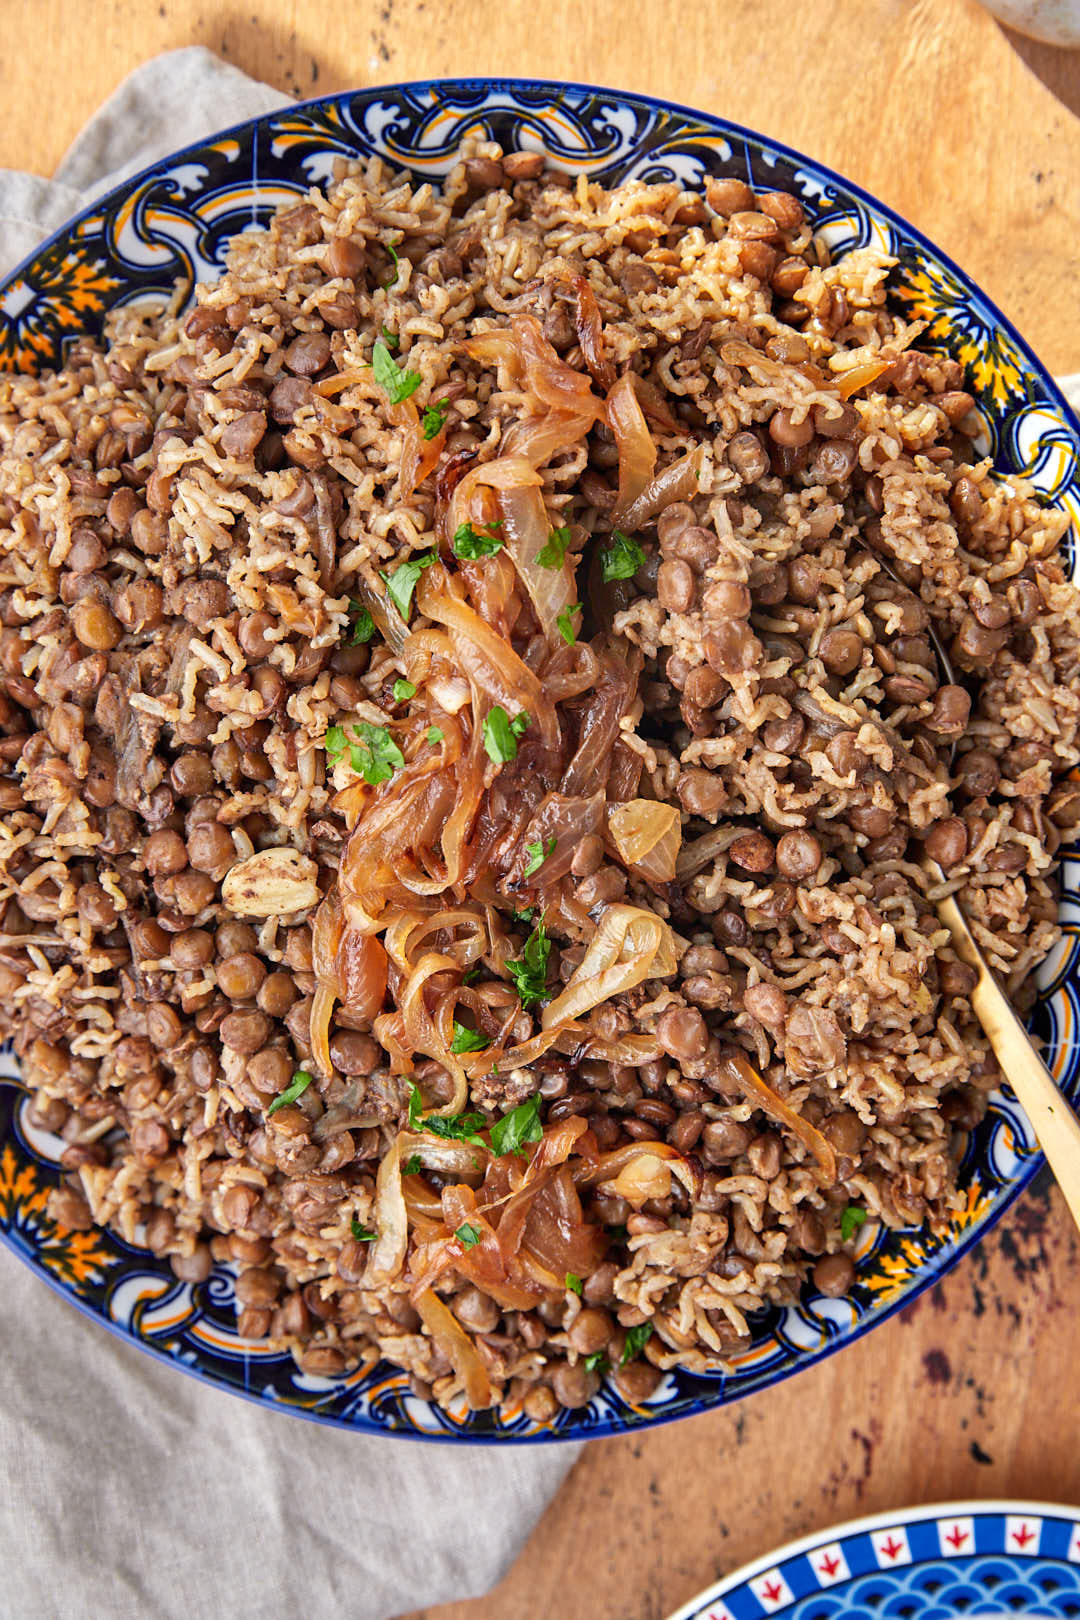
Mujadara Instant Pot (Brown rice and Lentils)
-
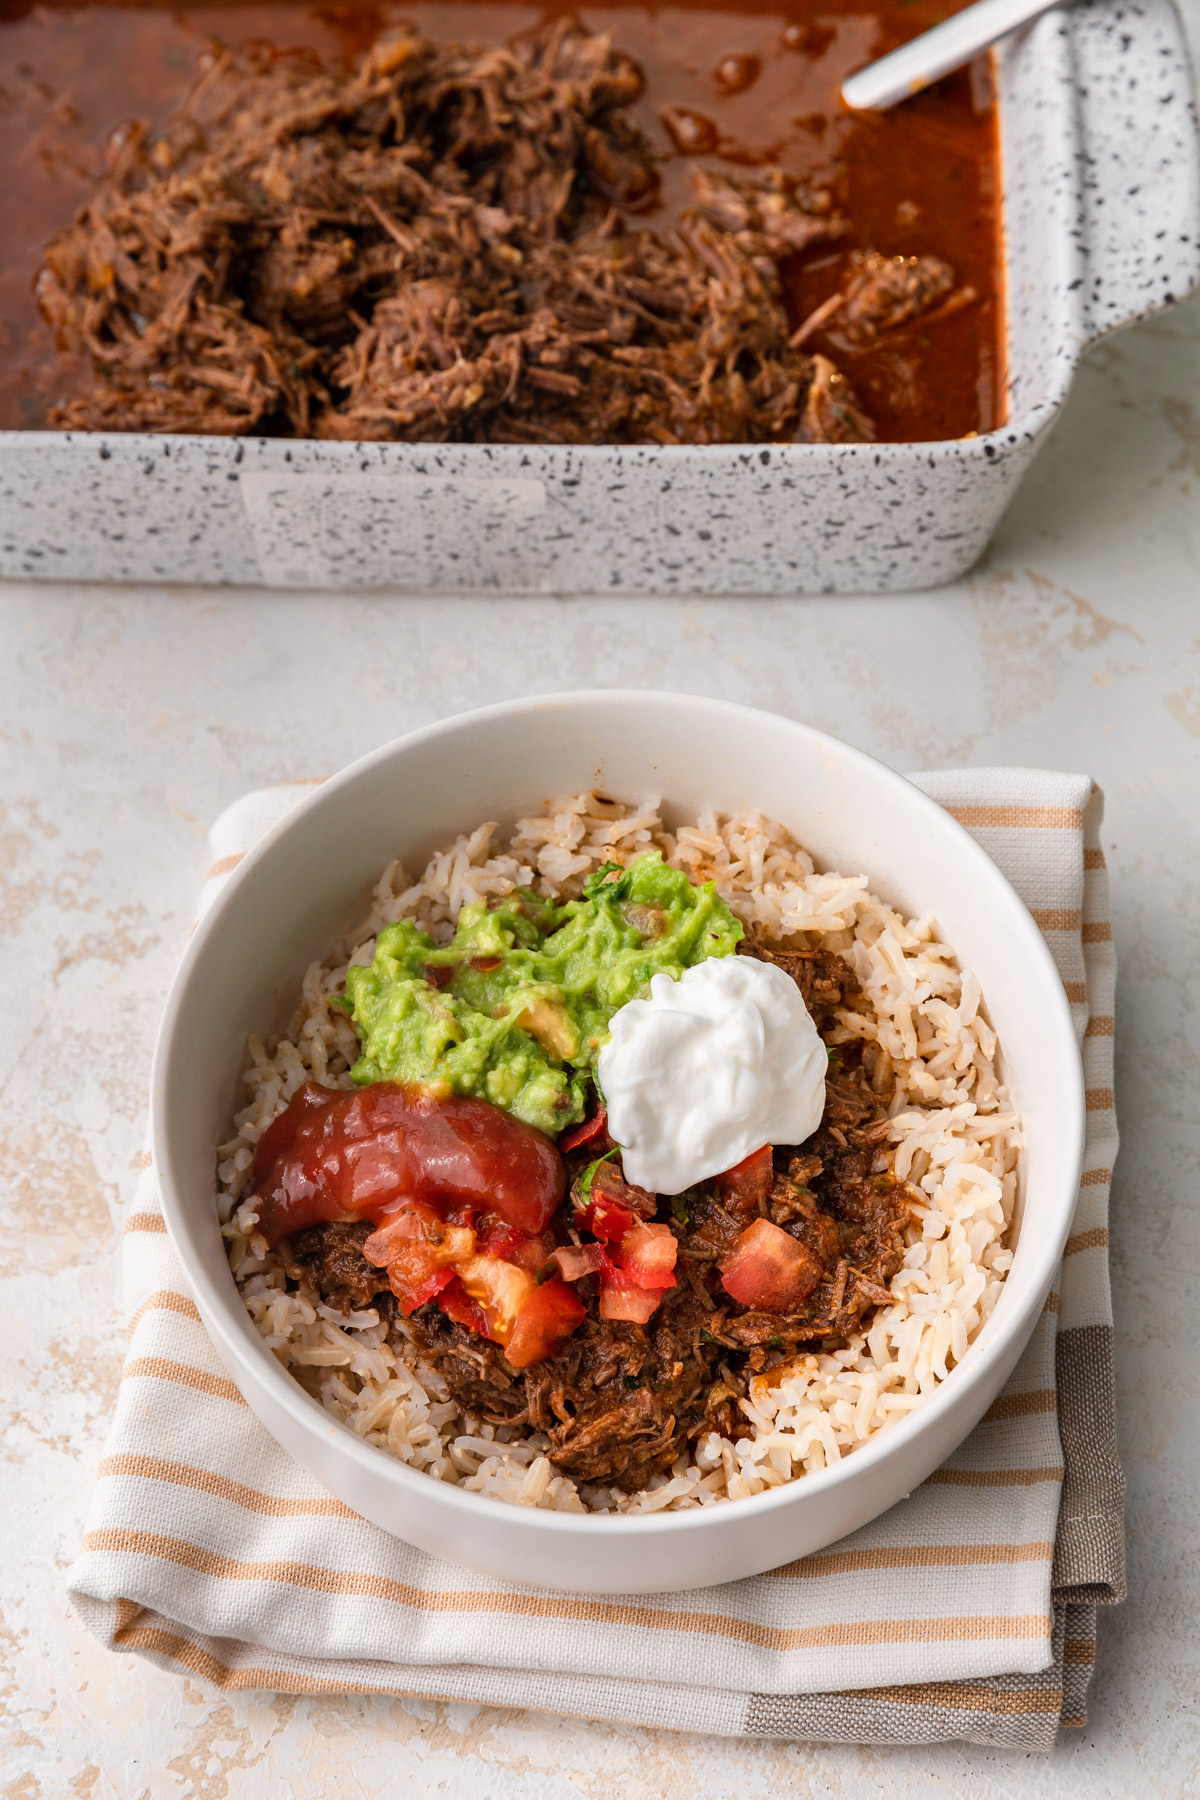
Instant Pot Shredded Beef (Mexican Beef)
-
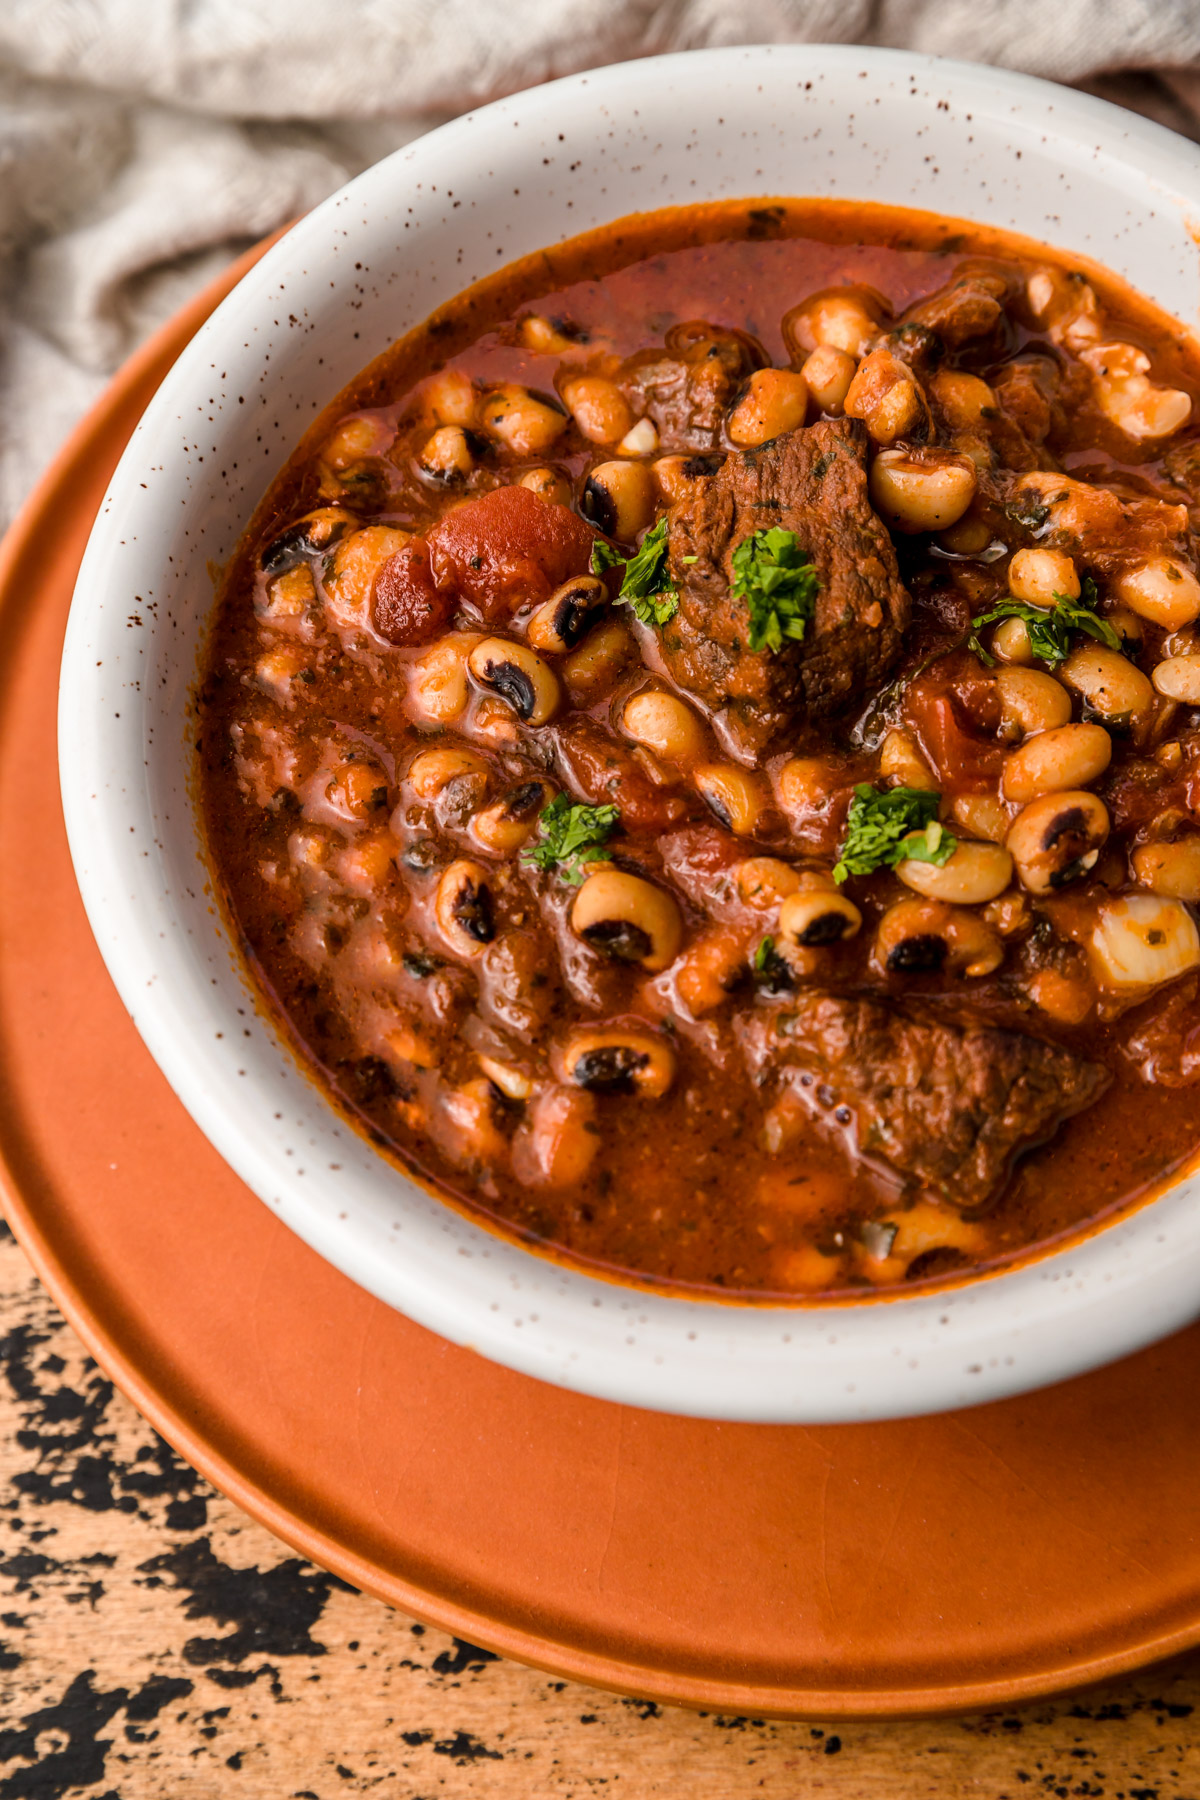
Black Eyed Peas Instant Pot
-
Instant Pot Low Country Boil
-
Instant Pot Hot Chocolate
-
Instant Pot Panera Broccoli Cheddar Soup
-
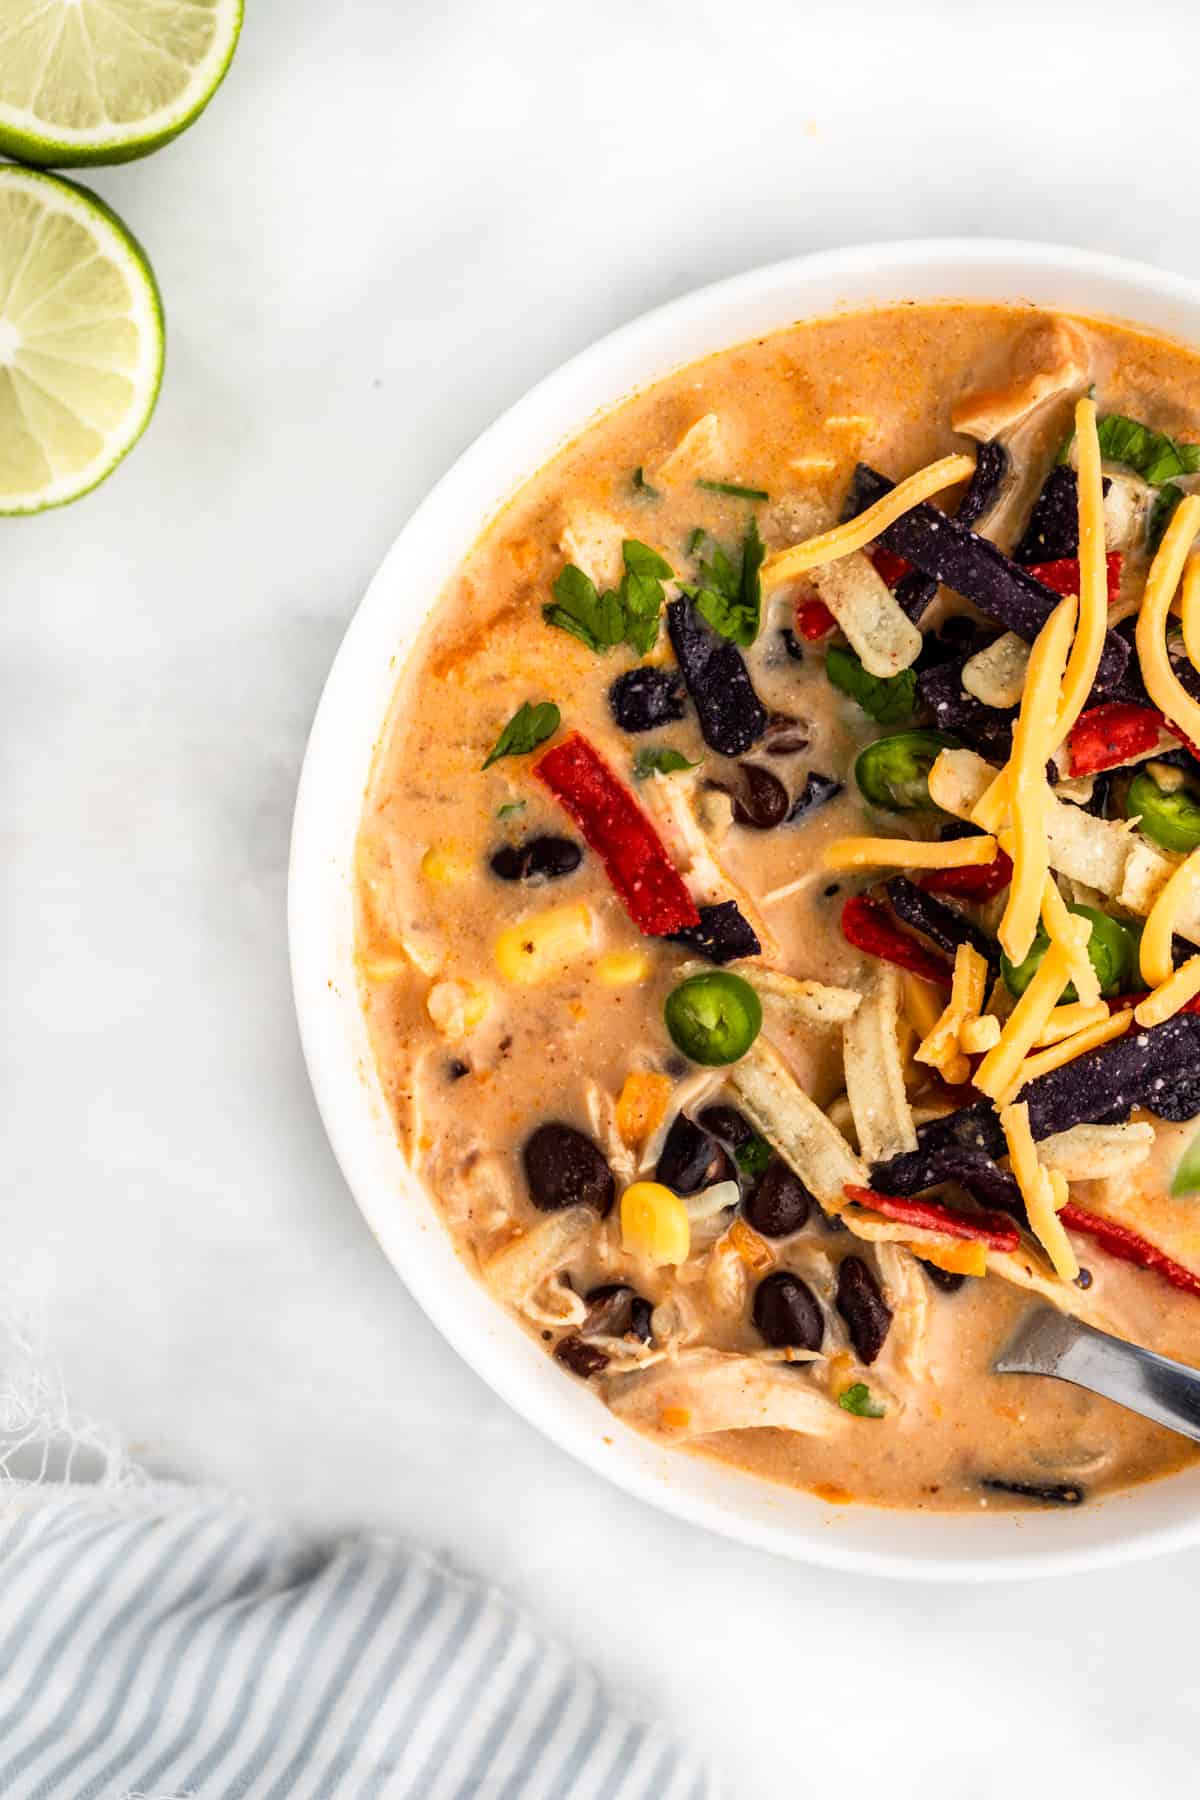
Instant Pot Enchilada Soup
-
Instant Pot Lentil Curry
-
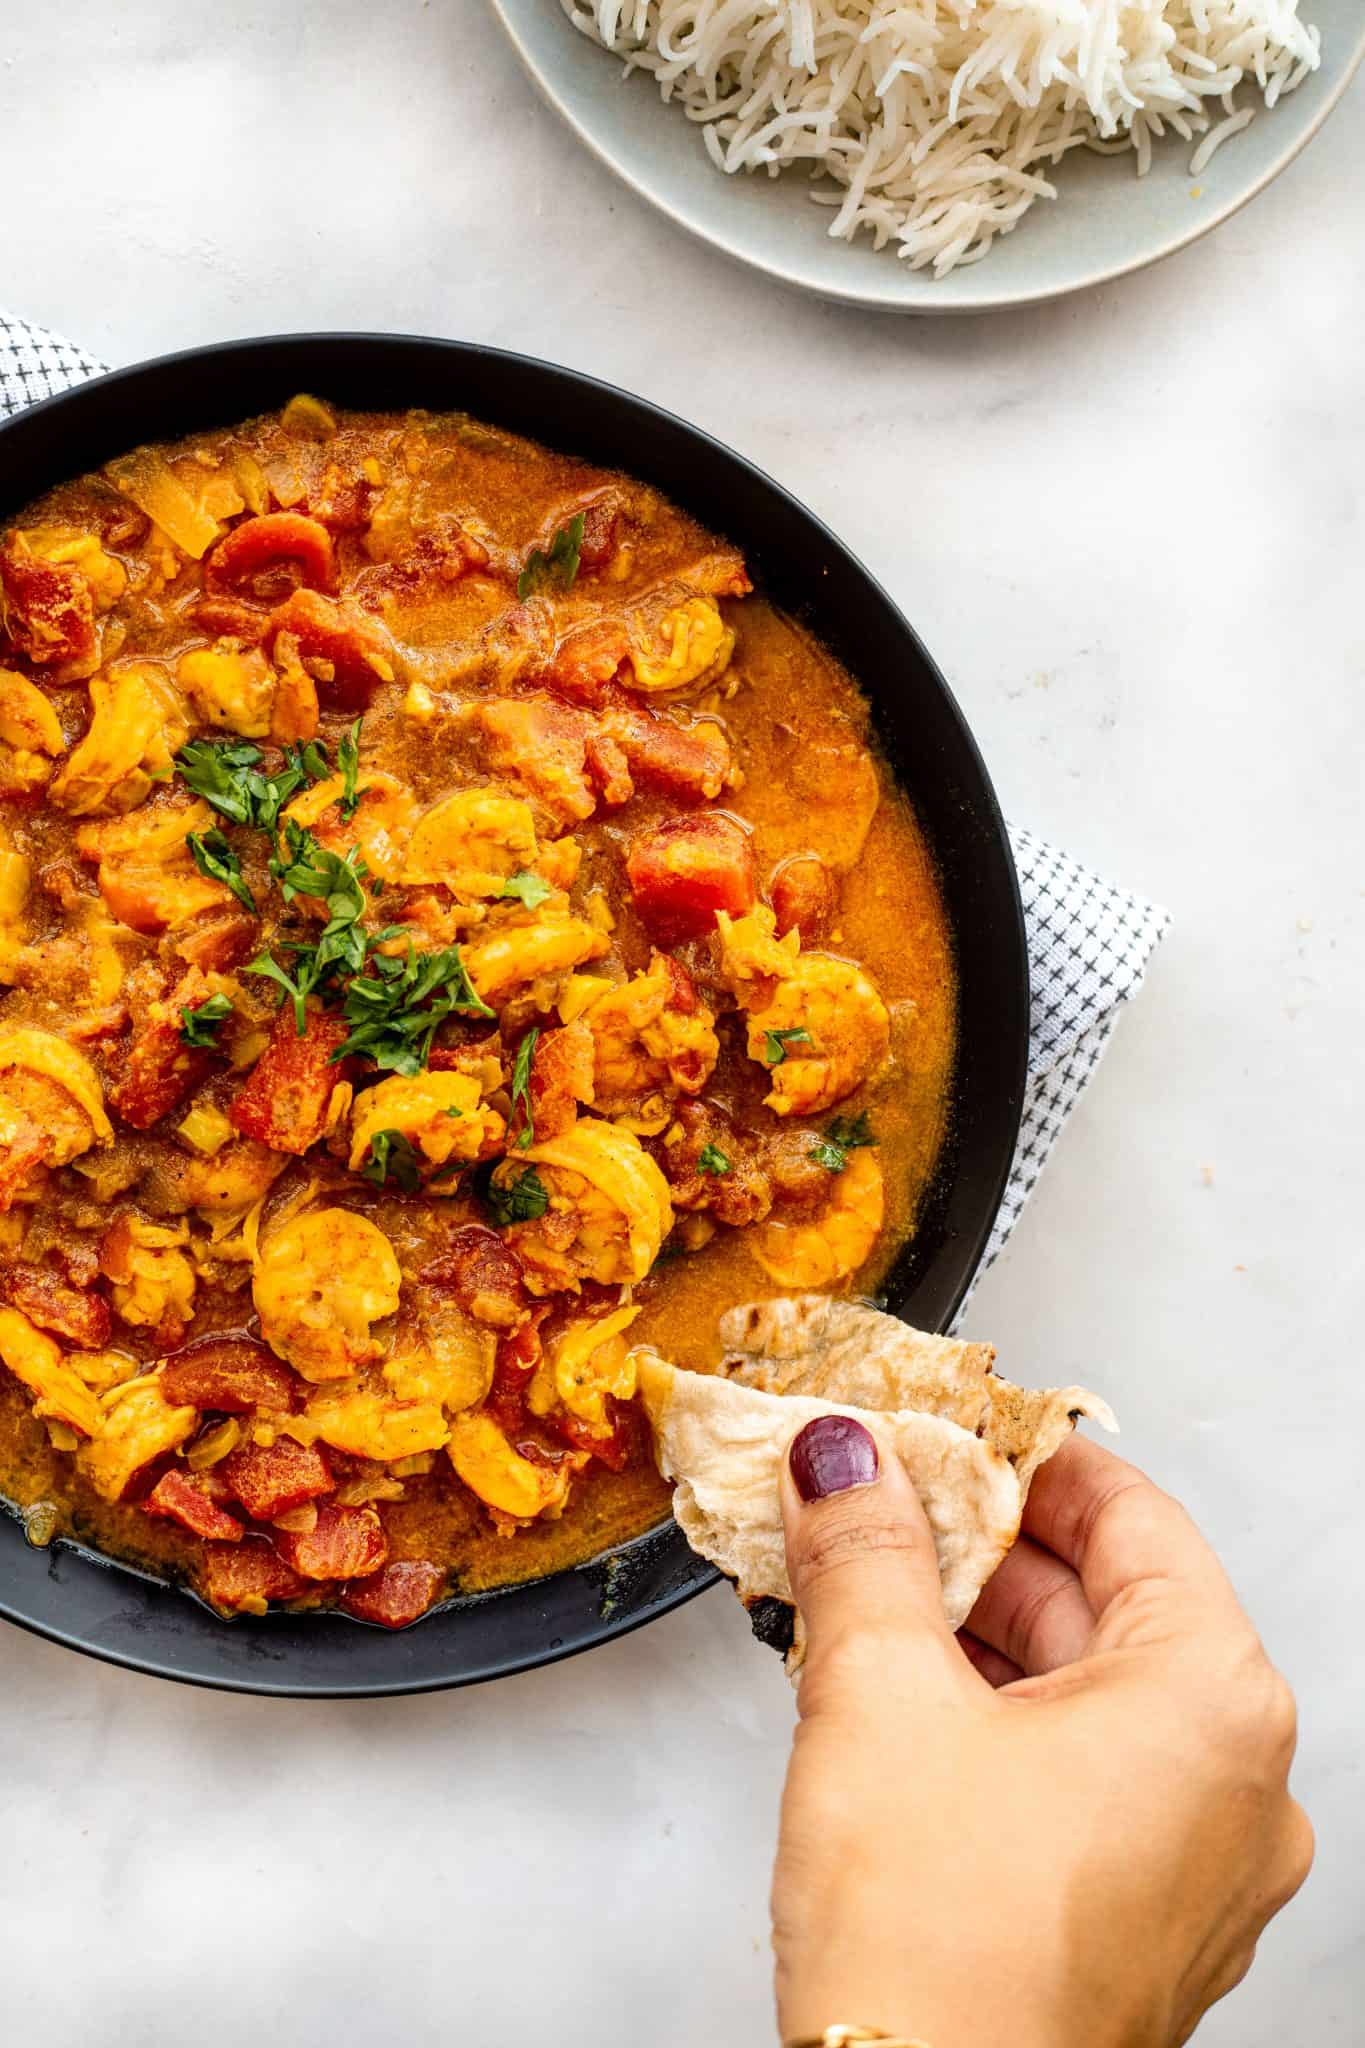
Instant Pot Shrimp Curry
-
Bazella
-
Instant Pot Oatmeal