


An easy way to up your garlic game, this stovetop garlic confit requires just garlic cloves and olive oil and 30-45 minutes of stovetop cooking to give tender and meltingly sweet garlic cloves that can be used a variety of ways.
What is garlic confit?
To confit something in French basically means to cook it over a long period of time in order to preserve it.
Garlic confit is a method of cooking garlic very slowly in olive oil to make tender, sweet garlic cloves that can be preserved in the oil and used a variety of ways.
Why confit garlic in the first place?
Because it’s delicious! Garlic is one of my favorite things ever, but turning it into something spreadable is just next level. This gets rid of all the bitterness from garlic while preserving its beautiful flavor.
The difference between garlic confit and roasted garlic is that garlic confit tends to be more subtle and sweet. With roasting, the cooking happens unevenly so some bits might be bitter and browned. Garlic confit soaks in that olive oil and cooks gently into a sweet paste.
How to use garlic confit?
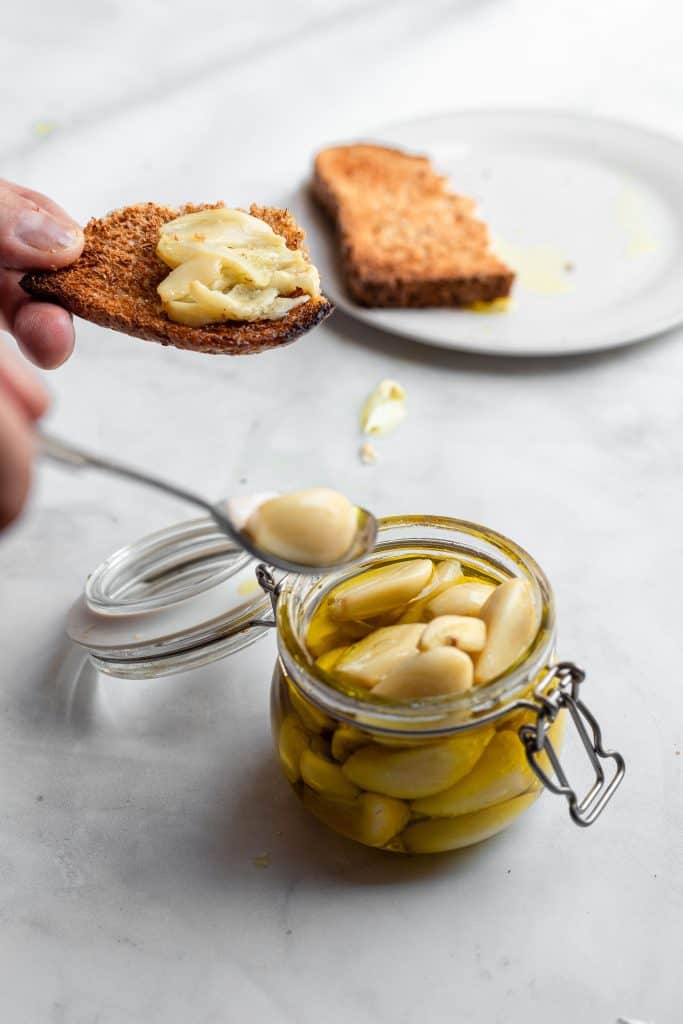
It pairs so well with so many things. It can be as simple as spreading some on crusty bread, to mixing this in with mashed potatoes, using this in any pasta dish. This also is amazing as a sandwich spread (try mixing some with a little mayo)
Also, garlic confit can be used in so many applications. I love adding it to any pasta sauce I’m making. I like spreading some on crusty bread, or adding a few cloves on a plate of steak or lamb. This works really well as a pizza topping once it comes out of the oven. Another
This is also great mixed with some yogurt and served with rice dishes, or add some to mayo to make a great sauce to serve with something like shawarma, and as a spread for any sandwich.

Try adding some whole confit garlic cloves as a topping to your pizza ! Or serving with homemade fluffy dinner rolls.
Perhaps best of all, mix some with some creamy mashed potatoes or mashed cauliflower. Delicious!
How to make garlic confit:

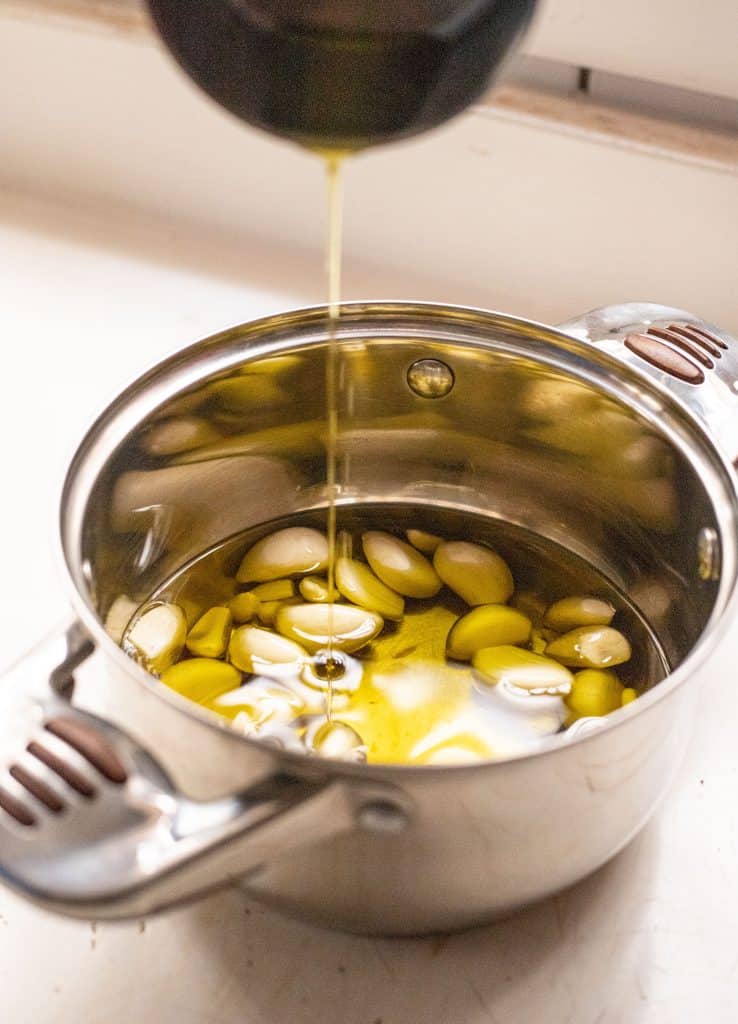
Easy! Just place peeled garlic cloves in a saucepan that’s full of warm olive oil. Make sure the garlic is submerged in the oil, and cook slowly on low heat until garlic is soft and tender.
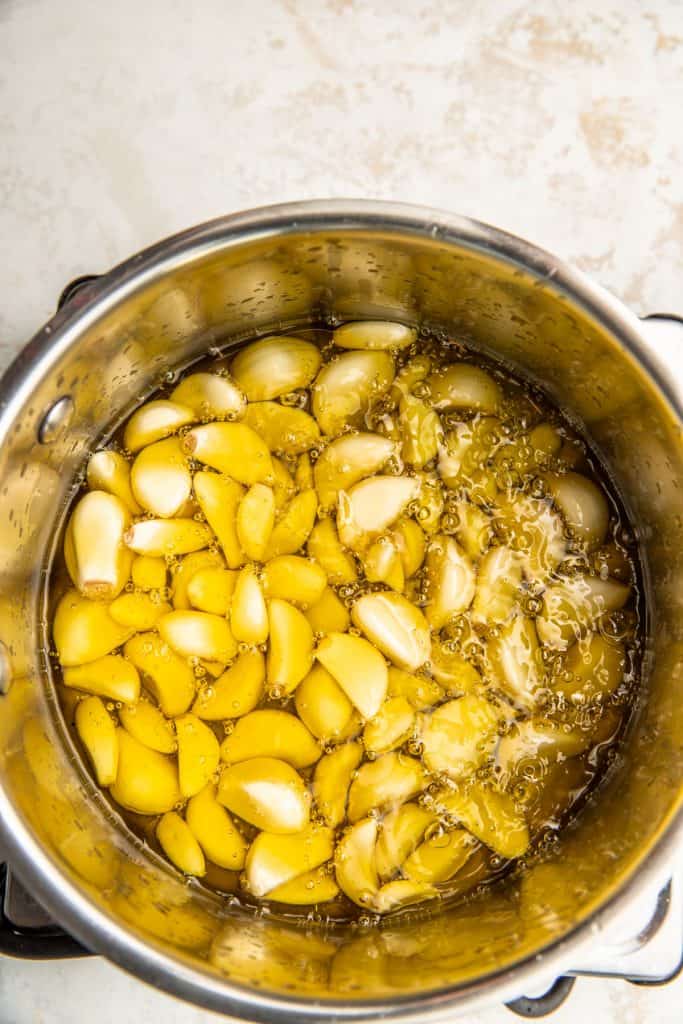
This took me about 45 minutes but could take as little as 30 minutes (and even an hour!) You aren’t looking for deeply browned garlic, just garlic that will easily smush with a fork.
Tip: How to easily peel garlic cloves
My husband has a handy little trick that he saw online somewhere and has been using ever since. Place one head of garlic at a time in a jar, cover the lid, and shake vigorously. You want the garlic to be hitting the sides of the jar, at which point the head will break apart and the skin will come off.
It’s so handy and it really works! Here’s a video to see it in action: In the video, they break the head of garlic apart first but we don’t even bother doing that!
Even bigger tip, use garlic you’ve purchased already peeled. This is SUCH a timesaver.
Storing the confit:

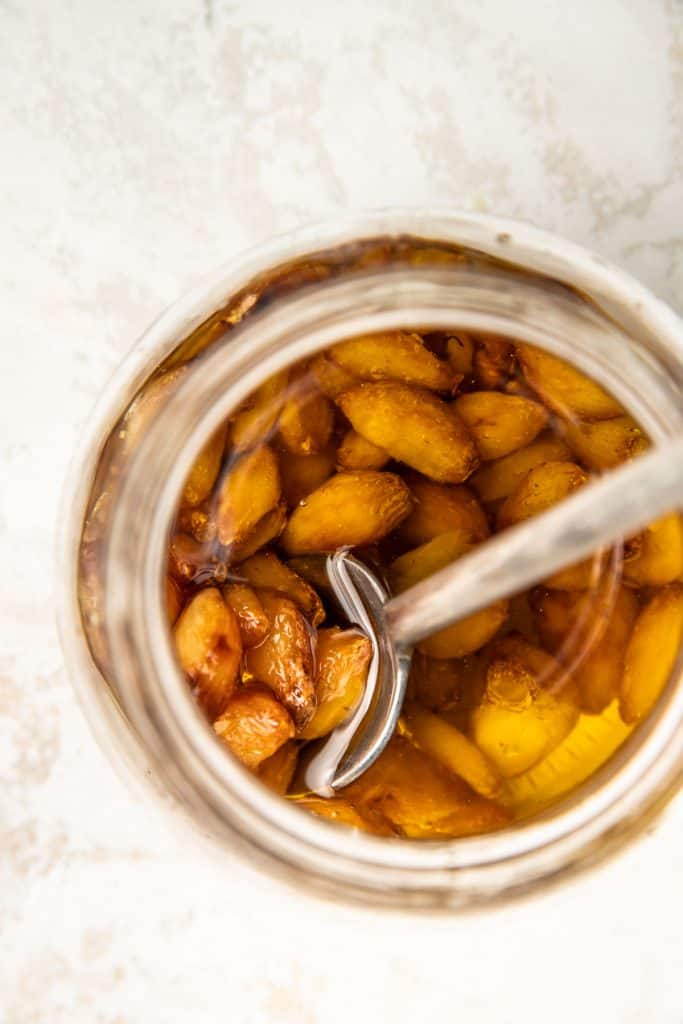
It will last in a clean jar, covered with the oil for several weeks in the fridge. Make sure you use a clean spoon when fishing out any of the cloves.
Making sure garlic confit is safe to eat:
Garlic confit can NOT be stored at room temperature. Garlic is a low acid food and is at risk of food-borne bacteria. After your confit has been made, immediately store it in the fridge in a clean jar. It’s ok if the oil solidifies, you can fish out the garlic cloves from it anyway easily.
FAQs:
Garlic confit HAS to be stored in the fridge (for up to three weeks) and can also be stored in the freezer for longer time periods
Absolutely! Add any fresh herbs to infuse the oil with flavor.
The garlic needs to be cooked until very soft and tender. You should be able to smush it with a spoon. It may brown a little on the exterior, but this isn’t necessary. I sometimes make it browner than other times!

Garlic Confit
Ingredients
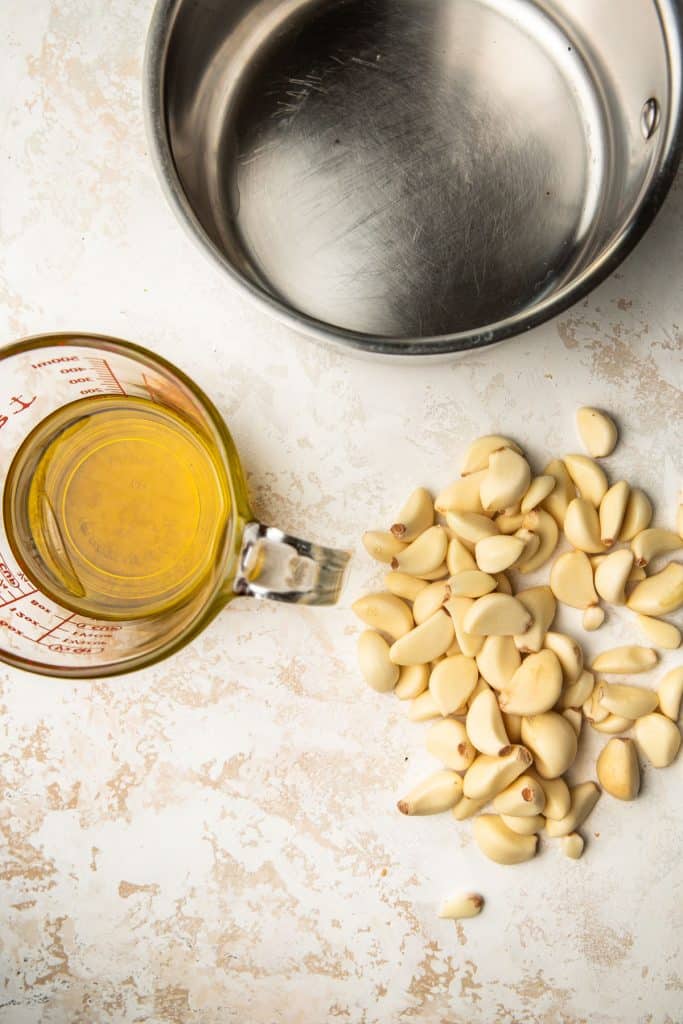
- 3 heads of garlic, peeled 200 g of cloves
- 1 cup olive oil 220 g
Instructions
- Heat the olive oil on medium low heat until hot, then add in all the peeled garlic cloves.
- Make sure the garlic is submerged, add a little extra olive oil if you need to. Reduce the heat to low, and cook for about 30-45 minutes until garlic is fork tender.
- Remove from heat and store in a jar in the fridge with the olive oil you used in the pan for up to 2-3 weeks.
william hartman says
Easy and delicious
Farah Abumaizar says
So glad you liked the recipe William! Garlic confit is magic!
Dannii says
Anything with garlic is good with me and this looks amazing.
Farah Abumaizar says
Thanks so much Dannii!
Natalie says
That was delicious. My husband loved it. I’m going to make this recipe again for sure.
Farah Abumaizar says
So happy to hear it Natalie!
Danielle Wolter says
I am all about this. I’m not sure why I’ve never made it before now! It came out so good and I’m going to be using it on everything!
Farah Abumaizar says
I’m so glad you liked this!
Claudia Lamascolo says
We are huge garlic fans and grow it so this is the perfect find for us since we are always looking to use so much of it thanks for sharing
Farah Abumaizar says
That’s amazing! Can only imagine how lovely this would be with fresh garlic
Tavo says
I love this recipe! It is so usable and enjoyable even on its own!
Farah Abumaizar says
Thanks so much Tavo for the kind comment! So glad you liked!
Rae says
I have high quality olive oil and olive oil that I use for everyday cooking. For this recipe would the quality of oil make a difference or does it get over powered by the garlic and/or ‘cooked up’ that I should just go with the standard everyday cooking?
Farah Abumaizar says
I’d go with the high quality! That drizzle of oil with the softened garlic on a piece of bread would taste wonderful- I don’t think the garlic would diminish from the olive oil especially since it soaks it all up 😍
Justanother Humanbeing says
you can make a great salad dressing with this too. I use the oil, you could definitely use some smashed garlic as well, although use olive oil as well because the oil itself is quite concentrated. Then, add some maple syrup for sweetness, your acid of choice, i use rice vinegar (the one for sushi rice), black pepper and this part is important, dijon mustard. It’ll make it all homogenous so you won’t have to worry about the oil and acid separating. inconveniently, i don’t have the measurements but you can personalize it to your liking.
Farah Abumaizar says
Well thank you so much for the wonderful suggestion! I can just imagine how delicious that would be- will try it out!!!
Sasha says
Amazing flavour and so easy to make ! I’m a garlic addict and I think I will be making this a regular !
Farah Abumaizar says
I’m so happy to hear that Sasha! I love how easy this is too! Thanks for taking the time to comment
Patricia @ Grab a Plate says
This will be on my table, stat! I’m a garlic fiend and cannot wait to dig in! Wonderful and so easy!
Farah Abumaizar says
Thanks Patricia we really love this!!
Pam Greer says
My fridge is not complete unless there is a jar of this garlic confit in it!! We use it on everything! Love it just as is scooped on some bread. I use it a lot in salad dressings and pasta. So good!
Farah Abumaizar says
So glad to hear that Pam!
Heidy says
This recipe for Garlic Confit is perfect for so many things and the flavor it adds is awesome. Next time I am going to make a larger batch!
Farah Abumaizar says
Yay thanks for the feedback Heidy!
Angela says
What a great way to make a bunch and keep in the refrigerator. I have only done garlic roasted in the oven. This is a great alternative.
Farah Abumaizar says
It’s so simple and adds so much flavor!
Taylor Kiser says
Love this! So easy to make and so many ways to use it!
Farah Abumaizar says
Absolutely! We put this on everything