


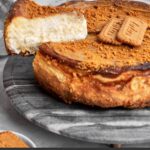


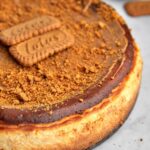
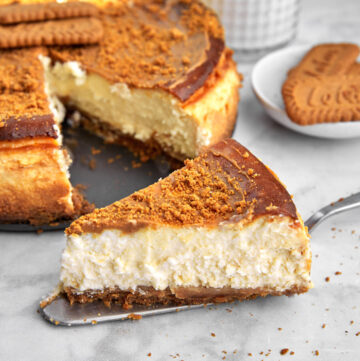
A baked Lotus Biscoff cheesecake that’s creamy and rich (and really easy-no water bath required!) with a Lotus biscuit infused crust and Lotus Biscoff topping. This is creamy, rich, delicious and a SHOWSTOPPER. It’s going to be your new favorite dessert!
What is Lotus Biscoff spread anyway?
Lotus Biscoff spread has been very prominent in the spotlight in the Middle East for a while now, and it doesn’t look like that’s changing anytime soon. The popularity of Nutella (chocolate hazelnut spread) has been expanded to include Lotus spread (biscoff cookie butter spread).
Similar to peanut butter in consistency, it has a flavor reminiscent of spiced cinnamon biscuits. Basically the flavor of the famous Lotus biscuits (which I’ll always associate with international flights) but in a spreadable form. Has to be good right?
It also comes in crunchy or smooth variations, but just like peanut butter, I prefer the smooth. I use smooth in this recipe, but feel free to switch it up if you like!
What makes this baked Biscoff cheesecake so good:
It’s actually a natural pairing! The cinnamon graham flavor of the spread mimics the crust so it has a really nice harmony. Cheesecake is a little tangy, so the sweetness of the Lotus offsets it. I made this for the birthday of a friend who is both Lotus and cheesecake crazy and it was a big hit, so I knew I had to share it here.
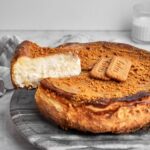
- This cheesecake is so easy to make, with no water bath required. Even if it cracks, it doesn’t matter, because the Biscoff cookie butter and crumbs you place on the cheesecake will cover that crack right up.
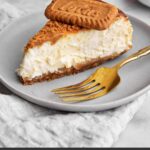
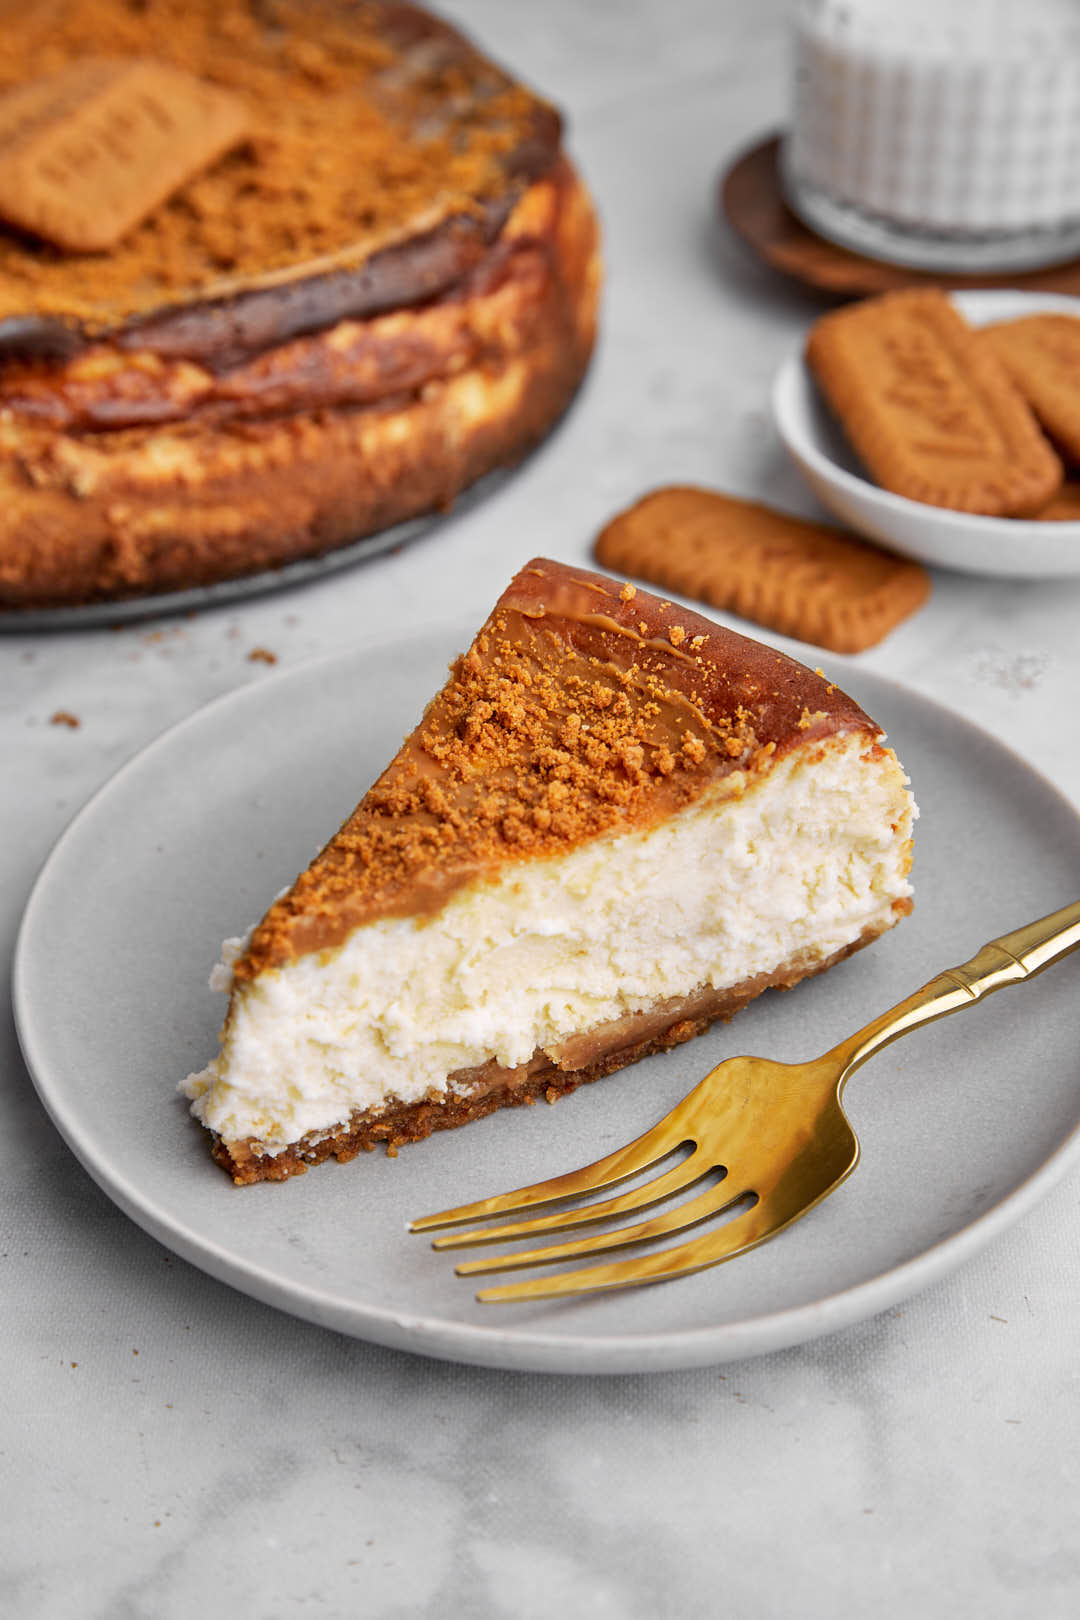
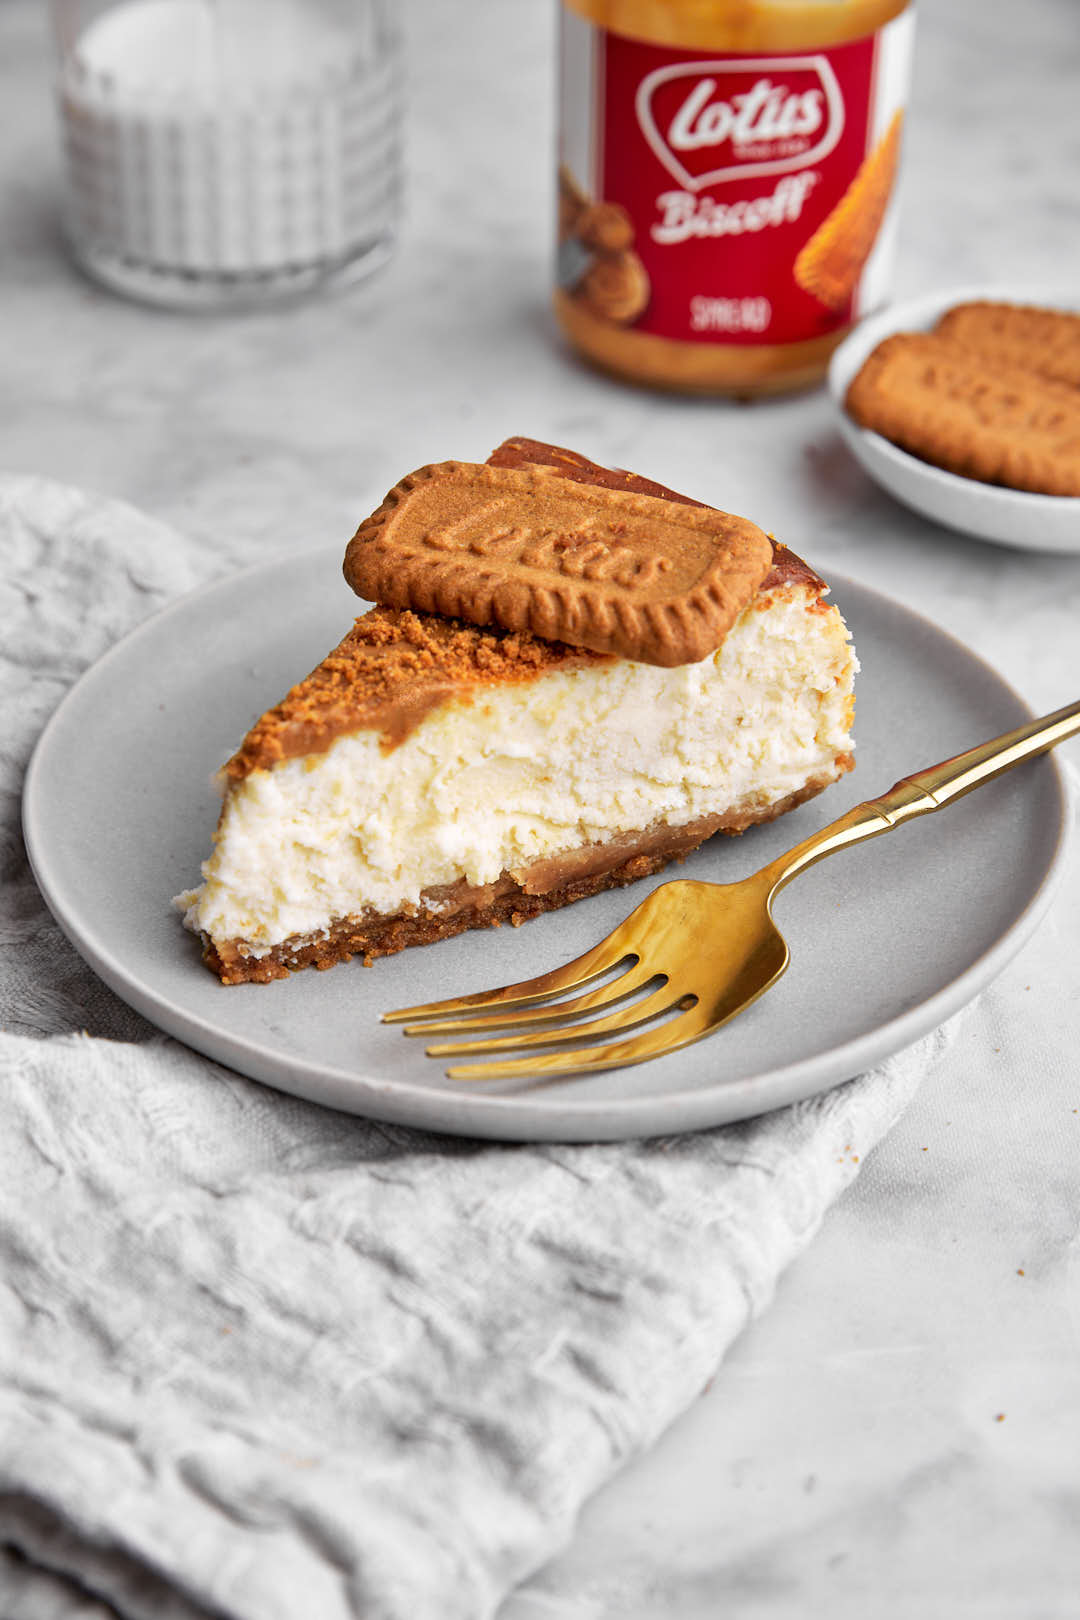
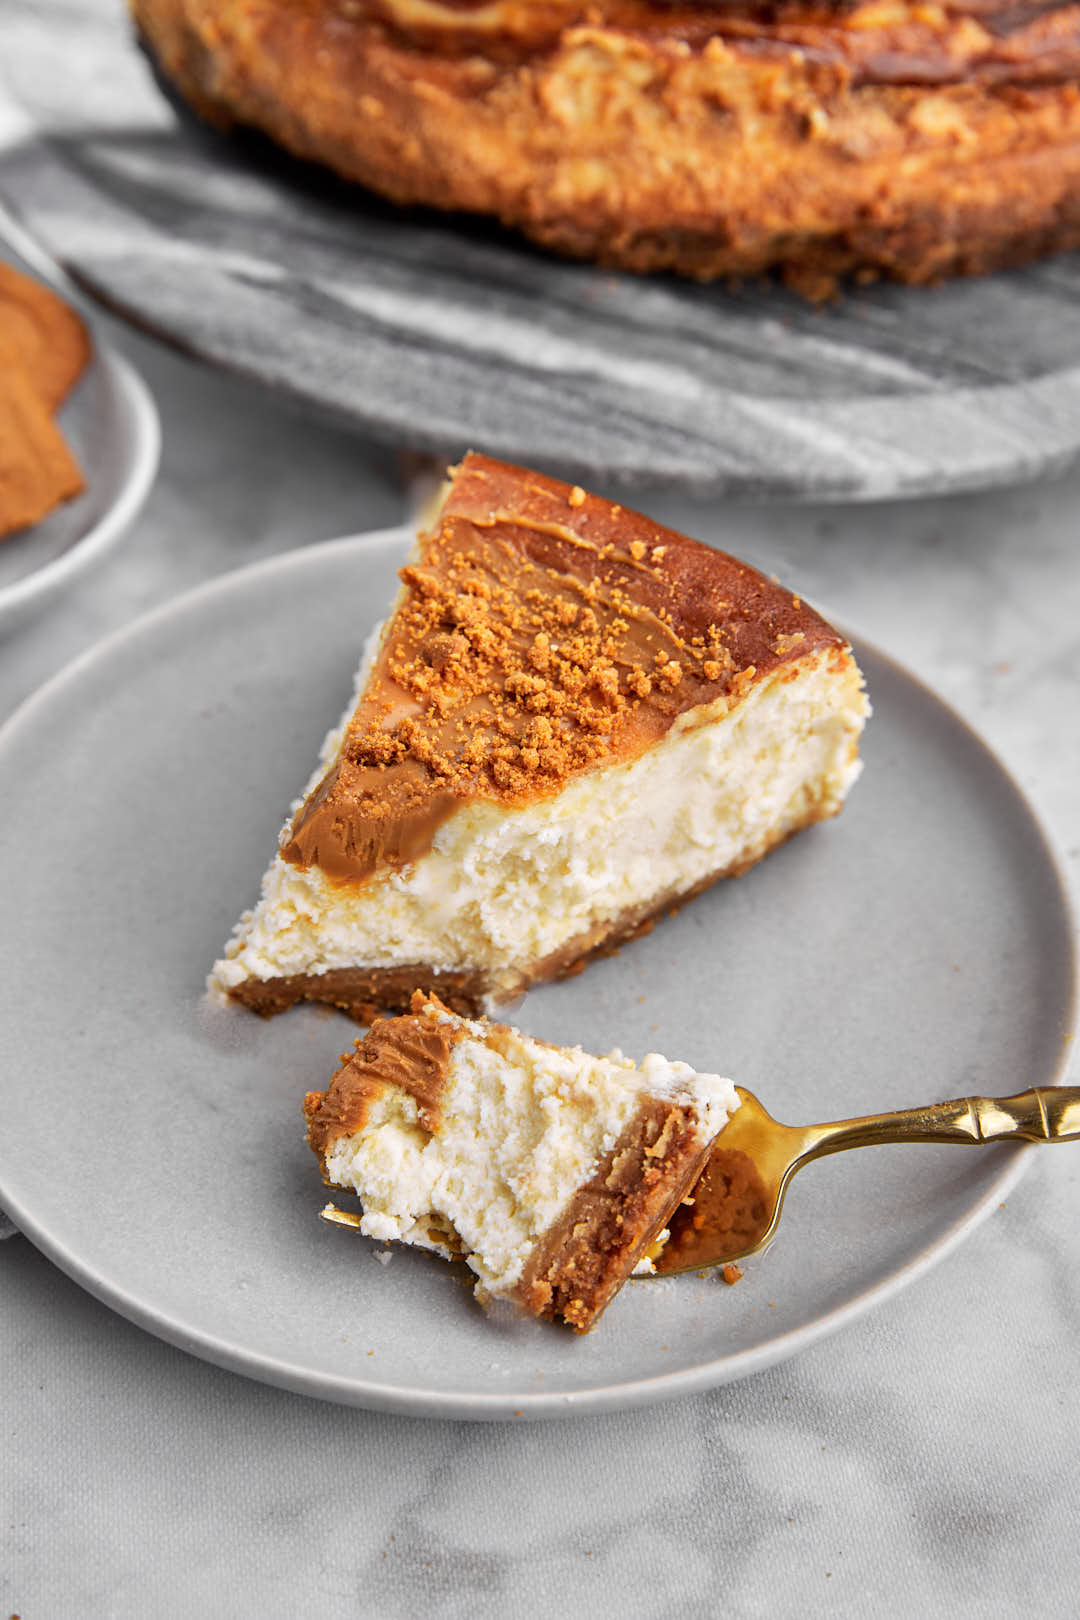
- It’s so rich and perfectly creamy, but the crust is crunchy, thick and delicious. Great mix of textures!
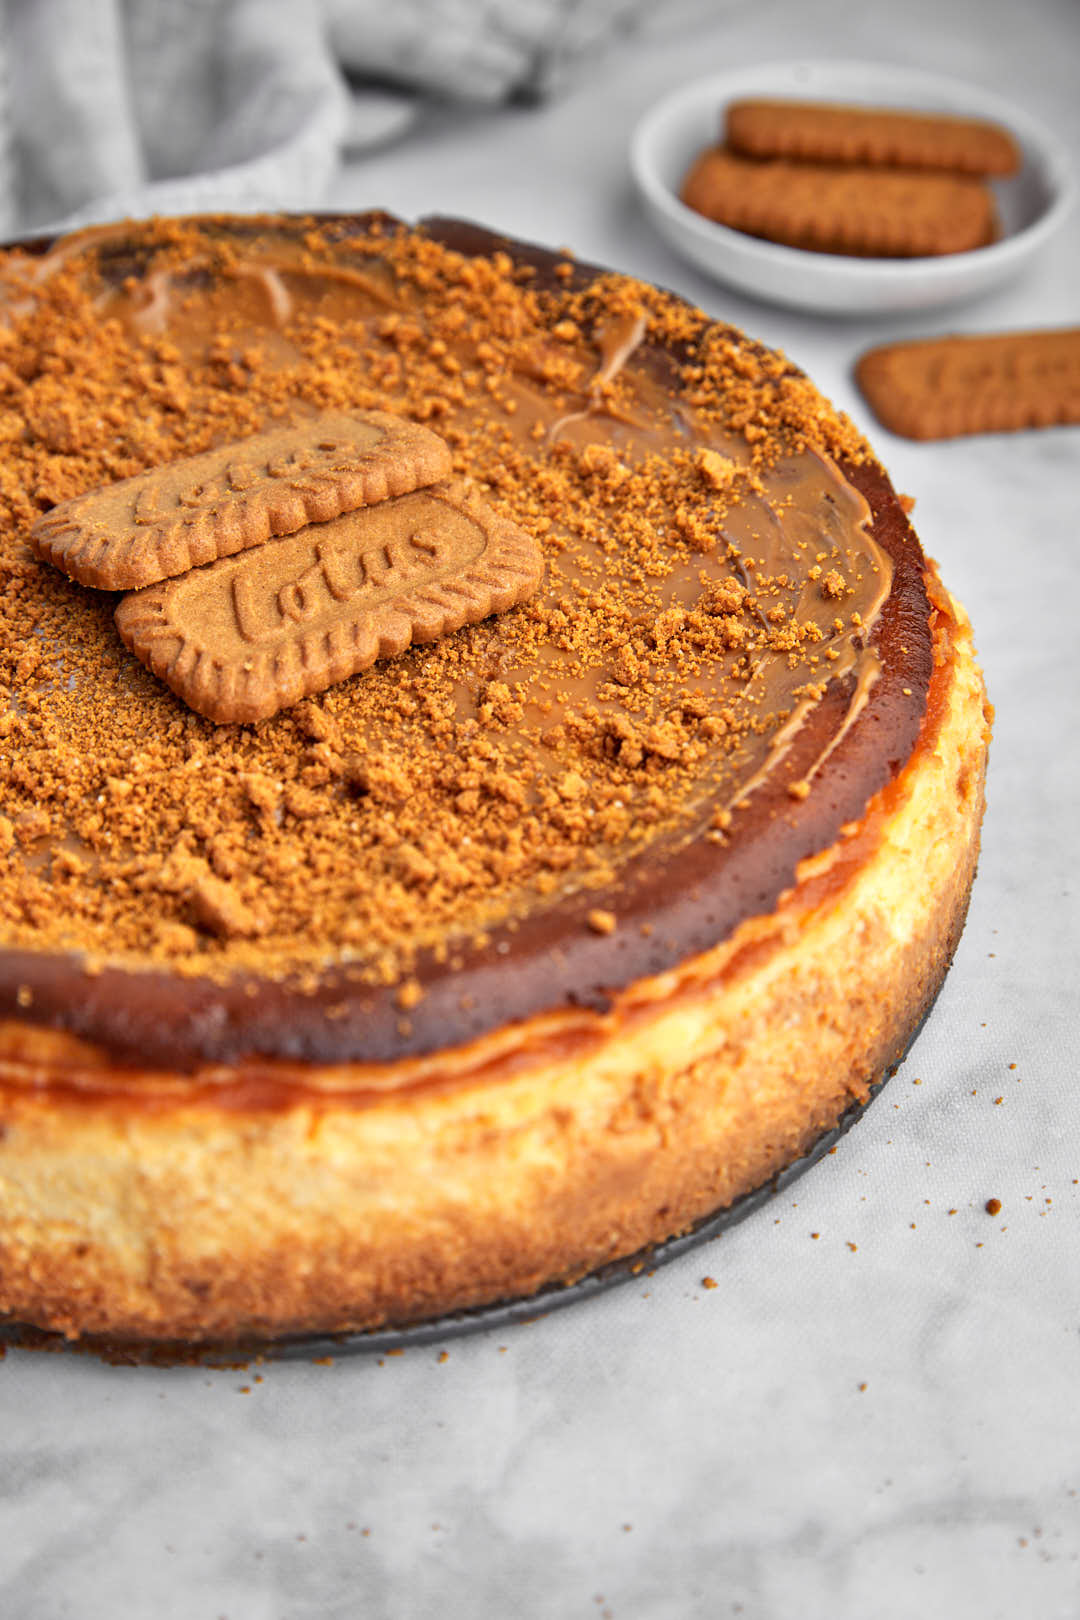
- Although no bake cheesecake definitely has a time and place, baked cheesecake just hits differently. It’s definitely a show stopping dessert, perfect for an occasion.
- Like most cheesecakes, leftovers taste great, for up to 5 days. Cheesecake also freezes really well for up to 3 months, see storing leftovers section below.

Ingredients you need:
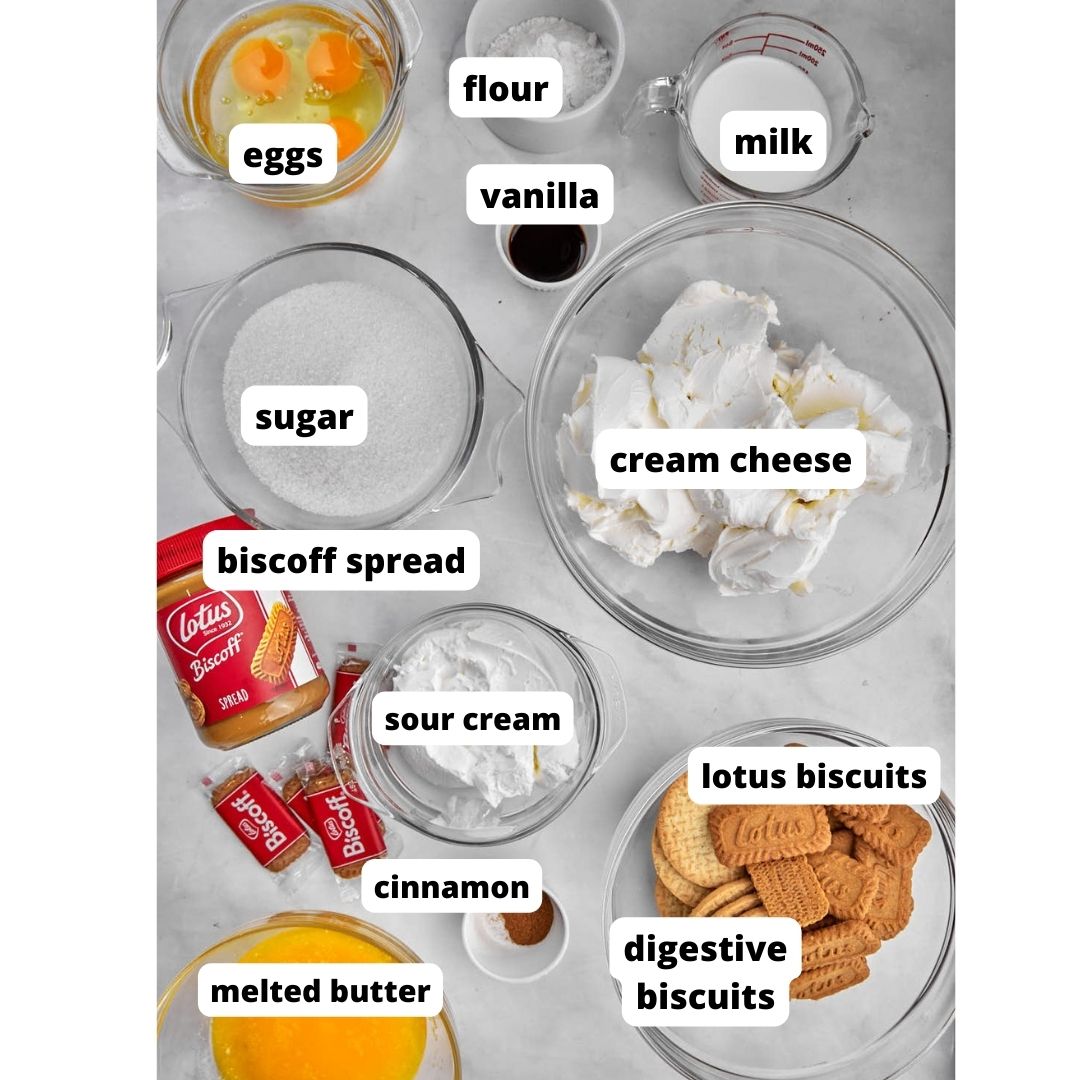
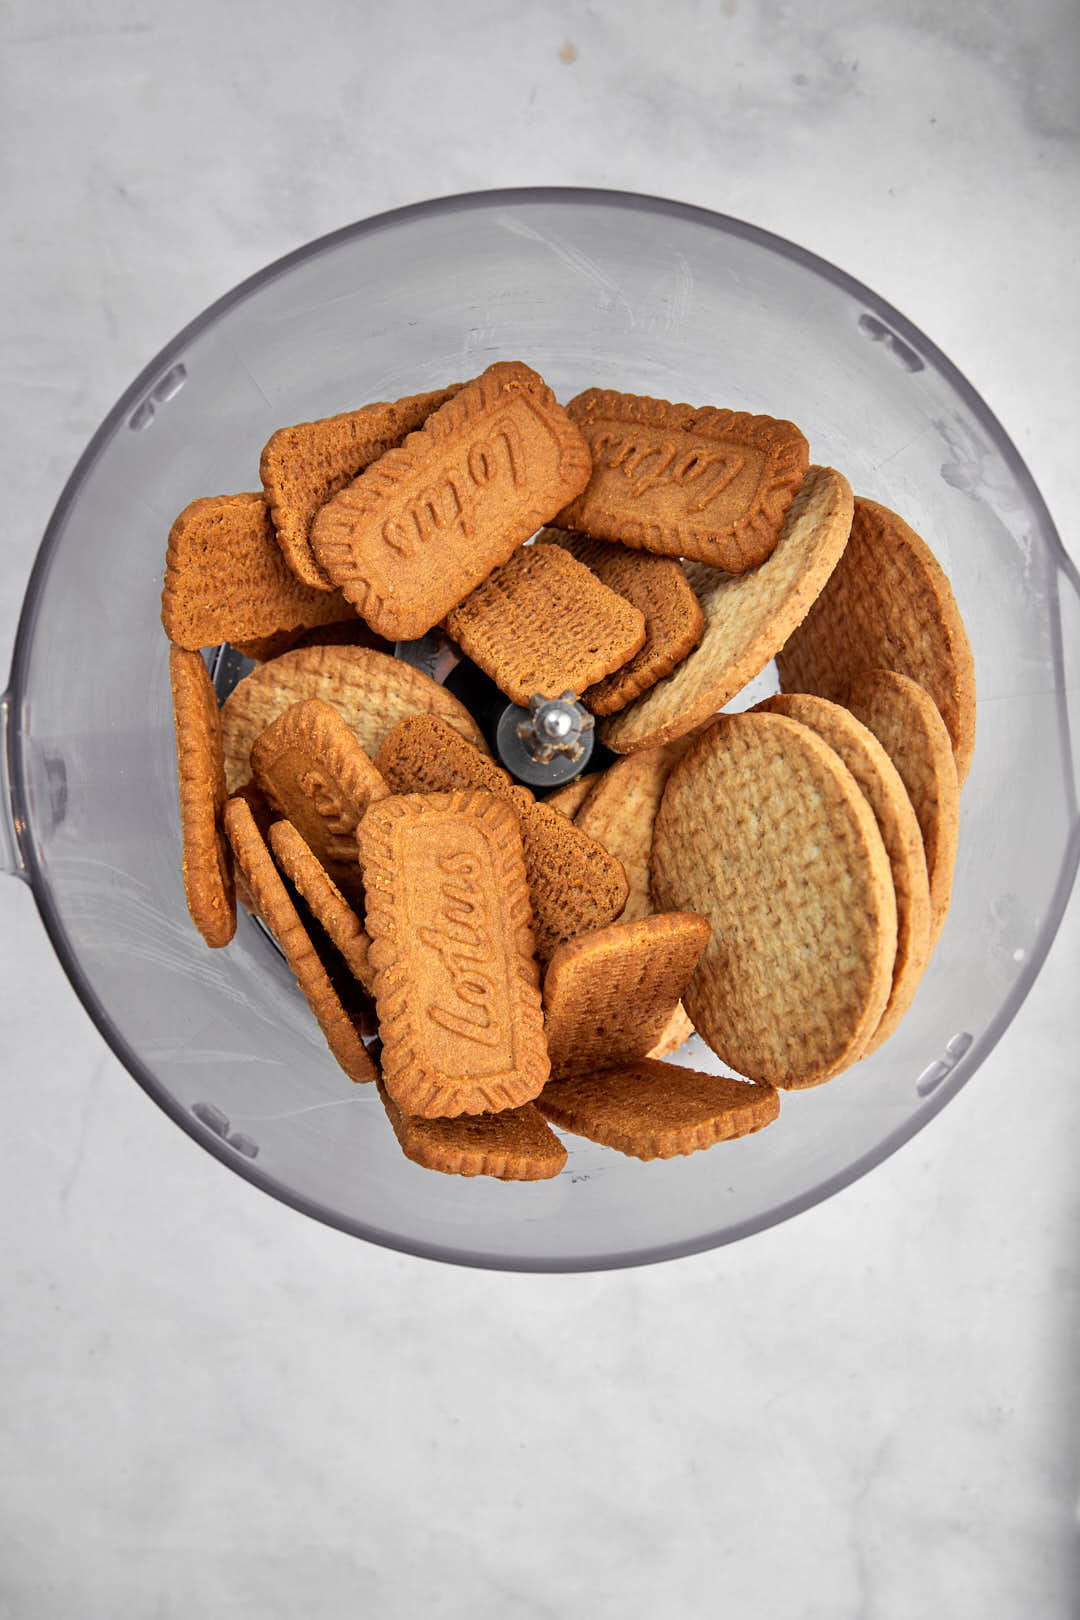
Biscuits: I like using a 50/50 mix of Digestive biscuits with the Lotus biscuits, because I can’t resist a Digestive biscuit crust, and the biscuit is so sturdy it really holds up well as a crust. Digestive biscuits are a classic tea biscuit from the UK, very popular in the Middle East. The best substitution is graham crackers!
You can go all one type of biscuit or graham crackers, or mix them up as you please. Just keep the overall crumbs to the amount stated in the recipe.
Make sure you have a few extra biscuits for using as a crumb topping on the cheesecake and for garnishing.
Melted butter: to bind the biscuits to form the crumb crust- I also add a pinch of cinnamon for extra flavor. I don’t like adding any sugar to my graham cracker/digestive type crusts because the filling is always sweet enough and I hate the feeling of sugar crunching between my teeth.
Cream cheese: I tend to use Philadelphia cream cheese, but you can use any soft creamy tub of cream cheese. Make sure that the cream cheese is softened before you make the filling-room temperature for at least 30 minutes. There is a fan favorite cheesecake from All Recipes that has never steered me wrong and has rave reviews, so I adapted that for this recipe.
Sour cream: for extra creaminess, again make sure the cream cheese is at room temperature.
Milk: Also at room temperature, to loosen the filling just a little.
Eggs: Room temperature again- this is to make sure that everything combines really well and lump free!
Sugar: just plain regular granulated white sugar.
Vanilla: a good amount to give the cheesecake that lovely vanilla flavor.
Flour: This helps keep the batter from separating while baking.
Lotus biscoff spread: You can use the smooth or crunchy, I tend to go for the smooth. We microwave a little of the spread gently until runny and spreadable, and pouring it on the finished cheesecake, as thick a layer as you like it.
How to make this cheesecake:
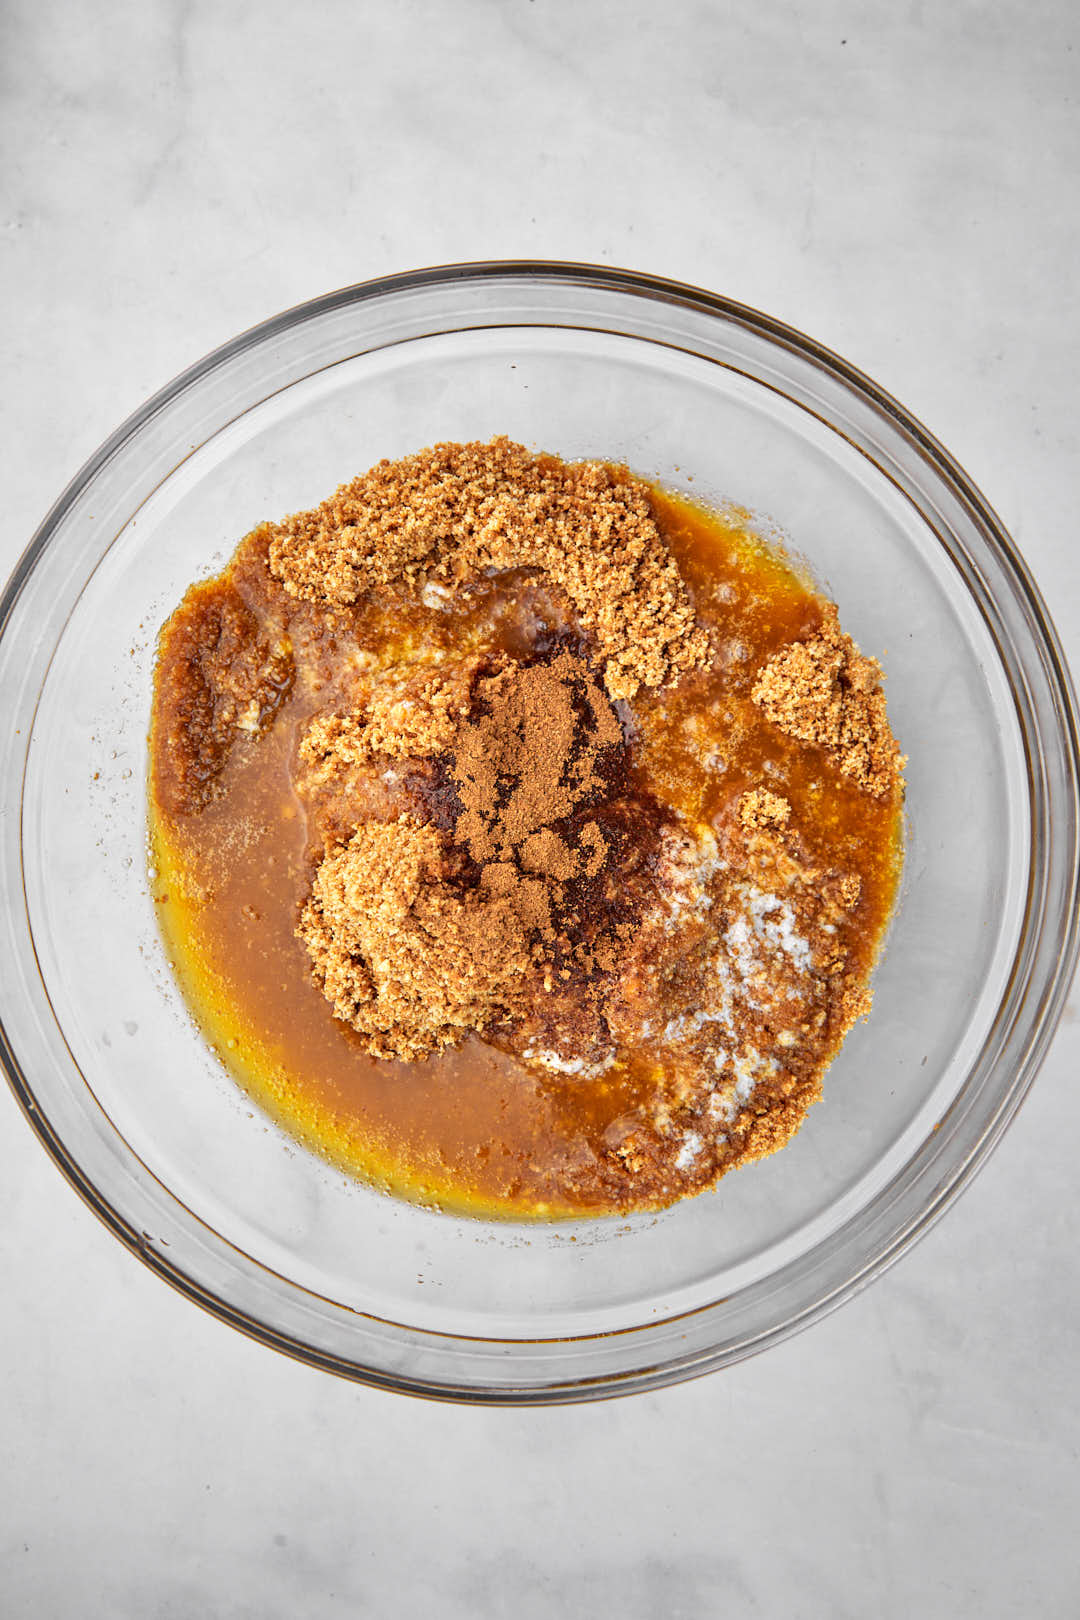
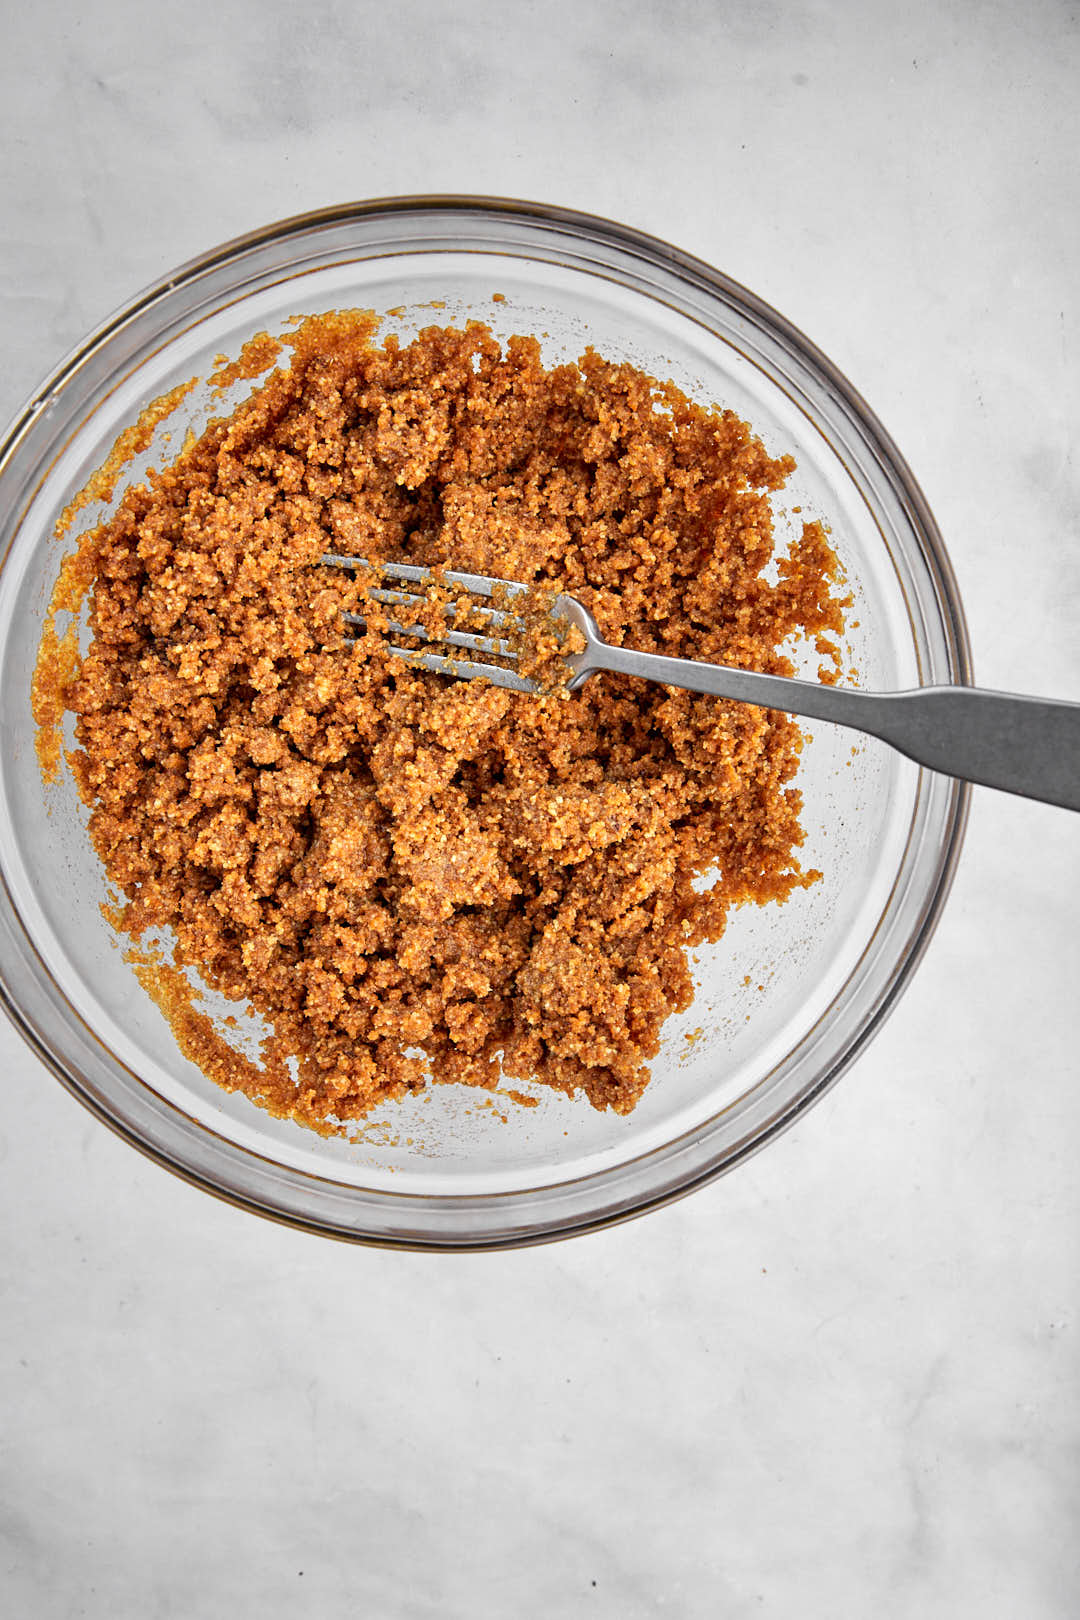
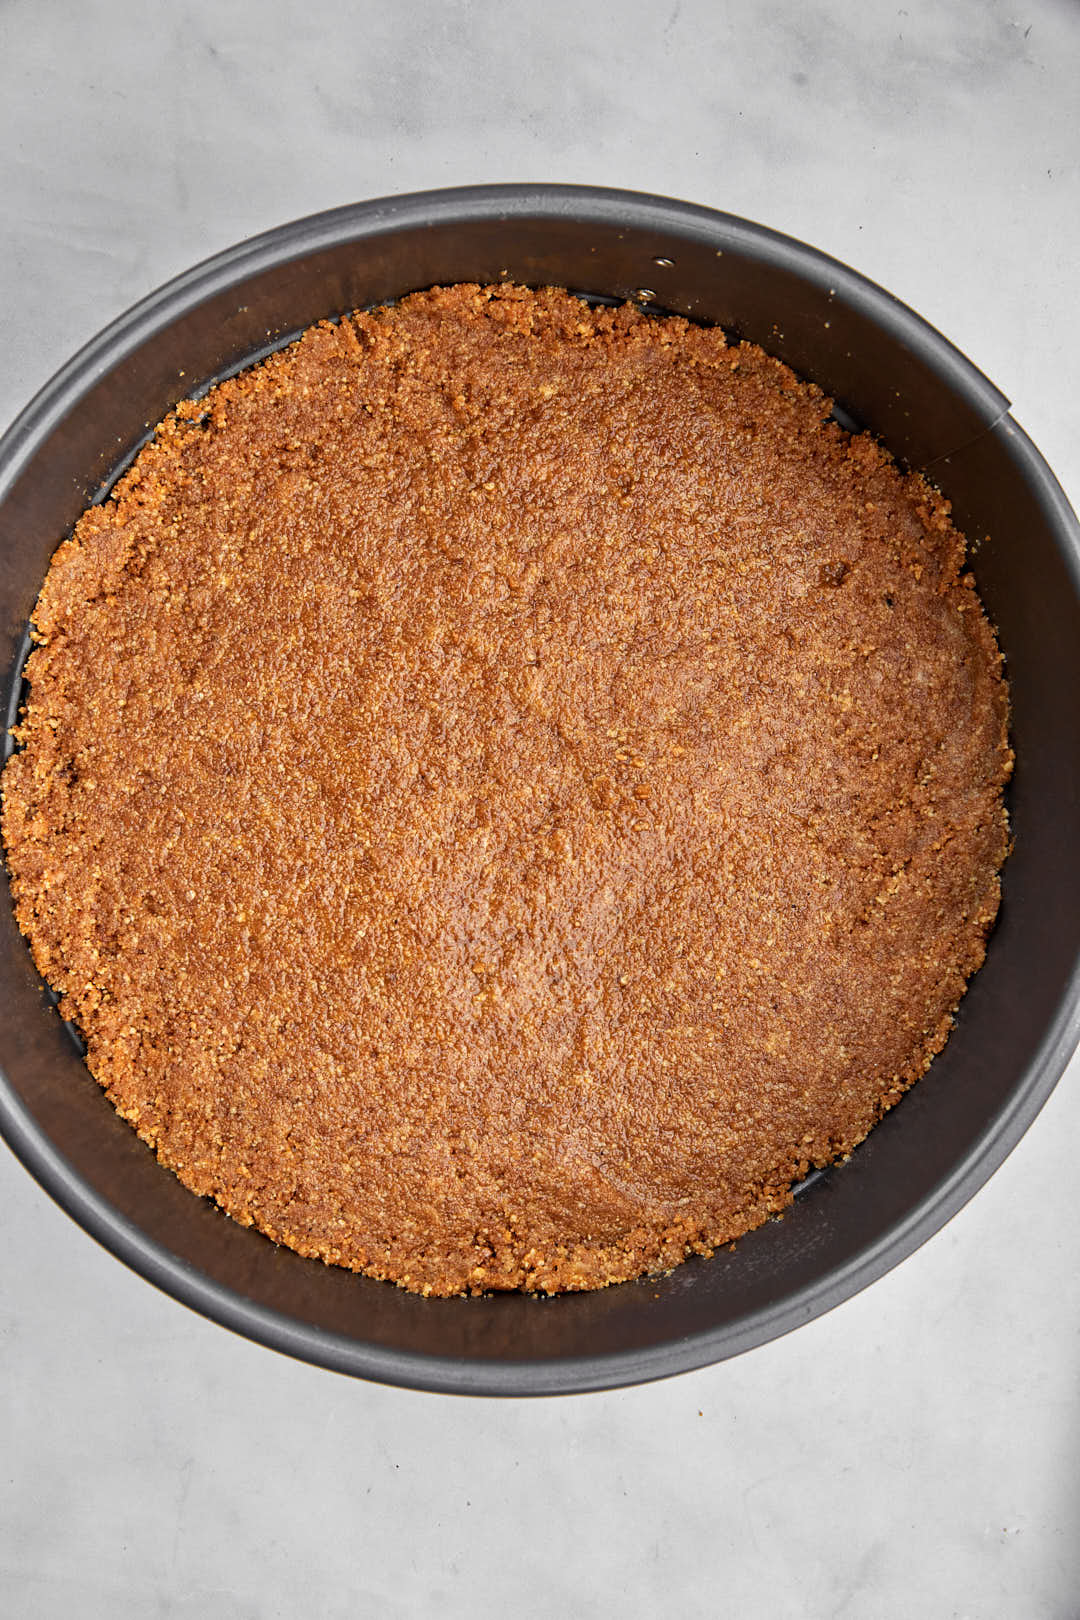

- Preheat oven to 350 F (180C). In a mixing bowl, combine crushed biscuits, the melted butter, and the cinnamon with a fork until crumbs are moistened evenly throughout. Press along the bottom and sides of a lightly greased 9 inch springform pan.
- Use the base of a measuring cup and press down onto the crumb mixture into the pan to really pack the crumbs tightly down. Chill the crust in the fridge while you prepare the rest of the recipe.
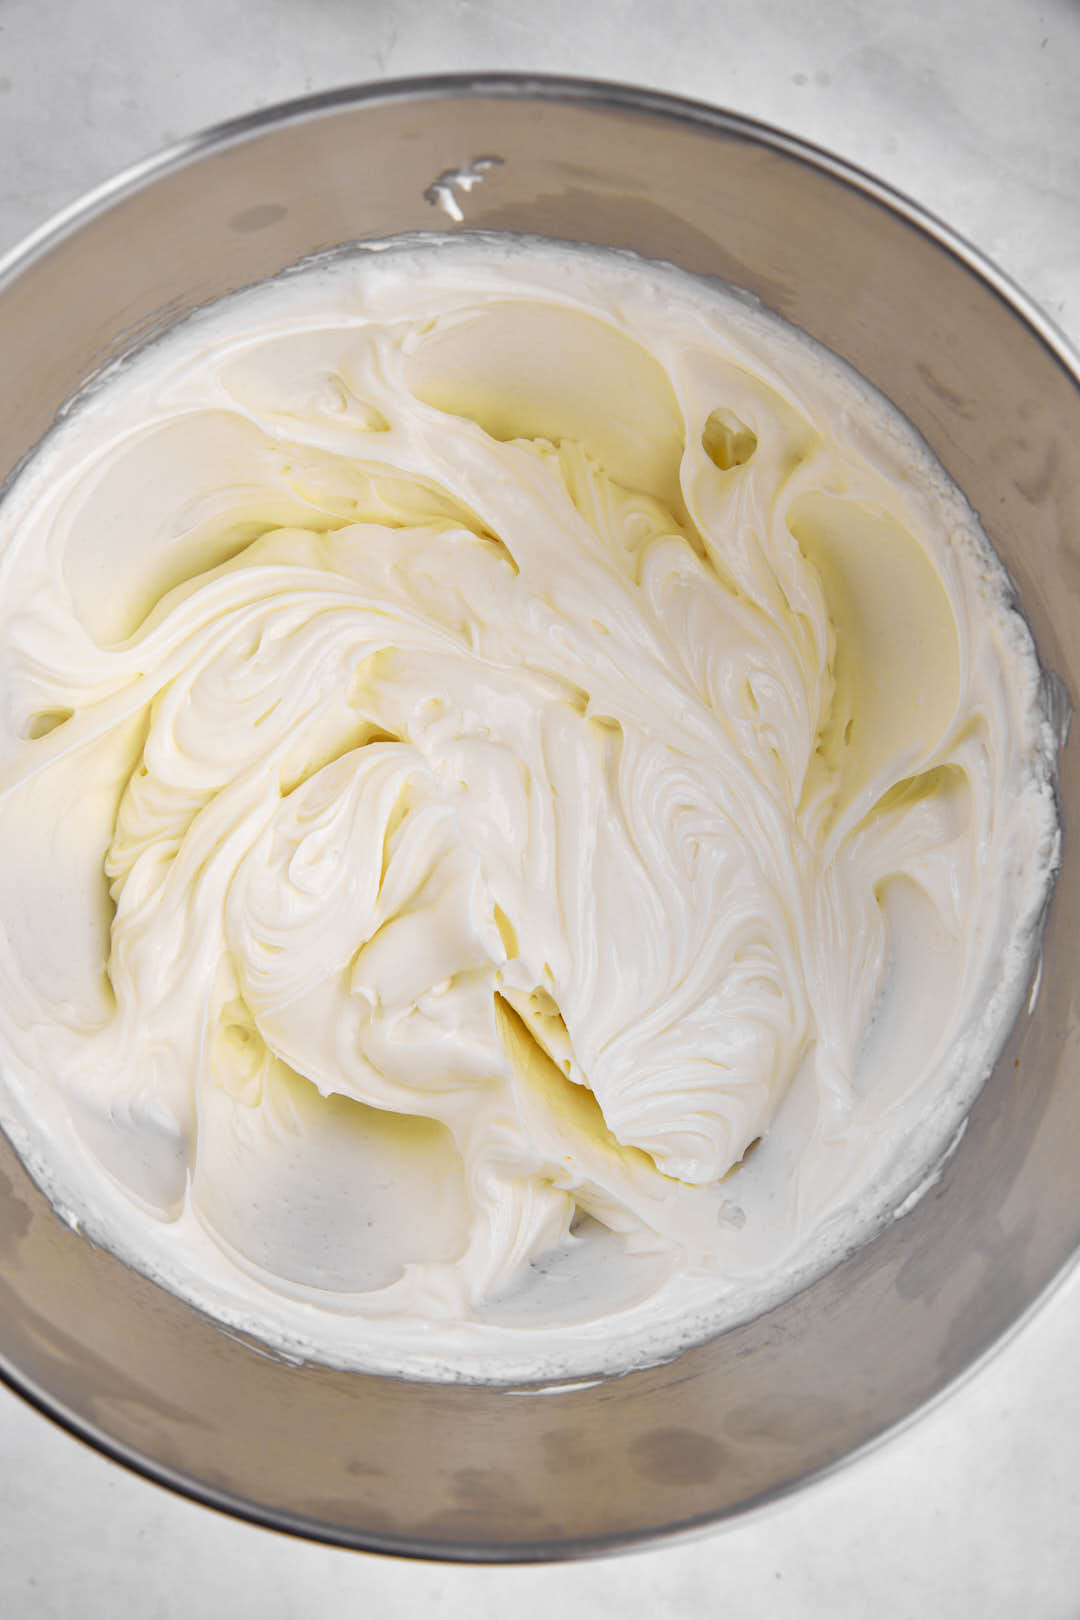
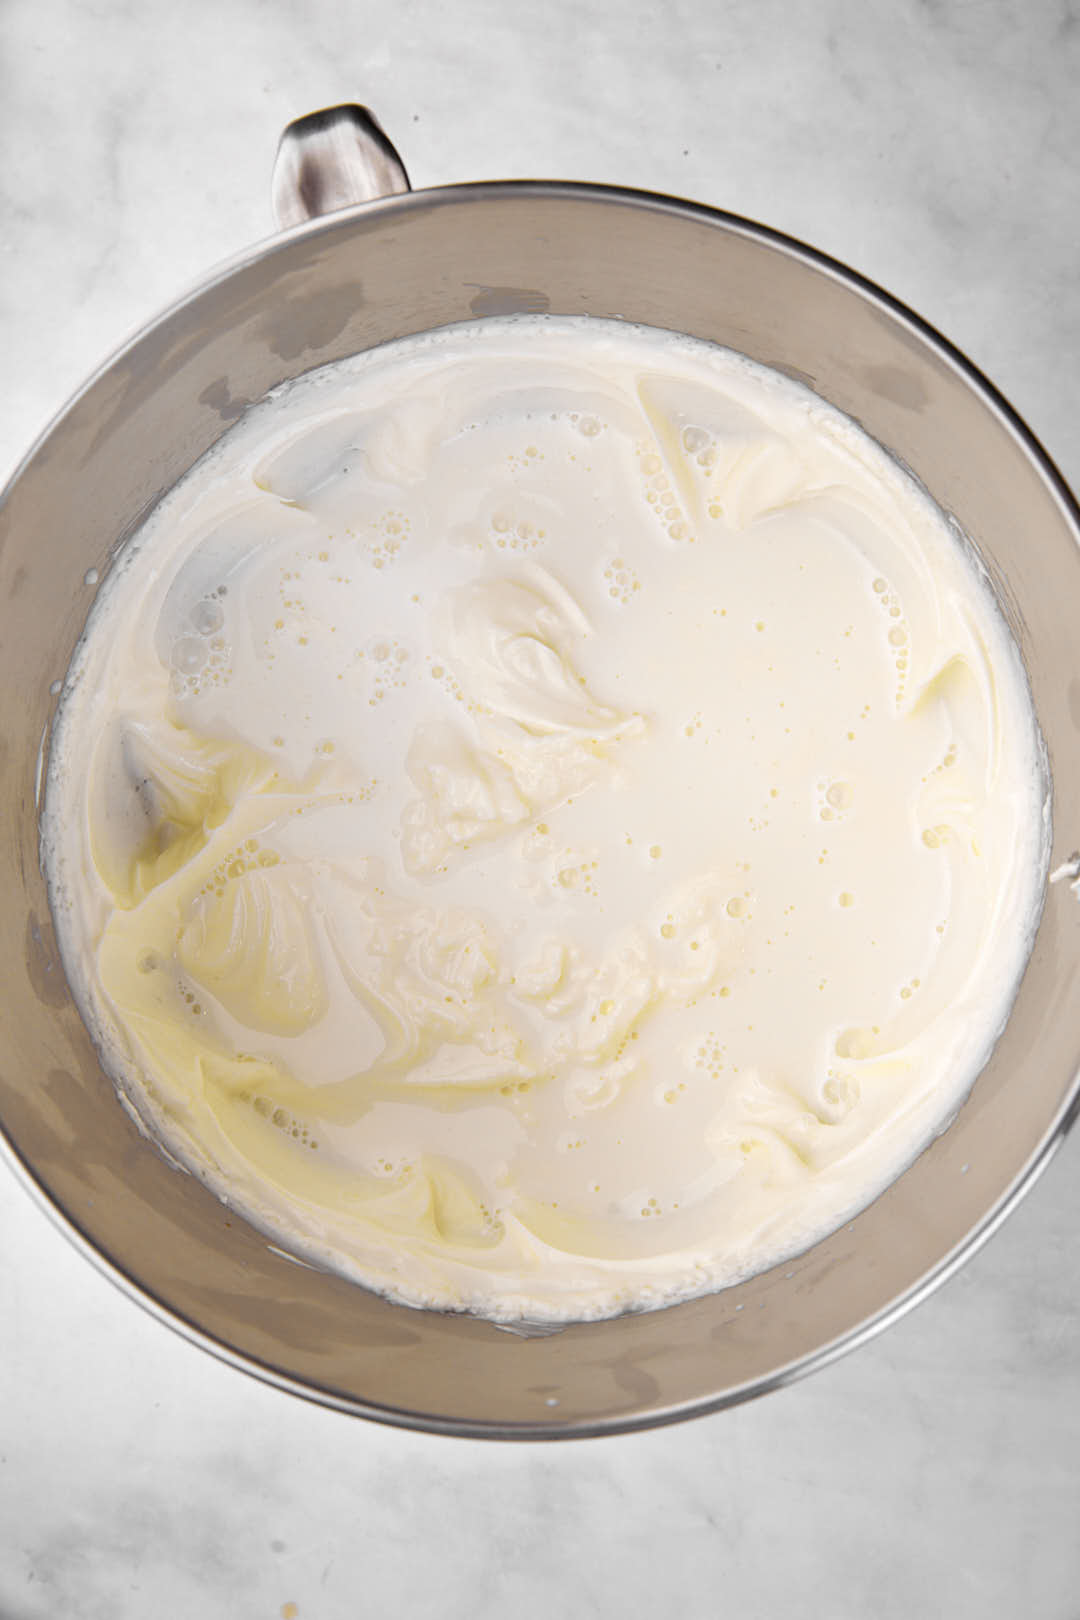
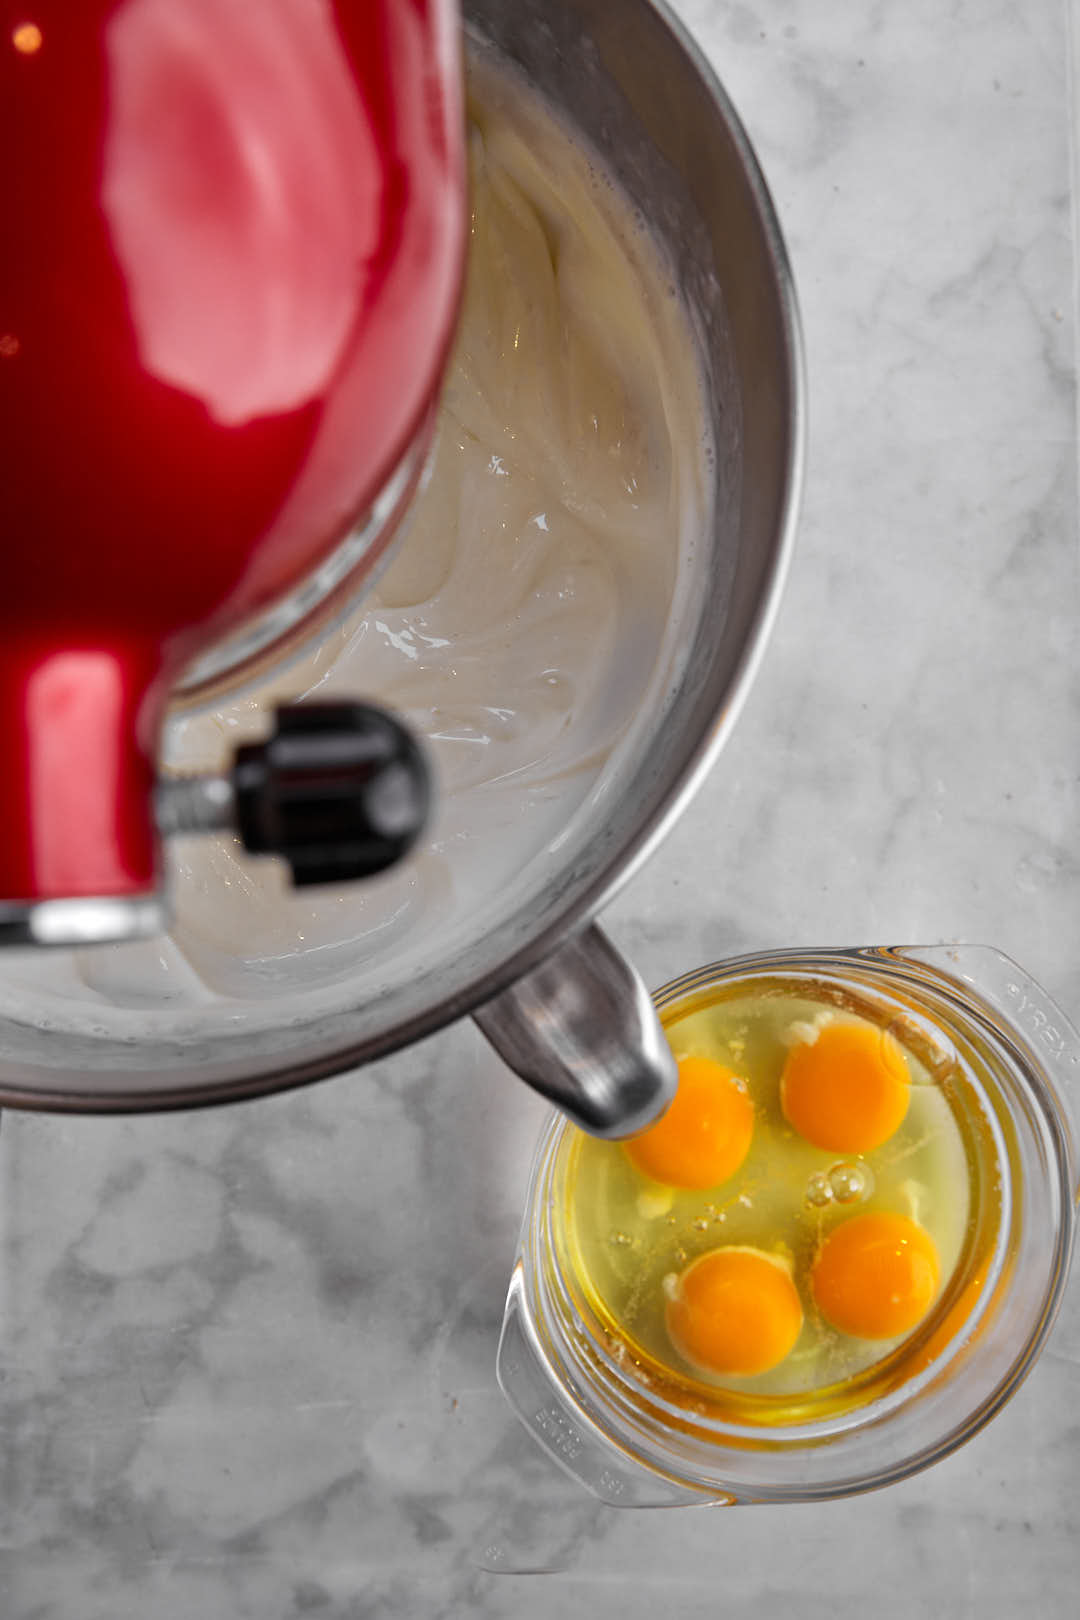
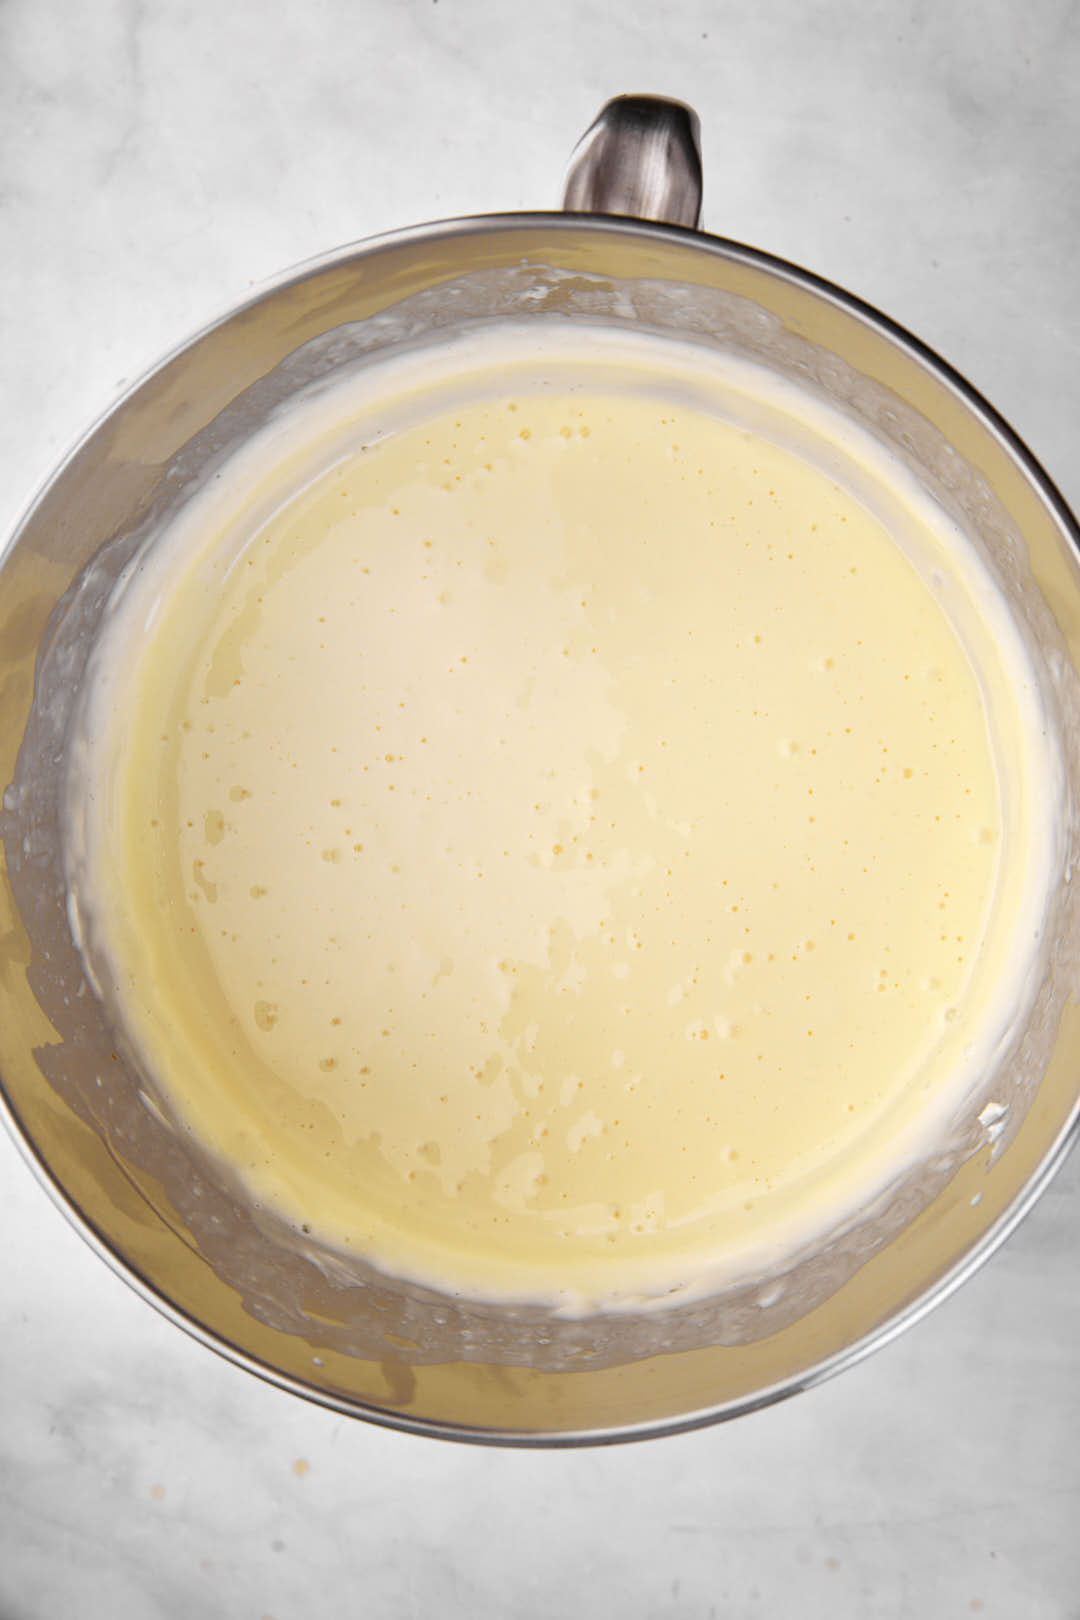
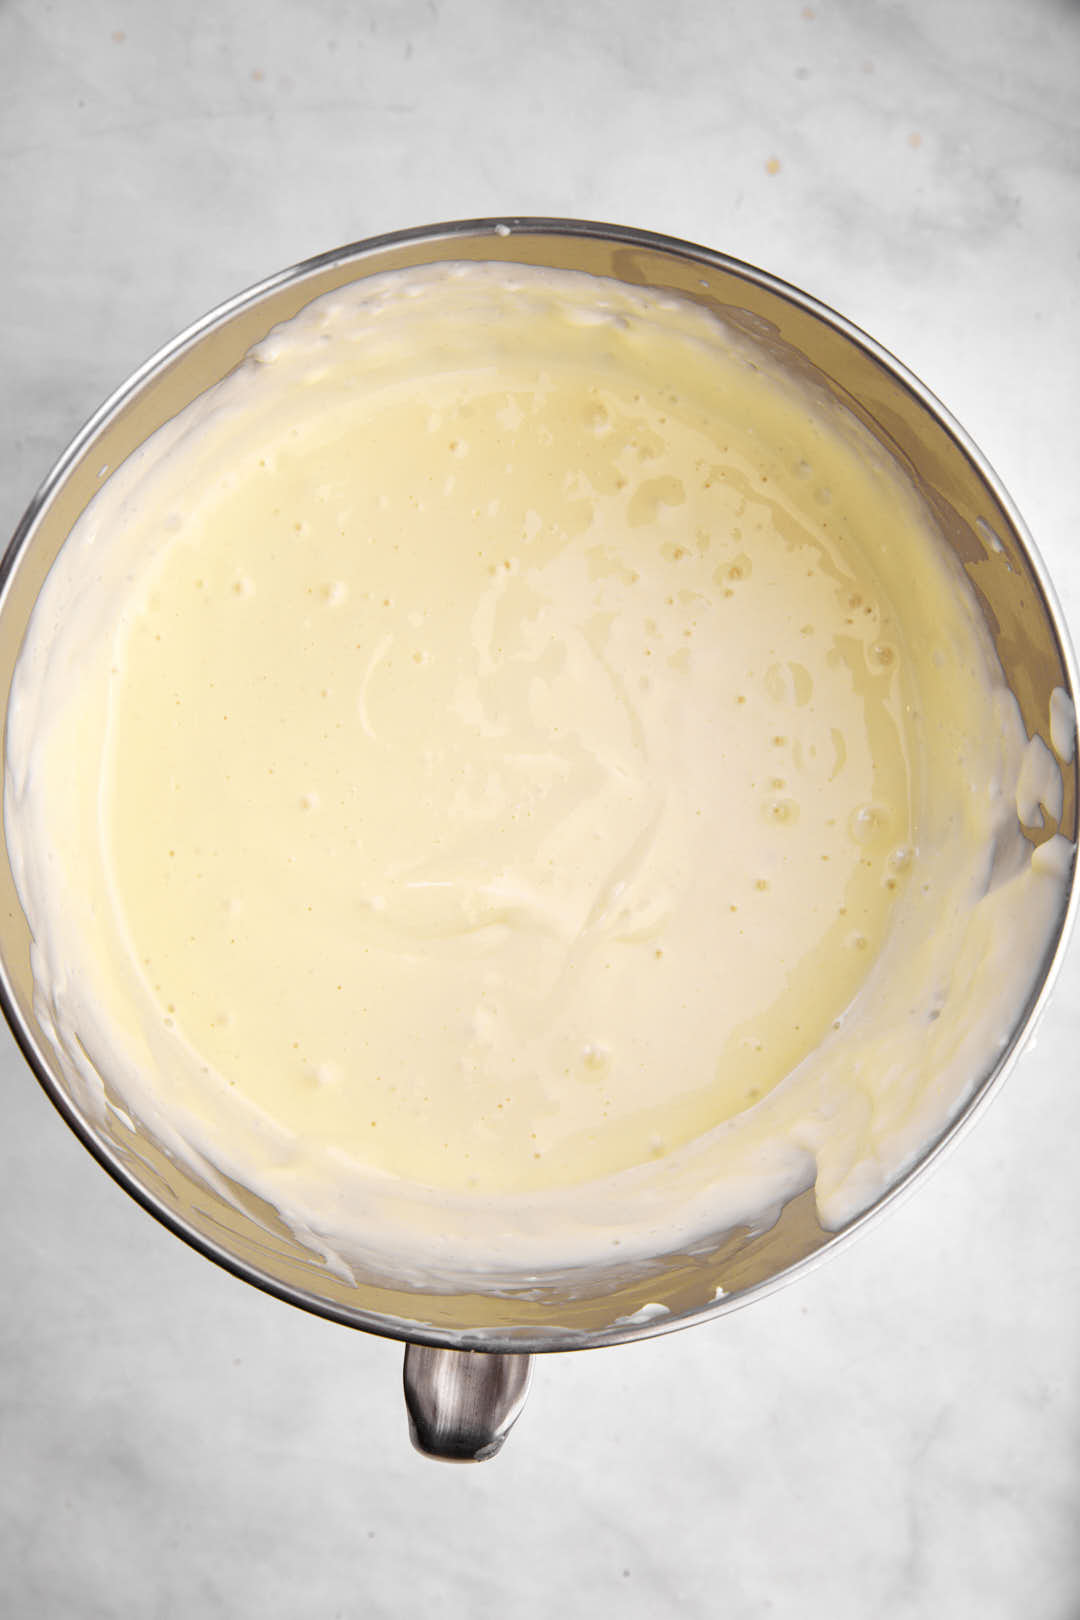
- Using a stand mixer, combine the cream cheese with the sugar with a paddle attachment in a large bowl and mix on medium speed until well combined and fluffy. Blend in the milk, then add the eggs one at a time, mixing briefly after each addition.
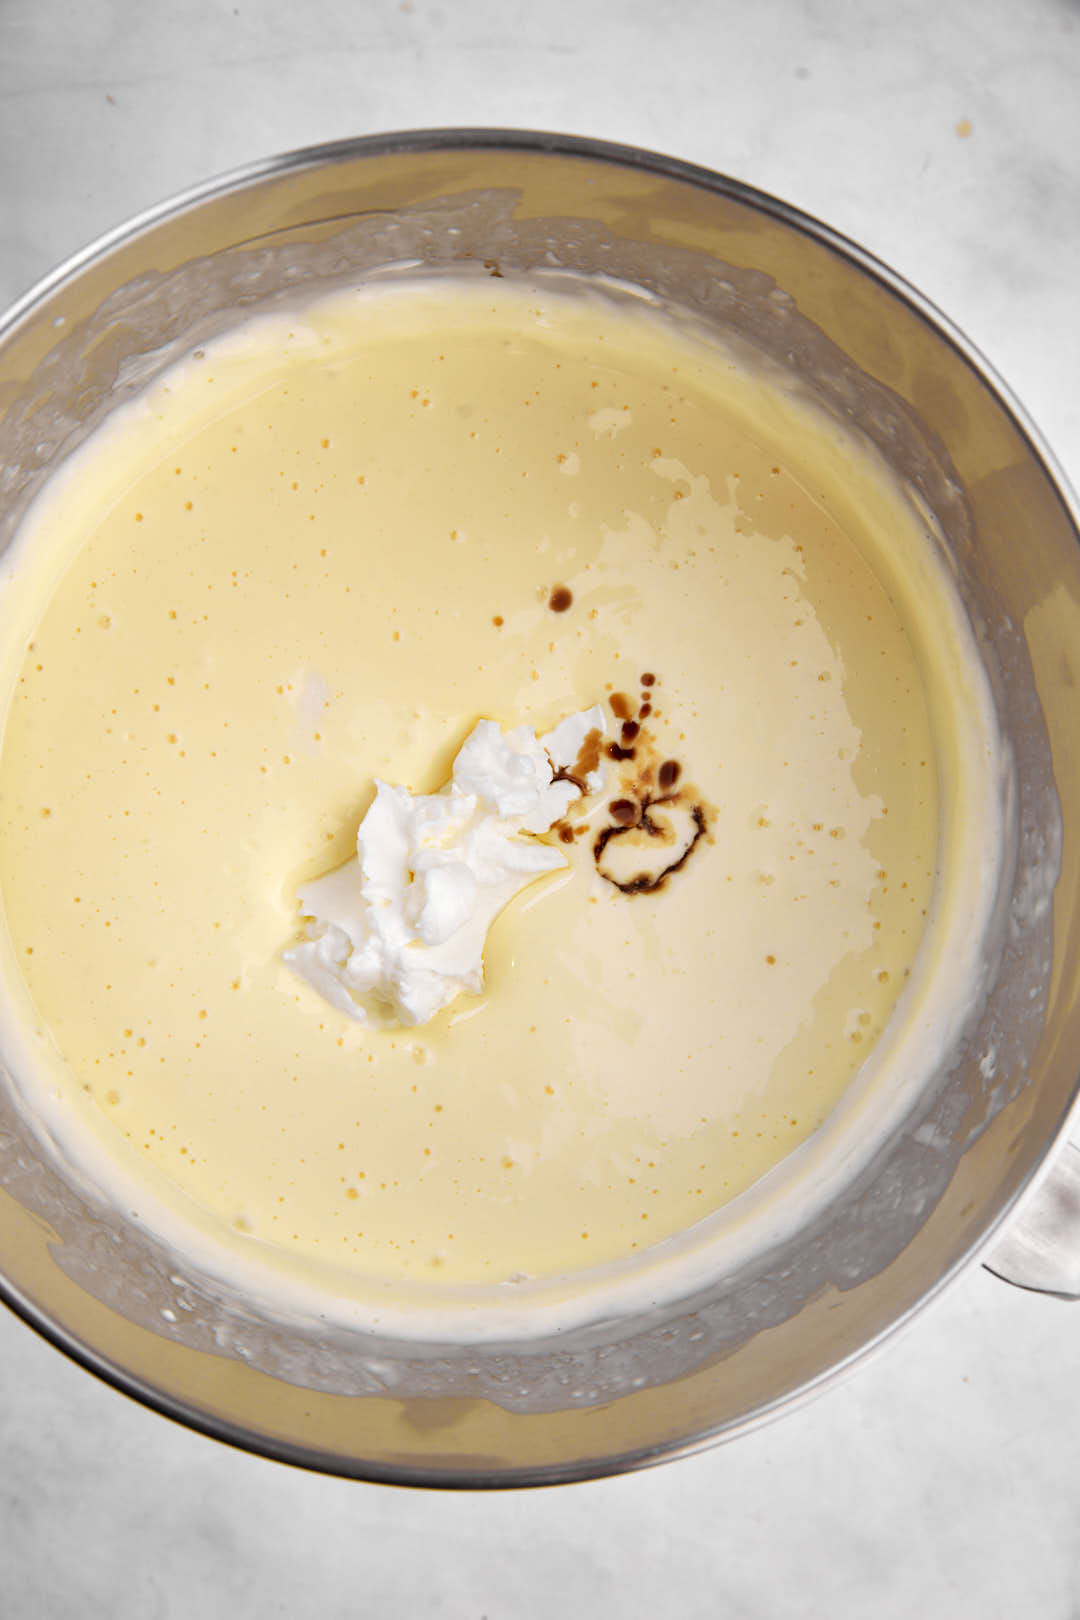
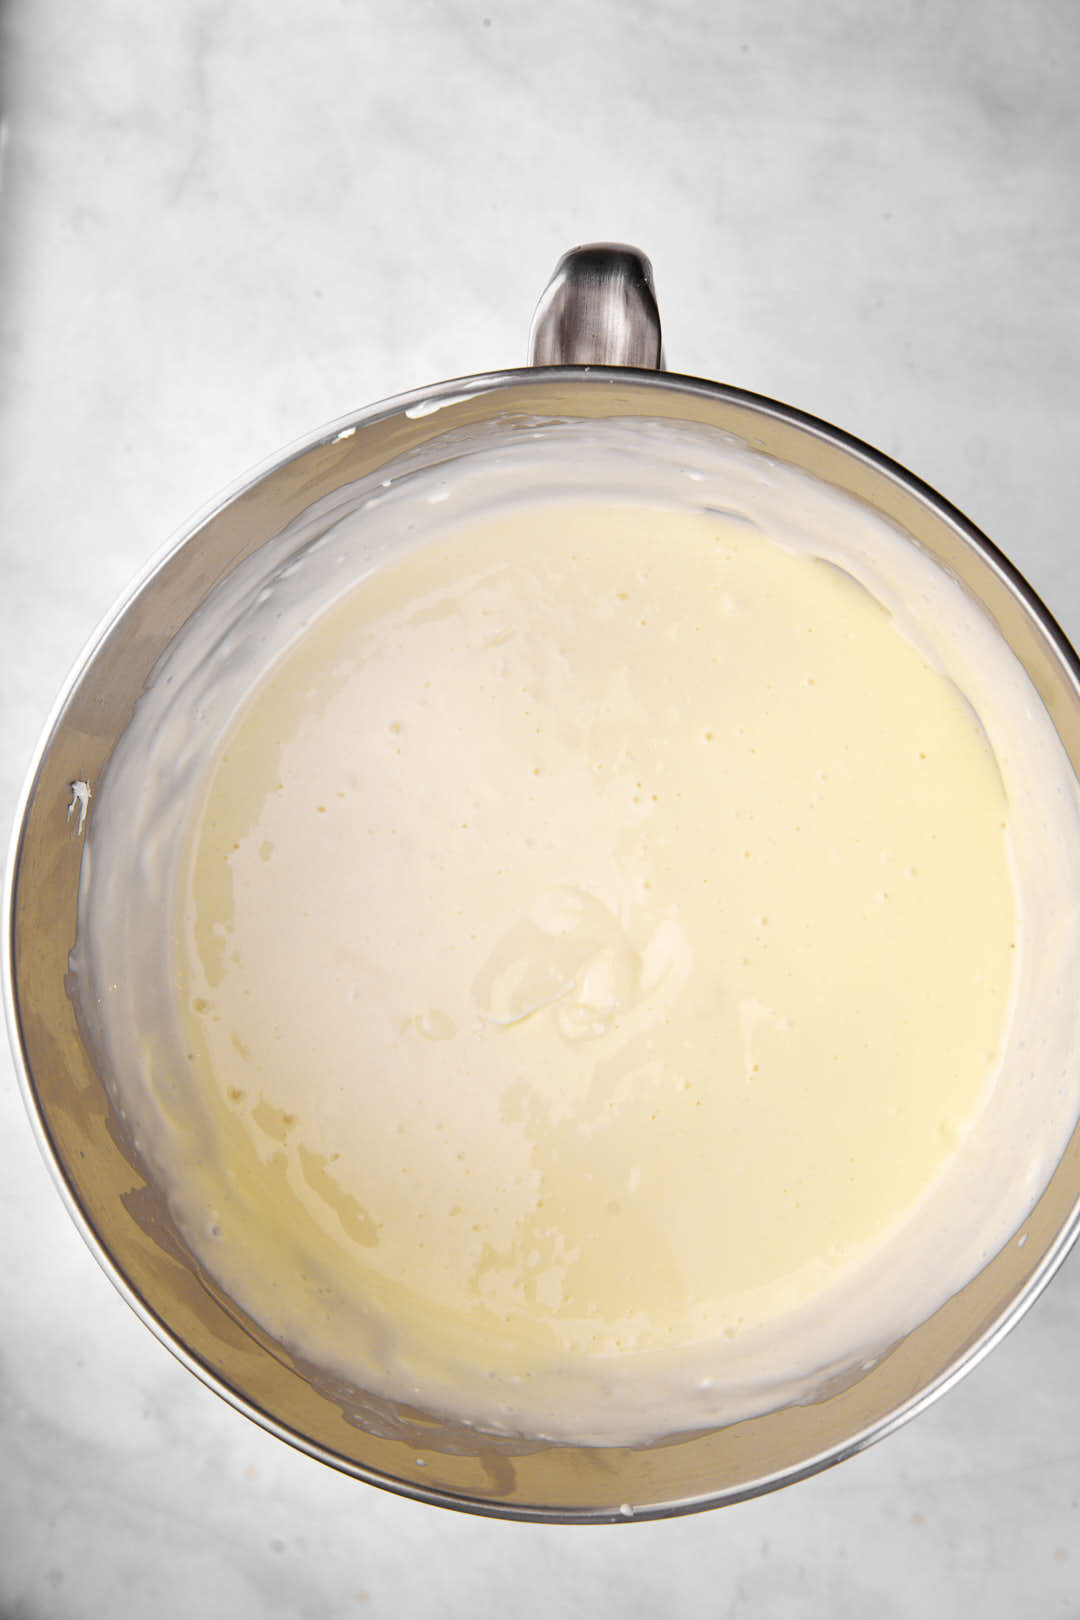
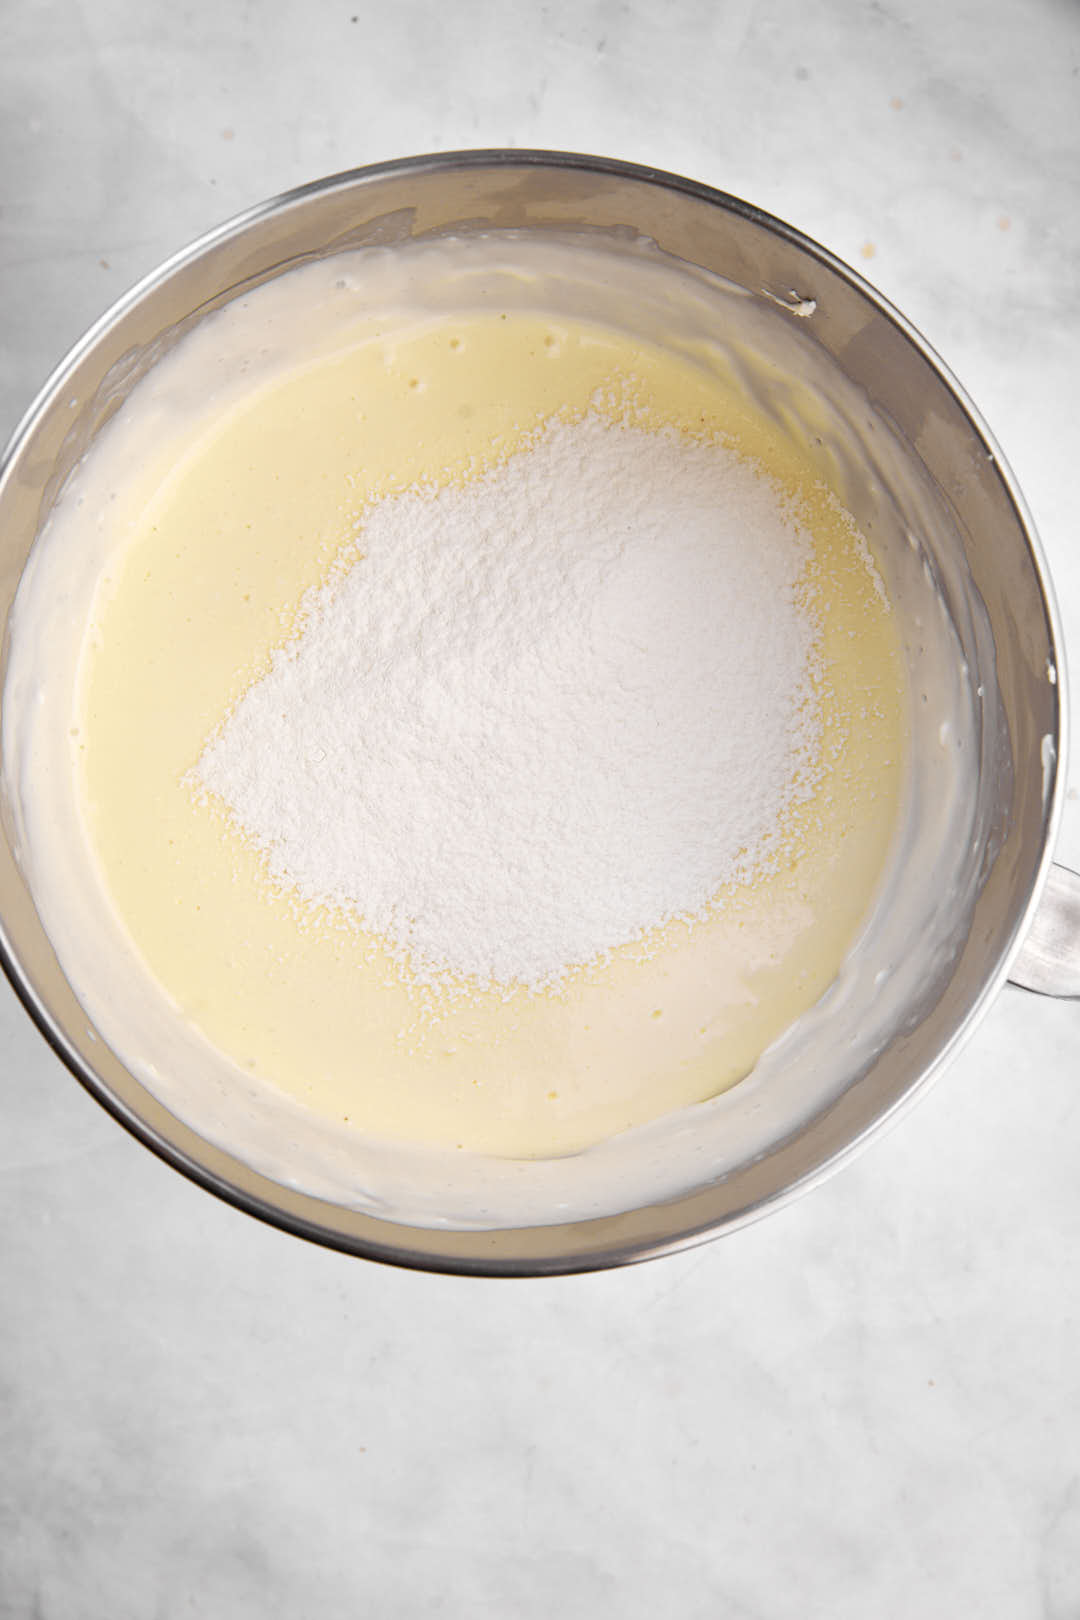
- Mix in sour cream, vanilla and flour. It may be easier to sift in the flour.
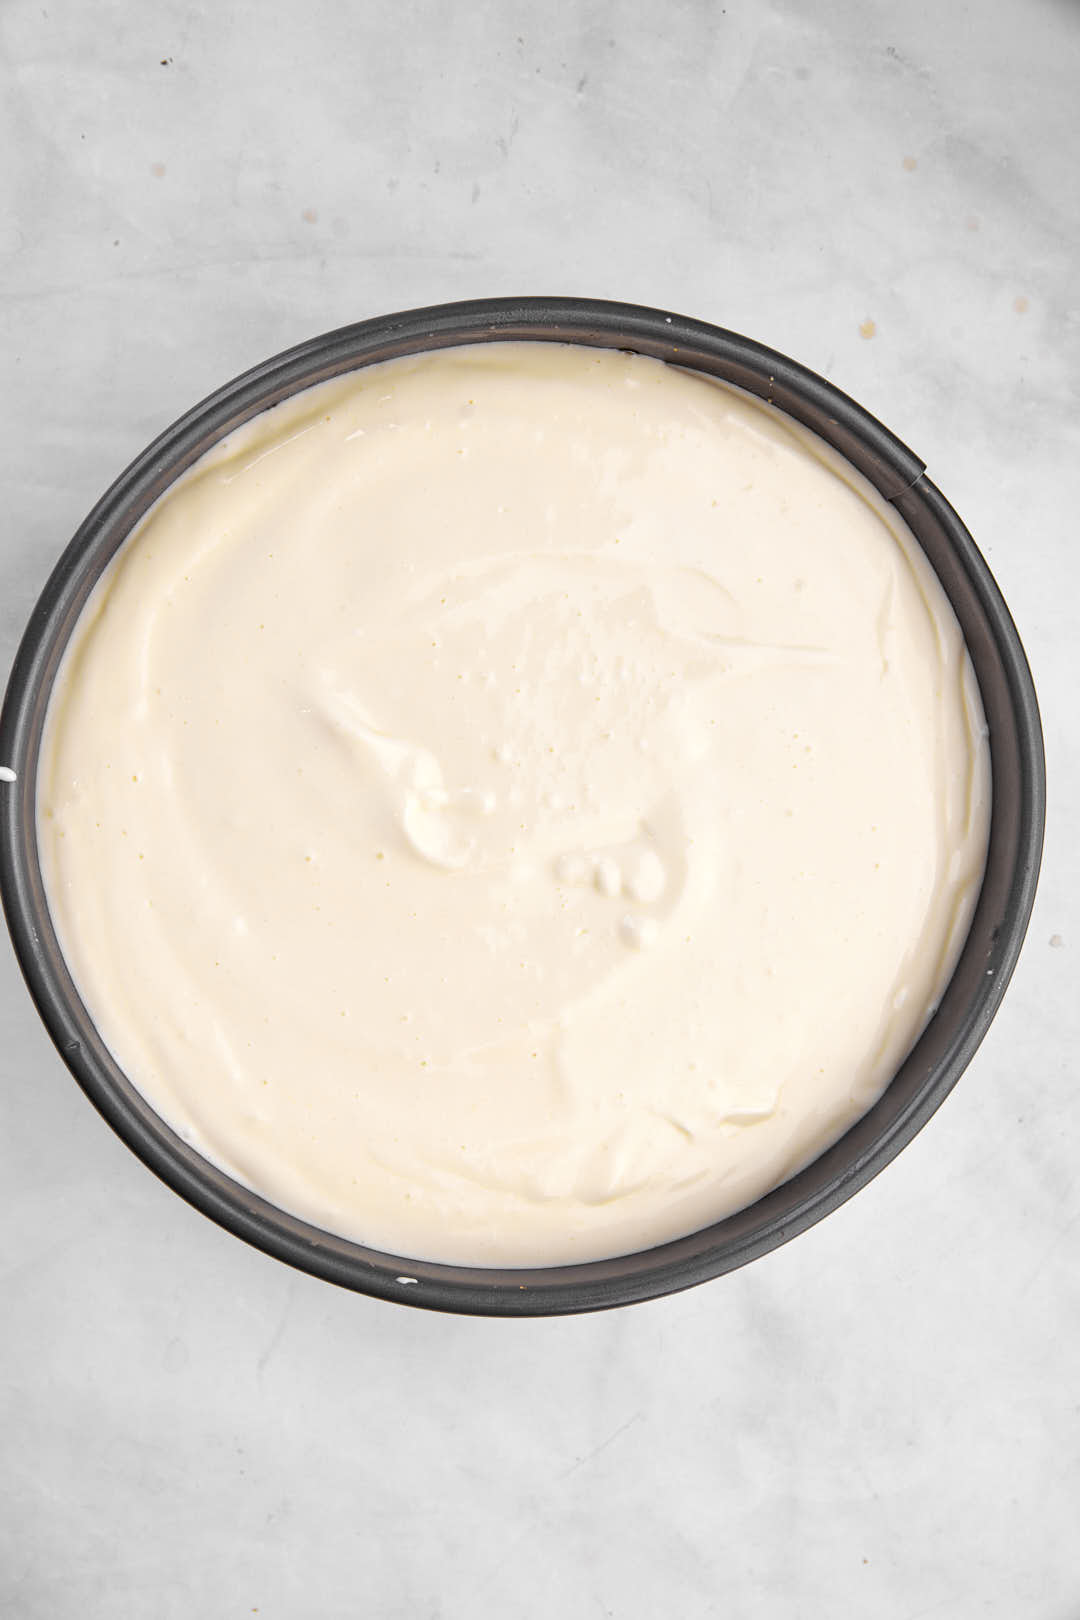
- Pour filling into prepared crust. Place on a baking sheet (so melted butter doesn’t drip down into your oven). Bake for 1 hour, then turn off the oven and leave cheesecake inside for another 5 hours or so until oven has completely cooled. This is to prevent cracking.
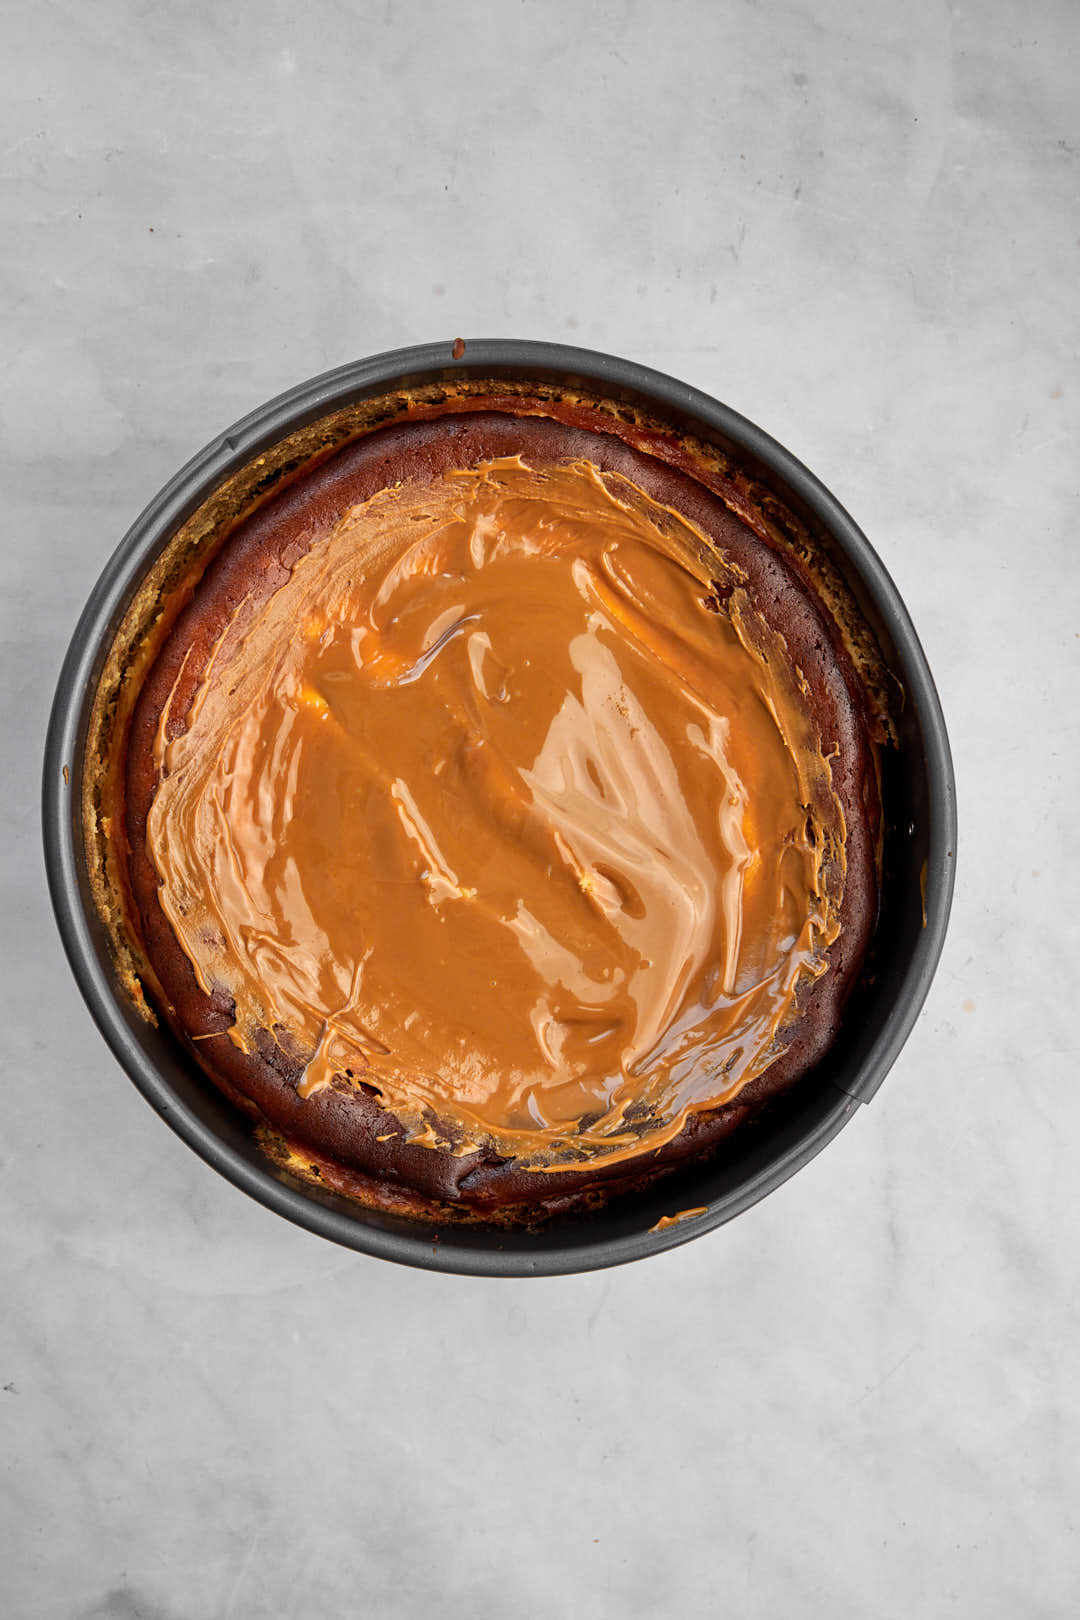
- Once cheesecake has cooled, microwave the Lotus spread for the topping for 30 seconds, stirring halfway through. You want it to be runny and melted.
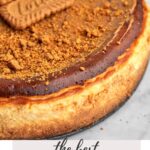
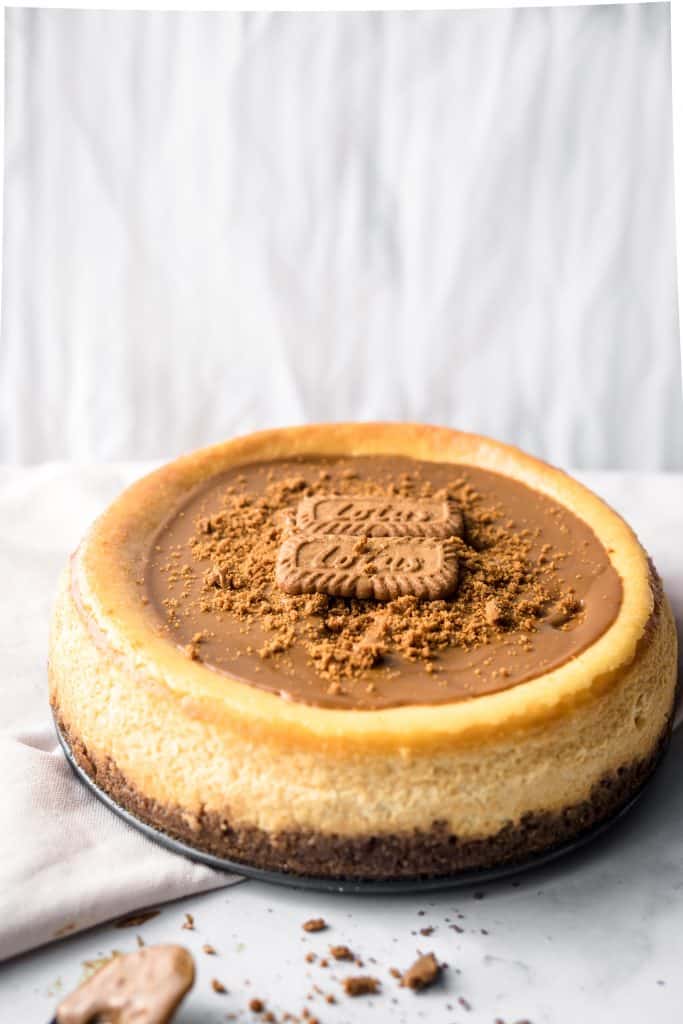
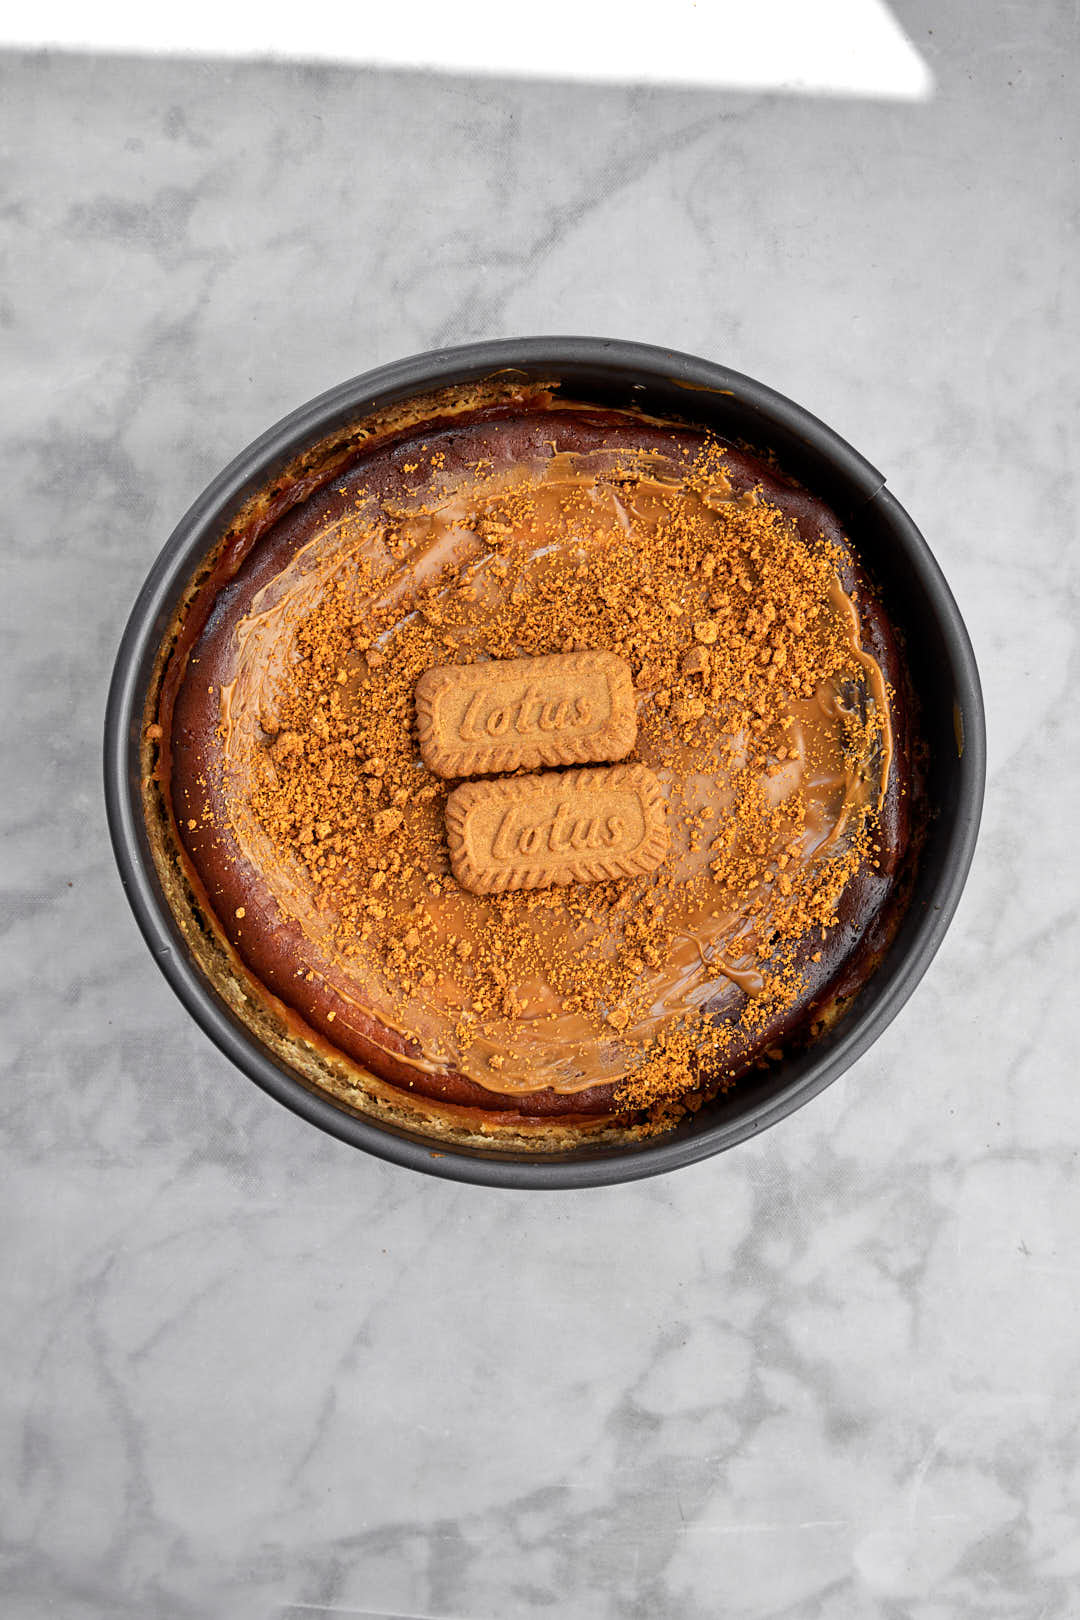
- Pour the Biscoff spread over the surface of the chilled cheesecake, using a spatula to spread it evenly.
- Garnish the top with a sprinkle of biscuit crumbs and whole biscuits if desired, then place back in the fridge just until lotus spread has set. Serve cold straight out of the fridge.
How do I get a lump free cheesecake?

Make sure all your filling ingredients are at room temperature before mixing (the cream cheese should be softened, room temperature milk, room temp eggs, and room temp sour cream). This will enable them to mix together much more easily without any lumps.
The process is very simple. You cream together the cream cheese and sugar, add the milk, then eggs one at a time, then the sour cream, flour and vanilla. Your filling is ready!
I prefer sifting in the flour to get it to incorporate more thoroughly.
How do I get a crack free cheesecake?
What causes a cheesecake to crack? Usually it’s one of these culprits:
- Over mixing the eggs. You want to mix the cream cheese with the sugar very well to avoid lumps, but when you add the eggs, mix just until combined. Over beating the eggs could lead to the cheesecake cracking.
- Temperature changes, so avoid opening the oven door while cheesecake is baking.
- The cheesecake having trouble pulling away from the sides of the pan as it cools, so make sure you grease bottom AND sides of the pan a little before putting the crust.
You have a couple options if you want to avoid your cheesecake cracking. This recipe calls for the easier one which is #1 below:
- Keeping the cheesecake in the turned off oven for 5-6 hours so it’ll cool gradually (and avoid those rapid temperature changes as discussed above).
- Alternately, you can do a water bath. This means wrapping your pan sides and bottom with heavy duty aluminium foil to avoid water leaking in, then placing cheesecake in a large roasting pan. Once you place the cheesecake in the pan and into the oven, pour in hot water to fill the roasting pan with 1/2-1 inch water. This steams the cheesecake and allow sit to cook evenly and slowly avoiding cracks. After 1 hour of baking, turn the oven off and leave the cheesecake in the oven for 1 more hour.
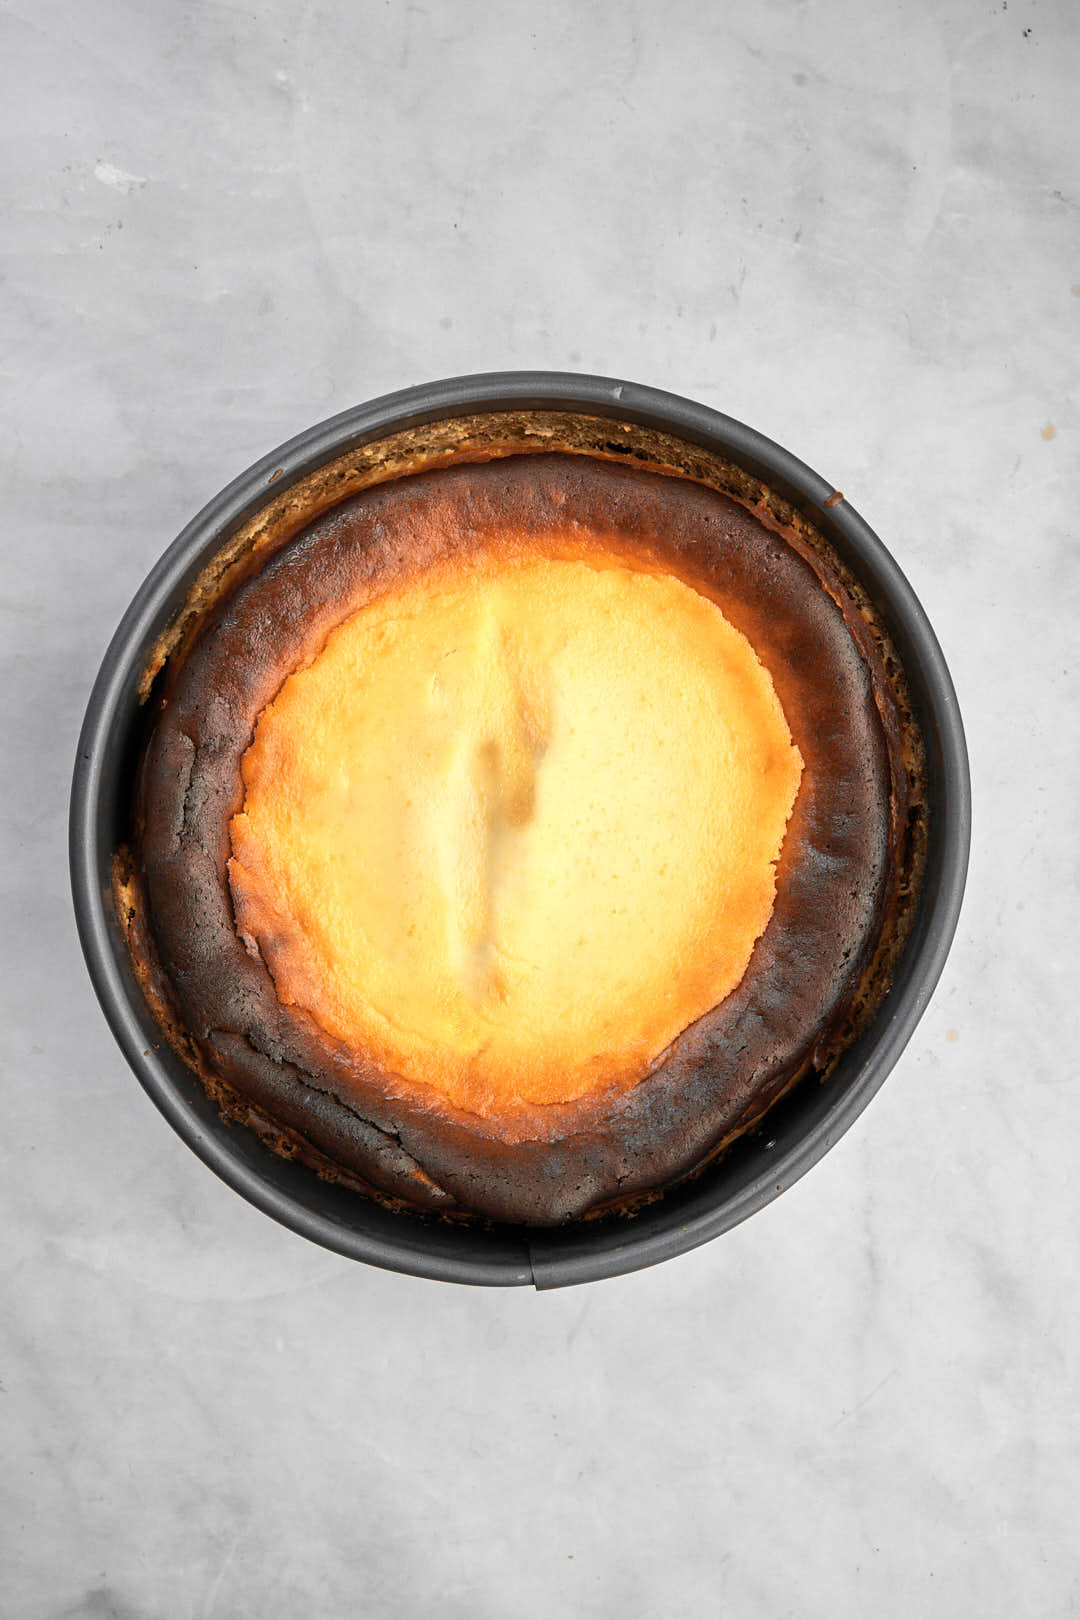
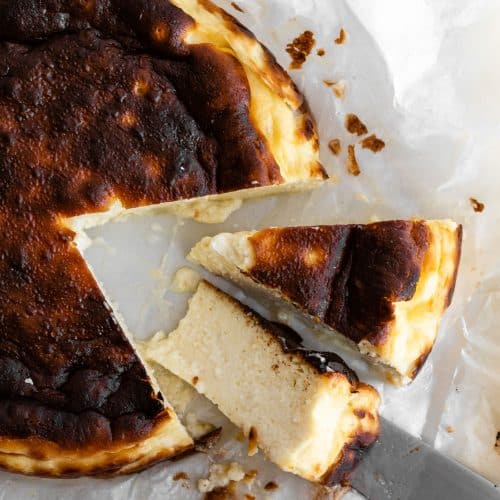
Still have cracks? No problem! That’s the benefit of a cheesecake covered with a topping, it’s really easy to disguise the crack. Just garnish to cover the crack in the center. The cheesecake pictured in this recipe had a big old crack that I just spooned some Lotus spread into and covered with extra biscuits. (I was a little impatient and didn’t let it cool in the oven for the allotted time)
How do I know when my baked biscoff cheesecake is done?
I’ve always followed the 60 minutes stated in the recipe with no problem at all, so I advise doing that. Signs that your cheesecake is baked is to have set edges, a little golden and puffy, but still a softer center that might be a little jiggly. Don’t worry, it’ll set as it cools and that’s what keeps the cheesecake so creamy and soft.

Storing Lotus Biscoff cheesecake:
You need to keep it in the fridge, tightly wrapped or in an airtight container, where it’ll keep for 5-6 days.
To freeze the cheesecake: You can freeze the whole cheesecake by wrapping it thoroughly with plastic wrap, then aluminum foil. Before serving, thaw overnight in the fridge then cut and serve.
Alternately, you can freeze slices of cheesecake, by wrapping each slice tightly. These will thaw faster, a couple hours in the fridge. Frozen cheesecake lasts sliced in the freezer for up to 6 months!
Baked Biscoff cheesecake tips and tricks:
- Make sure the cream cheese, sour cream, milk and eggs are at room temperature before mixing. This will help ensure a lump free cheesecake.
- Pack the biscuit crust tightly into the pan and chill the crust after forming it, this will make sure it doesn’t crumble when you cut into it.
- Don’t keep opening the oven door, and make sure you leave the cheesecake in the turned off oven after baking to avoid the cheesecake cracking in the middle.
- Use full fat everything- cream cheese, milk and sour cream for a really rich and creamy cheesecake.
- Make sure to briefly microwave the Lotus spread so that it’s runny enough to pour over the top of the cheesecake.
Recipe FAQs:

Definitely. You’ll have to very thoroughly wrap the sides and bottom of the pawith heavy duty aluminium foil to avoid water leaking in, then placing cheesecake in a large roasting pan. Once you place the cheesecake in the pan and into the oven, pour in hot water to fill the roasting pan with 1/2-1 inch water. This steams the cheesecake and allow sit to cook evenly and slowly avoiding cracks. After 1 hour of baking, turn the oven off and leave the cheesecake in the oven for 1 more hour.
Yes, you can freeze cheesecake either whole or sliced. Make sure the cheesecake is very tightly wrapped, and then store it for up to 6 months in the freezer. If you froze a whole cheesecake, then thaw overnight in the fridge. If you froze slices, individual slices will thaw in a couple hours in the fridge.
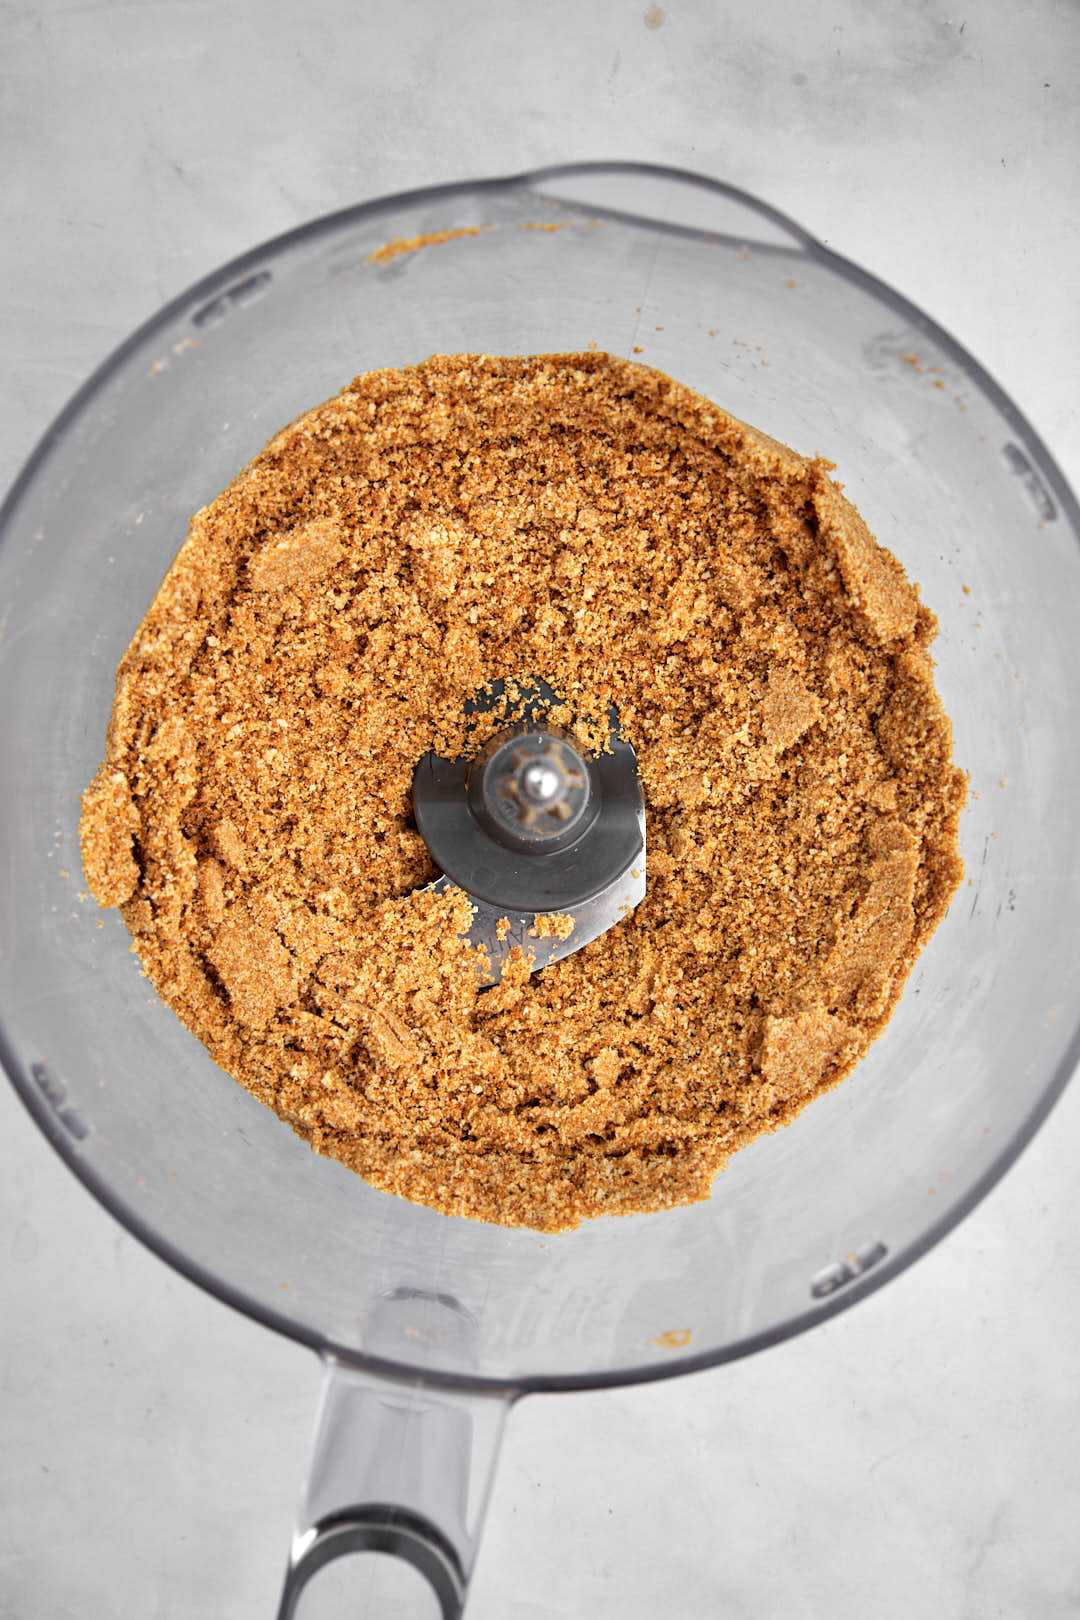
I prefer using a food processor to get really fine crumbs, but you can also place the biscuits in a large freezer bag, and bash thoroughly with a rolling pin until you get crumbs.
You honestly don’t. Even if you leave it for another 30 minutes to an 1 hour or so, that’s better than removing it right away. Also, if it cracks, the Biscoff spread covers that crack right up! I just always stick to the original recipe if I have the time.
For more delicious cheesecake recipes:


Love this recipe? Please leave a 5-star 🌟🌟🌟🌟🌟rating in the recipe card and a comment!
Stay in touch with me through social media @ Instagram, Pinterest, and Facebook. Don’t forget to tag me when you try one of my recipes!
Lotus Biscoff Cheesecake
Equipment
- Stand Mixer
Ingredients
For the crust:
- 1 cup Digestive biscuit or graham cracker crumbs 120g
- 1 cup Biscoff (lotus) biscuit crumbs 120g
- 135 g melted butter 1 stick and 1 tablespoon
- 1/2 teaspoon cinnamon
For the cheesecake:
- 32 oz softened cream cheese 900g
- 1 1/2 cup white sugar 300 g
- 3/4 cup whole fat milk, room temperature 180g
- 4 eggs, room temperature
- 1 cup full fat sour cream, room temperature 240 g
- 1 tablespoon vanilla extract
- 1/4 cup all purpose flour 32g
For topping:
- 1/2 cup Biscoff lotus spread
- Biscoff biscuits for topping
Instructions
For the crust:
- In a mixing bowl, combine both crushed biscuits, the melted butter, and the cinnamon with a fork until crumbs are moistened evenly throughout. Press along the bottom and sides of a lightly greased 9 inch springform pan. Use the base of a measuring cup and press it on to the crumb mixture into the pan to really pack the crumbs tightly down. Let the crust chill a little in the fridge while you prepare cheesecake.
For the cheesecake:
- Preheat the oven to 180C (350F).
- Preferably using a stand mixer, combine the cream cheese with the sugar in a large bowl with a paddle attachment and mix on medium speed until well combined and fluffy. Blend in the milk, then add the eggs one at a time, mixing briefly after each addition.
- Mix in sour cream, vanilla and flour until smooth. It may be easier to sift in the flour.
- Pour filling into prepared crust. Place springform pan on a baking sheet (to avoid butter dripping in your oven), then place on the middle rack of the oven.
- Bake for 1 hour, then turn off the oven and leave cheesecake inside for another 5 hours or so until oven has completely cooled. This is to prevent cracking. (Alternately, if baking in a water bath, turn oven off after 1 hour, and leave cheesecake for a further 1 hour in the oven before removing and chilling, see notes for details)
- Store cheesecake in fridge after this time period is over until chilled, then you can go on to topping and decorating it.
Topping the cheesecake:
- Microwave the Biscoff spread for the topping for 30 seconds, stirring halfway through. You want it to be runny and melted.
- Pour the Biscoff spread over the surface of the chilled cheesecake, using a spatula to spread it evenly.
- Garnish the top with some Biscoff crumbs and whole biscuits if desired, then place back in the fridge just until spread has set. Serve cold straight out of the fridge.
Video
Notes
- Make sure the cream cheese, sour cream, milk and eggs are at room temperature before mixing. This will help ensure a lump free cheesecake.
- Pack the biscuit crust tightly into the pan and chill the crust after forming it, this will make sure it doesn’t crumble when you cut into it.
- Don’t keep opening the oven door, and make sure you leave the cheesecake in the turned off oven after baking to avoid the cheesecake cracking in the middle.
- Use full fat everything- cream cheese, milk and sour cream for a really rich and creamy cheesecake.
- Make sure to briefly microwave the Lotus spread so that it’s runny enough to pour over the top of the cheesecake.
Jenny Bishop says
When you half the recipe what would the cooking time be?
I absolutely love this recipe! My friends always ask me to make it
Farah Abumaizar says
I’m so glad to hear that- it honestly totally depends on the baking tin! If you are using a smaller circular pan like a 6 inch one, the baking time won’t shift too much. If using a square baking pan like an 8×8 inch one, start checking at 30 minutes, it’ll probably be done between 35-45 minutes. Good luck!!
Geny says
Can I use an 11″ springform pan instead of 9″?
Farah Abumaizar says
I think the cheesecake will be too thin- you may have to 1.5 times the crust recipe and do the same with the filling, or just increase the amnount of crust and start checking at 40-45 minutes as it’ll bake faster if thinner!
Emily says
This recipe is gorgeous; I adore the way the warm, spiced flavor of the Lotus Biscoff crust and topping complements the smooth cheesecake. Even for a home baker, the detailed instructions make it seem completely doable. I appreciate you sharing this rich, cozy dessert that is both elegant and approachable.
Farah Abumaizar says
I am so so glad that you enjoyed it! One of my absolute favorites!
suja md says
This looks amazing and such a treat! Thank you!
Farah Abumaizar says
Thank you!!
Paula says
This biscoff cheesecake was so delicious. I loved how the flavor of the cookies paired with the creamy cheesecake! So good!
Farah Abumaizar says
So happy to hear that Paula!
Heather says
A beauty of a cheesecake, perfect texture and the flavor is divine! Thank you so much!
Farah Abumaizar says
Thank you so much Heather!!
Ann says
I love biscoff. This cheesecake would be amazing. Can’t wait to try, thanks!
Farah Abumaizar says
Hope you love it Ann!