


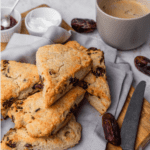


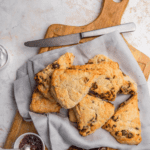


This recipe for date scones makes the most delicious, flaky, golden brown scones with little bits of sweet, soft dates. An easy foolproof method to make light and fluffy bakery style scones right at home, with just a handful of ingredients. Very simple to make, and the scone base itself is so customizable with whatever mix-ins you’d like to add.

What are scones?
Also known as one of my favorite things to have with a cup of tea or coffee! Scones are a British baked good, made with plenty of butter and leavening powder. Flaky and soft on the inside with a crumbly exterior, they are best enjoyed with cream and jam.

Scones are very similar to American biscuits, both quick breads, but scones contain eggs in the dough while biscuits usually don’t. Biscuits are also usually enjoyed plain or with butter, while serving cream with scones is a classic pairing.
Why should I make these easy date scones?
- This is the perfect step by step recipe for date scones that gives you crispy on the edges, flaky and tender in the center scones, studded with sweet dates.
- The recipe comes together really simply, with standard pantry and fridge ingredients.
- Leftover scones freeze really well, and warm up beautifully.
- Although I don’t like raisins in scones (which I feel tend to harden and become too chewy), dates are different. They become a little jammy when baked, and add a beautiful toffee infused sweetness to the overall scone.
- Where I live in the Gulf region of the Middle East, dates are a staple of our household, especially during the season when the trees are laden with dates. This is a great way to use some of them up!
- Adding dates to scones allows you to make scones that are sweet enough to enjoy plain.
Ingredients in date scones:

The scone base is divided into dry ingredients, butter, and wet ingredients:
Dry ingredients:
Flour- All purpose flour. I highly recommend using a kitchen scale to get an accurate measure so that your dough texture will be spot on.
Baking powder- Scones typically have a lot of baking powder in them. This recipe uses a full tablespoon, allowing the scones rise well and remain fluffy.
Sugar: A little granulated sugar in the batter for sweetness and to help the scones brown well. Optionally, you can also use coarse sugar like demerara for sprinkling the scones with before baking for some added texture and sweetness.
Dates: Our star add-in. You can use any type of pitted dates you like. Medjool work great, as well as any soft or chewy dates. The firmer the dates are the easier they’ll be to chop, but the sweetness of soft dates is a bonus.
Cinnamon to compliment the dates, and a pinch of salt.
Butter: This is a great trick, using frozen grated butter instead of cubed butter in the dough. I got the method of adding frozen butter from Sally’s Baking Addiction’s recipe for master scones. This is to keep the dough from getting too warm, so the butter remains intact in little lumps so that the scones bakes up flakey (because the butter melts in the oven instead of while mixing, creating little steam pockets).
Heavy cream: Also known as whipping cream. This is a great way to add a lot of richness to the batter. Use cold heavy cream. We also use extra heavy cream to brush the top of the scones with, this gives them a beautiful golden rown color.
Egg: cold, don’t bring to room temperature.
Vanilla extract: Just a splash for flavor
How to grate frozen butter:
Place your block of butter in the freezer for at least 20 minutes to harden. Working quickly, grate the butter on the coarse side of a box grater. If at any point it starts to soften too much between your fingers, place it back in the freezer to harden again.
If not using butter immediately, place the grated butter in the freezer.
How to make date scones:
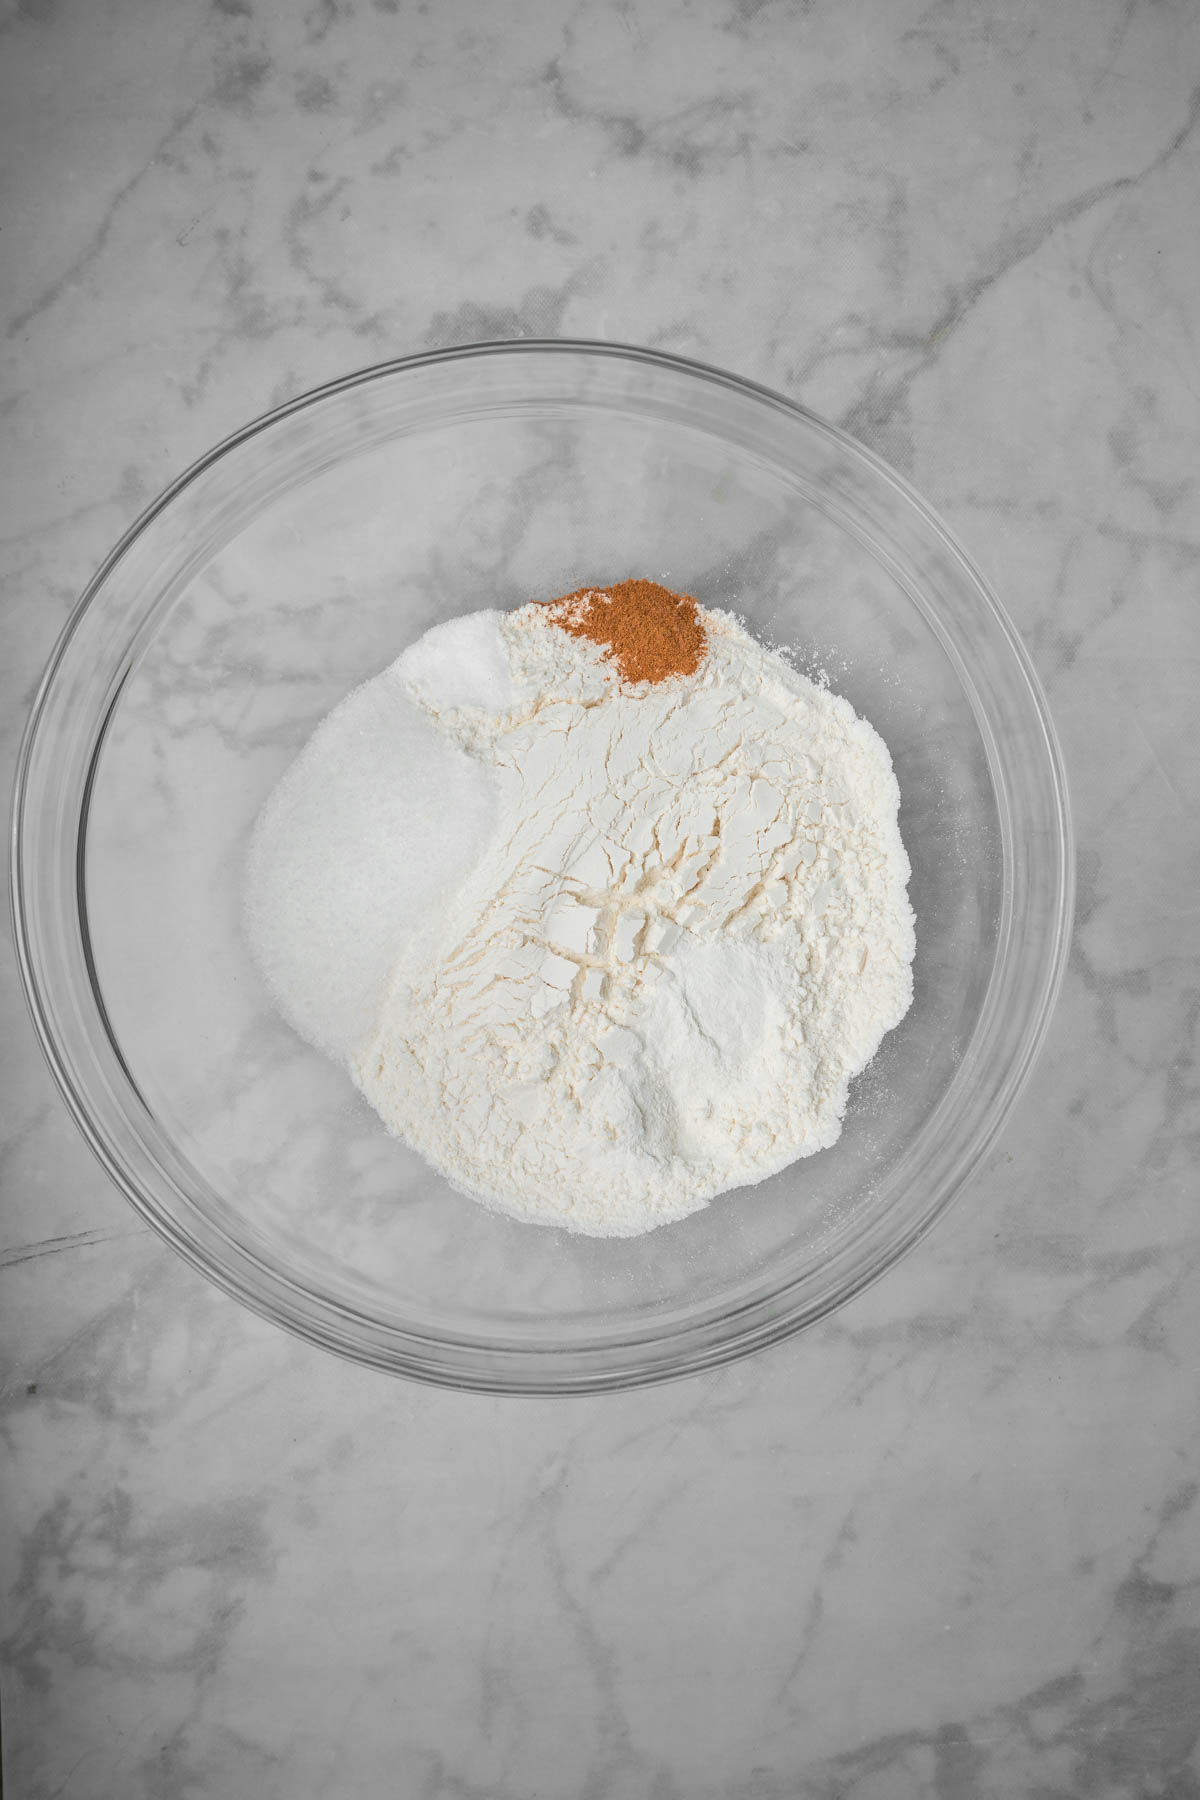


- Whisk together the dry ingredients (flour, baking powder, sugar, salt, cinnamon)
- Add the grated frozen butter, and work it into the dry ingredients with your fingertips or a pastry cutter. It’s ready when the mixture looks sandy with pea sized pieces of butter still intact.
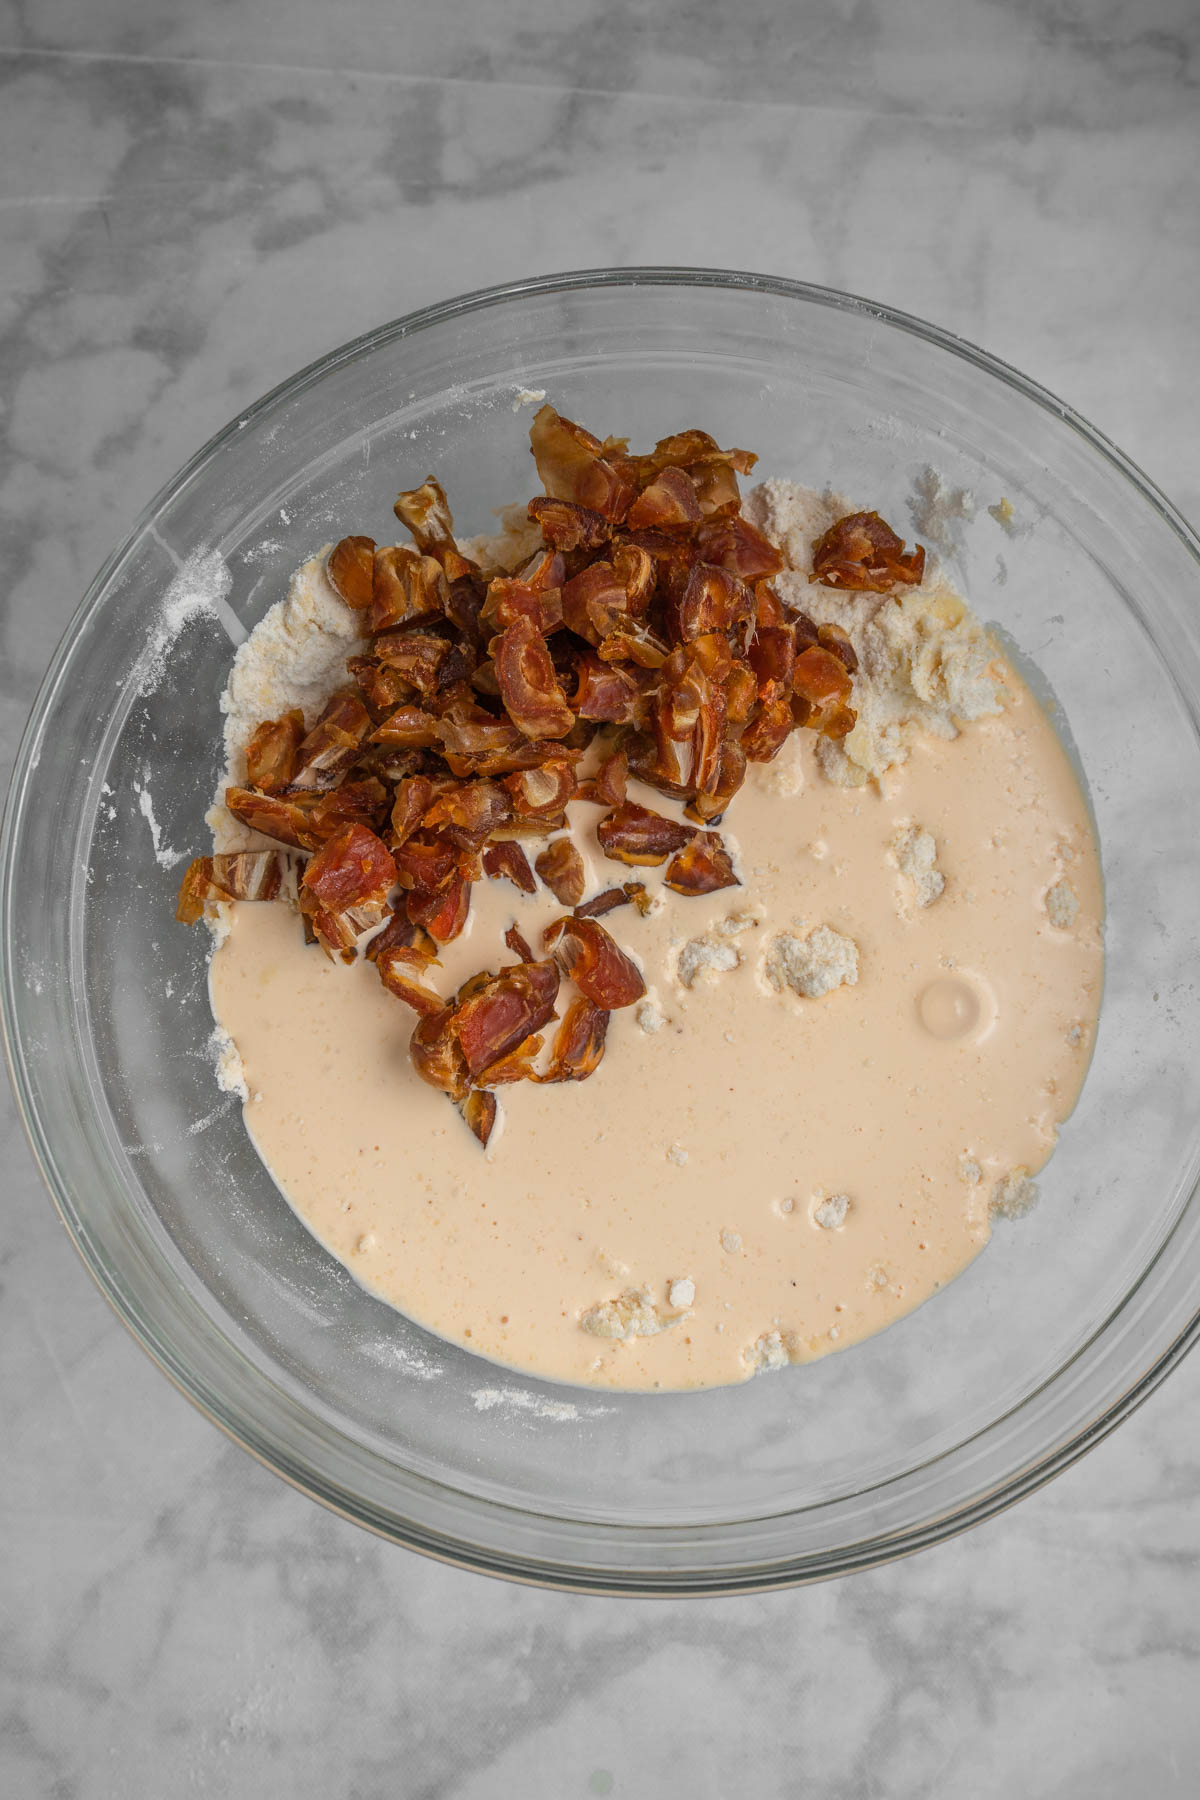
- Separately, mix together egg, heavy cream and vanilla, then pour into butter flour mix and stir until combined. Add the chopped dates, and stir until just combined. You might knead it a couple times with your hands, but don’t go overboard mixing.
- On a lightly floured surface dump out the scone dough, and pat into an 8 inch circle. You may find it easier to line an 8 inch cake pan with parchment paper, pat the dough into the cake pan then flip it out of the pan onto the counter. See the recipe video below for an example.
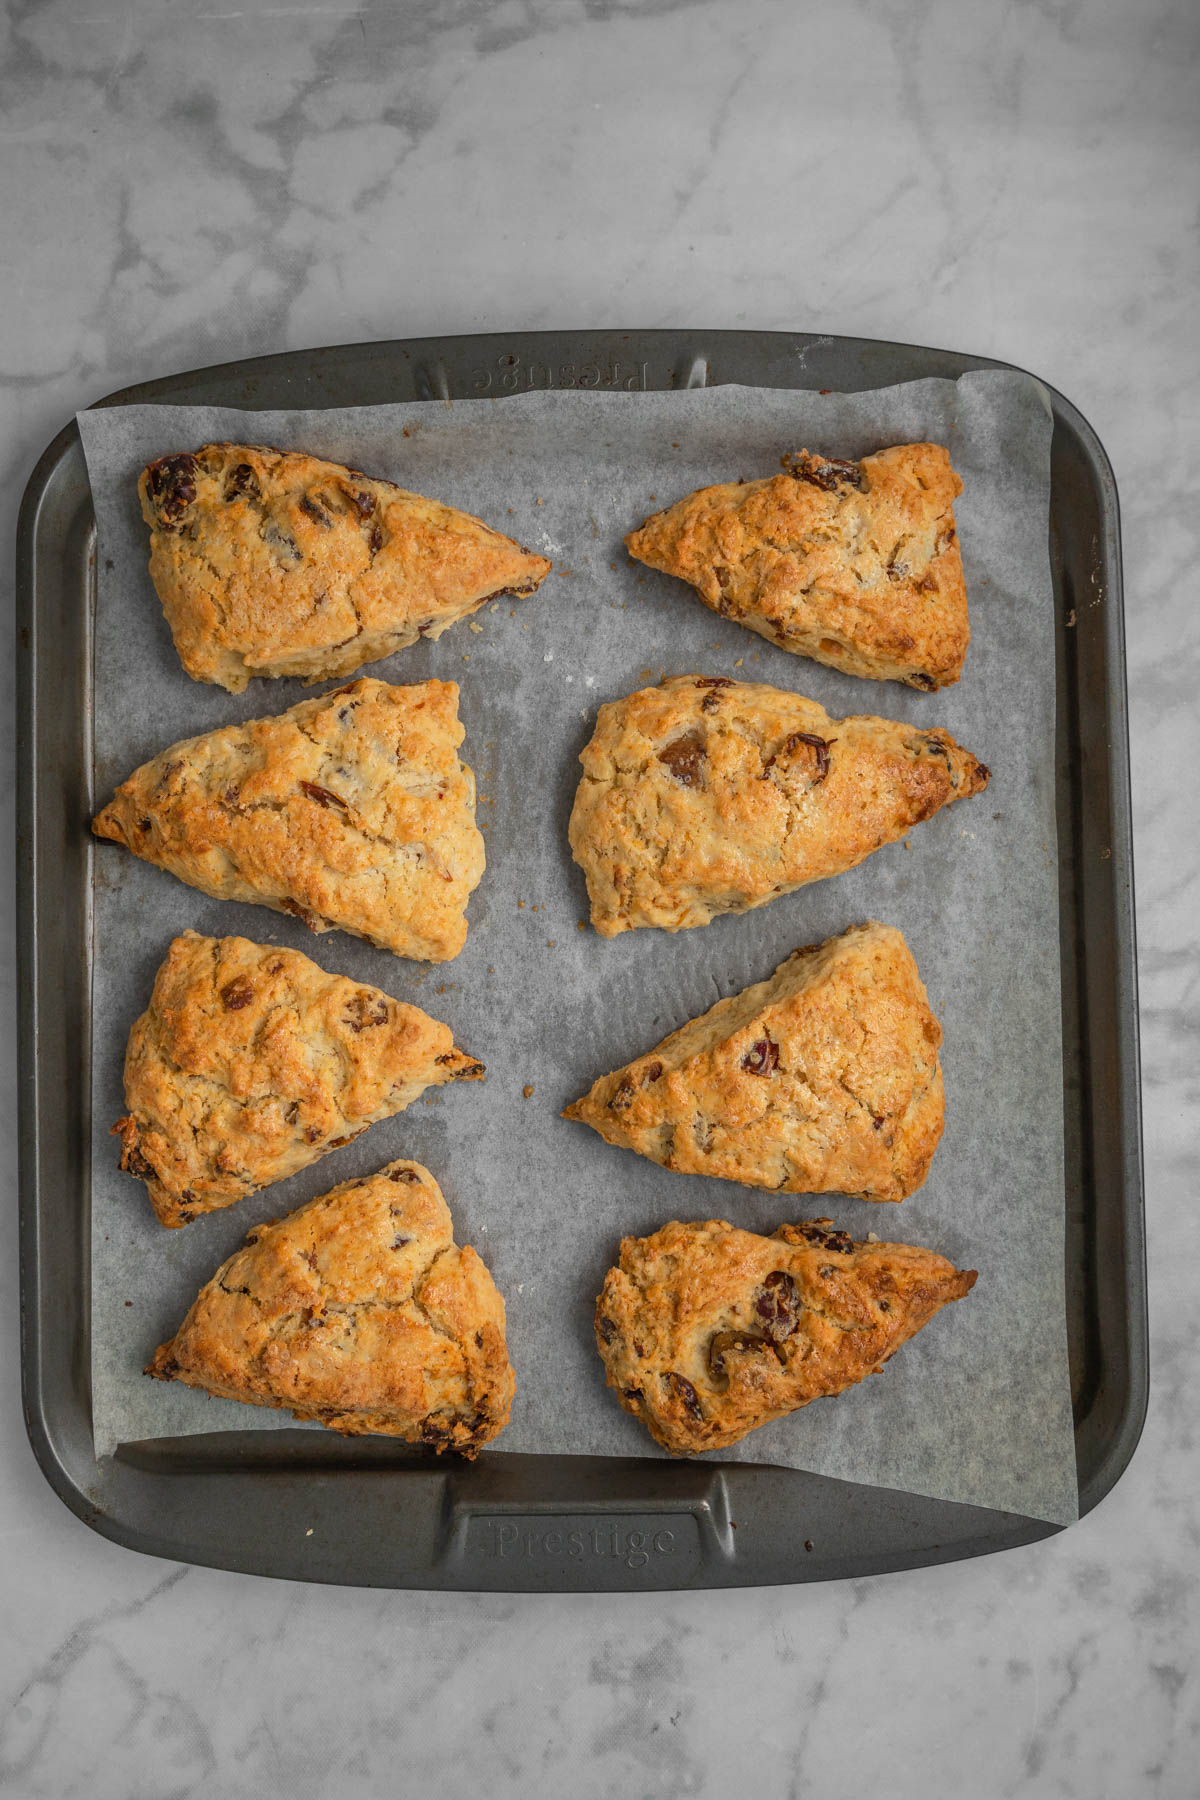
- Cut the dough with a sharp knife or pizza cutter into 8 equal sized wedges, then place on a parchment lined baking sheet into the fridge to chill for 15 minutes. Meanwhile, heat the oven to 400 F (200C).
- Once oven has come to temperature, brush the top of the scones lightly with heavy cream. Optionally, you can sprinkle some coarse sugar on top. Bake for 20-25 minutes or until lightly golden brown on top.
Watch the video in the recipe card to see this in action!
How do I keep my scones from flattening out?

Make sure the dough isn’t overworked, and that the butter doesn’t melt too fully into the dough. You need little pieces of butter to remain intact so that when the dough goes in the oven, the butter melts there and create pockets of steam which results in that flaky dough.
We don’t want the butter melting BEFORE going in the oven. Using frozen butter is what accomplishes that, and also the fact that you are using grated butter which is easier to work into the dough with your fingers.
Another factor is chilling the shaped scones before baking them, to ensure the dough goes into the oven cold.
What to serve scones with?

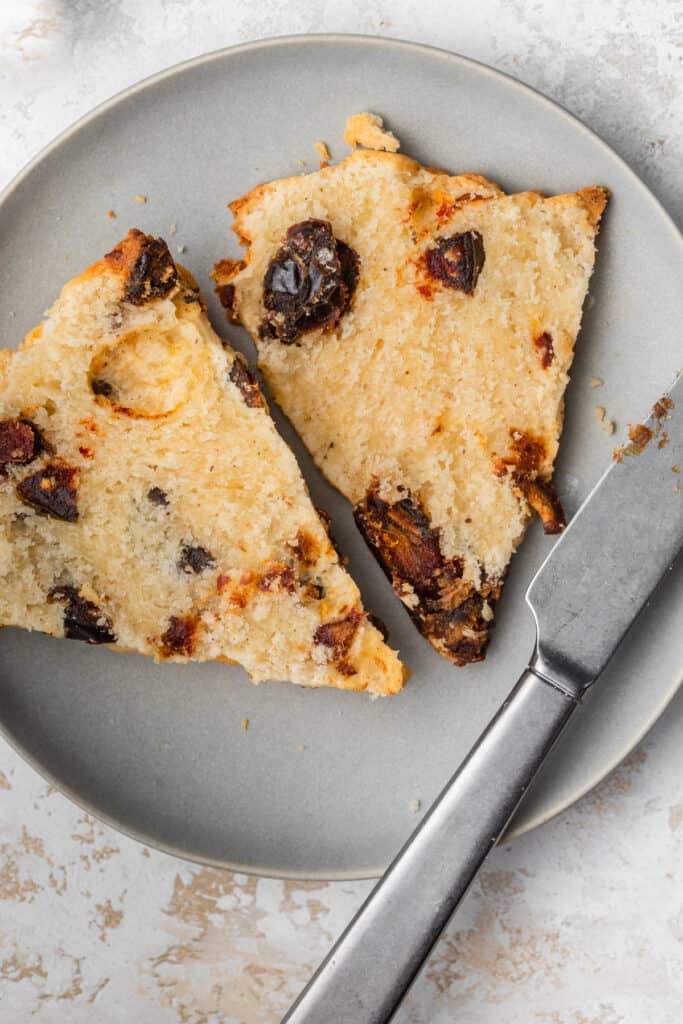
Traditionally, scones are served with clotted cream and jam. The good thing about this recipe, is that the scones are so moist and the dates add the perfect hint of sweetness, that these are delicious plain.
I also cut some in half, and spread with some cream. I used fresh cream (not clotted), since clotted cream is difficult to find in the Middle East. You can even try mascarpone cheese or regular butter.
You can also enjoy these plain! Or, with a simple glaze on top (icing sugar mixed with milk). I love having my scones alongside a cup of coffee or tea.
Making scone dough in advance:
You can prepare and shape the scones the day before, and refrigerate covered until the morning after, at which point you can bake as directed. Don’t brush with the cream if doing this, until right before baking.
Freezing scones and storing leftovers:
You can freeze scone dough which is a great way to get fresh, flaky and delicious scones whenever the craving hits. Flash freeze on a baking tray until scones harden, at which point you can put them together in a freezer bag of container without them sticking. This way you can pull out individual scones to bake. Bake for an extra 3-5 minutes directly from frozen. Scone dough can be frozen for 3-4 weeks.
You can also freeze leftover baked scones for up to 3 months. There’s no need to thaw them, just reheat in an oven at 350F (180C) for 5-10 minutes until warmed through. You can even reheat these in an air fryer for 3-4 minutes at the same temperature, or microwave for 20-30 seconds.
You can also store leftovers scones in an airtight container at room temperature for up to 2 days, warm briefly in oven or microwave before enjoying.
Expert tips and tricks:
- Don’t overwork the scone dough, both when rubbing in the butter and when adding the wet ingredients. You want to retain little lumps of butter to get a flaky texture.
- Keep ingredients cold, the heavy cream, egg and butter.
- Bake scones until light golden brown on the edges and top. If you lift one from the parchment, you’ll see that the bottom is dry and a light golden brown as well. Don’t over bake, you still want a soft inside.
- If you feel dough is too dry and not sticking together, add just a drizzle of heavy cream until you get a consistency of dough that binds.
- If you feel dough is too wet, add a tablespoon of flour at a time until the dough can be worked with.
- I love using an 8 inch pan to press the dough into to make sure it’s an evenly shaped 8 inch circle that you then cut into 8 equal sized triangle scones.
Recipe FAQs:
Try some orange zest and dried cranberries, chocolate chips, raisins (if you must!), blueberries, chopped nuts.
You can make and shape the scones the night before, refrigerate them covered, then bake them the morning of. This is a great way to enjoy fuss-free fresh scones.
If you overmix the dough or overbake the scones, you may get dry scones. Make sure you mix until just combined, and keep an eye on them when they are in the oven.
For more yummy baked goods:


Love this recipe? Please leave a 5-star 🌟🌟🌟🌟🌟rating in the recipe card and a comment!
Stay in touch with me through social media @ Instagram, Pinterest, and Facebook. Don’t forget to tag me when you try one of my recipes!

Date Scones
Ingredients
- 2 cups flour 250 g
- 1 tablespoon baking powder
- 3 tablespoon white sugar 40 g
- 1/2 teaspoon salt
- 1/4 teaspoon cinnamon powder
- 1/2 cup frozen butter, grated on the large side of a box grater 115 grams, 1 stick
- 1 egg, cold
- 1/2 cup heavy cream, cold 120g
- 1 1/2 teaspoon vanilla extract
- 1 cup pitted, chopped dates 150 grams
Instructions
- In a large bowl, whisk together flour, baking powder, sugar, salt, cinnamon.
- Add the grated frozen butter into the flour mixture, and work it in with your fingertips until it resembles wet sand, see post above for visuals. You can also use a pastry cutter, but I find hands easier!
- In a separate bowl mix together heavy cream, egg and vanilla. Add the wet ingredients and the chopped dates to the flour, and mix together until combined with a spatula or fork. You can knead the dough a couple times with your hands, but don't overwork the dough, a shaggy dough is perfect.
- Line an 8 inch circle cake pan with parchment paper overhanging the sides. Pat the dough in to form an 8 inch circle, then turn it out onto a lightly floured surface. Alternately, pat the dough into an 8 inch circle. Cut the circle into 8 wedges, and place onto a parchment paper lined baking sheet. Place the sheet with the dough on it into the fridge to rest for 15 minutes.
- While dough is resting, heat oven to 400 F (200C). Take scones out of the fridge, and brush the top of each with a little heavy cream, and optionally sprinkle with some coarse sugar. Bake for 20-25 minutes, until edges and top are a light golden brown.
- Serve warm, either plain or with some cream and/or jam.
Video
Notes
- Use cold ingredients: butter, egg, and cream.
- Don’t overwork the scone dough, both when rubbing in the butter and when adding the wet ingredients. You want to retain little lumps of butter to get a flaky texture.
- Bake scones until light golden brown on the edges and top. If you lift one from the parchment, you’ll see that the bottom is dry and a light golden brown as well. Don’t over bake, you still want a soft inside.
Heather says
These are delicious. I’ve made them 2 times and they’ve come out perfect each time. I’m making them for the third time tomorrow. Can’t wait. Thank you for such a lovely recipe
Farah Abumaizar says
I’m SO happy to hear that, and honestly you got me thinking I need to make a batch this weekend! Happy baking, Heather!
Linzi says
Lovely recipe, turned out lovely and light (using an egg) as opposed to more usual recipes with no egg, very ‘short’ in texture but delicious. I may add in a few walnuts next time. Perfect, no changes to recipe needed.
Farah Abumaizar says
I’m so glad that you enjoyed it, and adding walnuts is a GREAT idea!
Tannis says
I have made this date scone recipe a few times now and it has become a favourite. The scones are very, very good. We really enjoy them. The texture for me is perfect, a nice crispiness when you first bite into it and tender crumb inside! One consistent issue I have is baking when them at 400F, they get too brown too fast without being fully cooked through. It all works out with some foil to cover in the end. I do use brown sugar instead of white so maybe that is part of the issue. Next time, I might start at 400F for 8 minutes then reduce to 375F and see how that goes. Thanks for this recipe.
Farah Abumaizar says
I’m so happy that you liked it- yes you can definitely reduce the temp, especially if your oven maybe runs hot? I’m really glad you enjoyed the scones!!
LINDA says
If I sub light brown sugar for the 3 tbs white granulated, will it upset moisture content?
Farah Abumaizar says
You’ll be fine! It’s quite a moist dough and the amount of sugar isn’t too much- let me know how they turn out!
Gina bayliss says
These are the best scones I’ve ever tasted. People raved over them and just couldn’t get enough. I followed recipe exactly and did the cream glaze on top with a sprinkle of brown sugar. No extra butter, cream or jam needed. Fantastic 👌
Farah Abumaizar says
Amazing I’m so so happy to hear that! I love these scones so much too!
Janice says
I don’t see cardamon listed in the recipe, but people mention it in the comments. Should cardamon be in the listed ingredients? I like it, so I would be happy to add it.
Farah Abumaizar says
Yes, add 1/4 tsp for a nice flavor!
jassica says
Easy to made , kichten free hand recipe .
You really share amazing points in this post .
Texture and flavour are too good .
Farah Abumaizar says
So glad that you liked it!
Fariba says
I am on a paleo diet. Can I replace the sugar with coconut sugar or honey?
Farah Abumaizar says
I haven’t personally tried, but I think coconut sugar would work well! Honey isn’t preferable because it’ll change the moisture content of the final product. Let me know if you do end up trying !!
Carla Ruhl says
This is the best scone recipe! Texture and flavor are ideal and the tips made so easy.
Thank you for a new recipe to include in my favorites.
Farah Abumaizar says
I am so very happy to hear that Carla! Thanks so much for taking the time to comment ❤️❤️
Sandra says
May I leave the cardamom out. Don’t have any
Farah Abumaizar says
Yes absolutely!
Annette Williams says
Can I use half and half in place of heavy cream. My arteries won’t be happy with all that fat
Farah Abumaizar says
I’m sure you absolutely can, or even buttermilk . Either will work just fine!
Lorraine says
Soak the dates in orange juice and zest before adding.
Farah Abumaizar says
That’s a lovely idea! I actually tried the recipe again and added a hint of orange zest and the flavor it gave was lovely
Pam Greer says
I love the dates in these scones! They bake up with the most perfect texture! These are going to be my go to scones!
Farah Abumaizar says
S glad to hear it Pam!
Toni says
Everyone at my house loved it! Can’t wait to make it again!
Farah Abumaizar says
Thanks for letting me know Toni!
Carrie Robinson says
These would be perfect with my afternoon cup of tea! 🙂
Farah Abumaizar says
Definitely agree with that!
Jessica Formicola says
I made these scones for breakfast this morning and they were incredible! Thanks so much for sharing the recipe!
Farah Abumaizar says
So glad to hear it! Thanks Jessica!
Arlene says
Thank you so much I really thought it was going to be difficult. As I never tried scones ever!!! Today I made it as a brunch snack for my granny 85 and her friends 82, 87.They loved it so much. Glad I could bring some joy to my oldies all thanks to you.
Farah Abumaizar says
That is probably one of the best comments I’ve ever read. I’m so glad your granny and her friends liked this Arlene! No one more important to please 🥰 thank you for the kind comment.
Bry says
This recipe was AMAZING – the cardamon added the perfect little burst of flavour and worked so wonderfully well with the dates. Just gorgeously yummy. Thank you!
Farah Abumaizar says
So glad to hear that!! Thank you Bry!❤️
Farah Abumaizar says
Regular oven setting Inda, no need to fan bake!