


The best Arayes recipe for a Middle Eastern classic, spiced meat (kafta) stuffed into bread and gilled or baked until crispy and golden brown. These Lebanese meat pita pockets are so easy to make and so yummy! These are a great light meal, or starter and they come together with about 10 minutes of effort.
Jump to:
What are arayes?
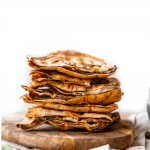
Arayes are meat stuffed pita breads, that are grilled, barbequed or baked in a hot oven until the bread is golden and crispy, and the meat cooked through.
They are very common in the Levant region (Lebanon, Syria, Jordan and Palestine). There’s also a version in Egypt, referred to as hawawshi.
Over time, arayes have become a popular street food in the region. They are often accompanied by a variety of dips and sauces and can be enjoyed as an appetizer or a main course.

Why should I make arayes?
- They are so easy. It’s a matter of mixing together a meat filling, filling pita bread with that meat, and cooking the pita pockets. They are also convenient in that they can be prepared ahead of time and cooked quickly on a grill or in the oven.
- Arayes are a savory and flavorful dish that packed with spices and seasoning. The combination of minced meat, herbs, and aromatic spices is delicious!
- The recipe is versatile. Throw in any meat you like, mix up the spices, half it, double it. It’ll all turn out good!
- This recipe is made even easier because of the cooking being done in the oven instead of on an outdoor bbq or on a grill pan. I find that this still gives a crunchy and delightful arayes, without all the extra effort.
- These are so kid friendly. That crispy bread and meat mixture is a winning combination, especially when you give kiddos a bowl of yogurt to dip the pita in.
- These meat stuffed pitas that are a deeply cultural dish, beloved by most in the Middle East and enjoyed at social gatherings and barbeques.
What ingredients do I need to make arayes?
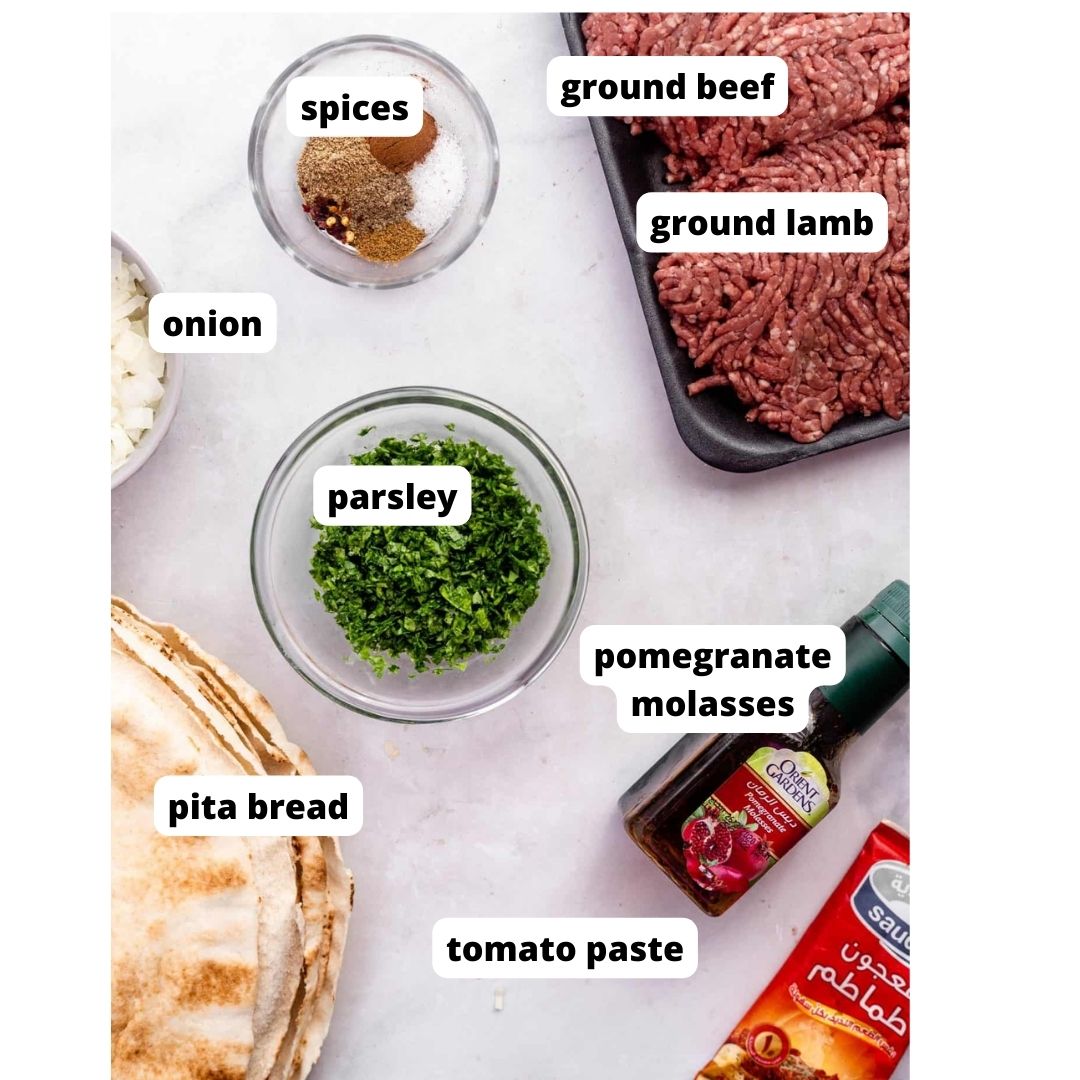
The meat stuffing is basically kafta, with the addition of pomegranate molasses (optional but recommended).
For the kafta:
Meat: My preference is a 50/50 mix of beef and lamb, but you can use all of one type of meat if preferred.
The herbs: Fresh chopped parsley imparts a lot of flavor in this, and is crucial to flavor of the meat mixture. Finely chop the parsley after washing so it mixes in well.
The spices: salt, pepper, seven spices (or allspice or mixed spices), cinnamon, cumin, a pinch of red chili flakes.
Onion and garlic: The key is pureeing or grating the onion so you don’t get big chunks of onion that aren’t appealing to bite into. You can use the rough side of a cheese grater, or just process in a food processor.
If you do choose to process the onion in a food processor, you can throw in the parsley and chop it that way too!
Pomegranate molasses: A characteristic flavor of arayes, this tangy and flavorful molasses is a staple item in Middle Eastern cuisine. It gives the meat just a little sweetness. You can usually find this in Middle Eastern supermarkets. I’ve made arayes without it before, and they are still delicious so don’t sweat it too much if you can’t find it.
To assemble:
Pita bread: You can use large or small pita bread, whole wheat or white. The amount of meat you can fit in will differ according to the size.
Olive oil and salt: Before baking the pita bread triangles, you’ll drizzle evenly with olive oil and sprinkle with salt to get that crunch and a little flavor from the salt
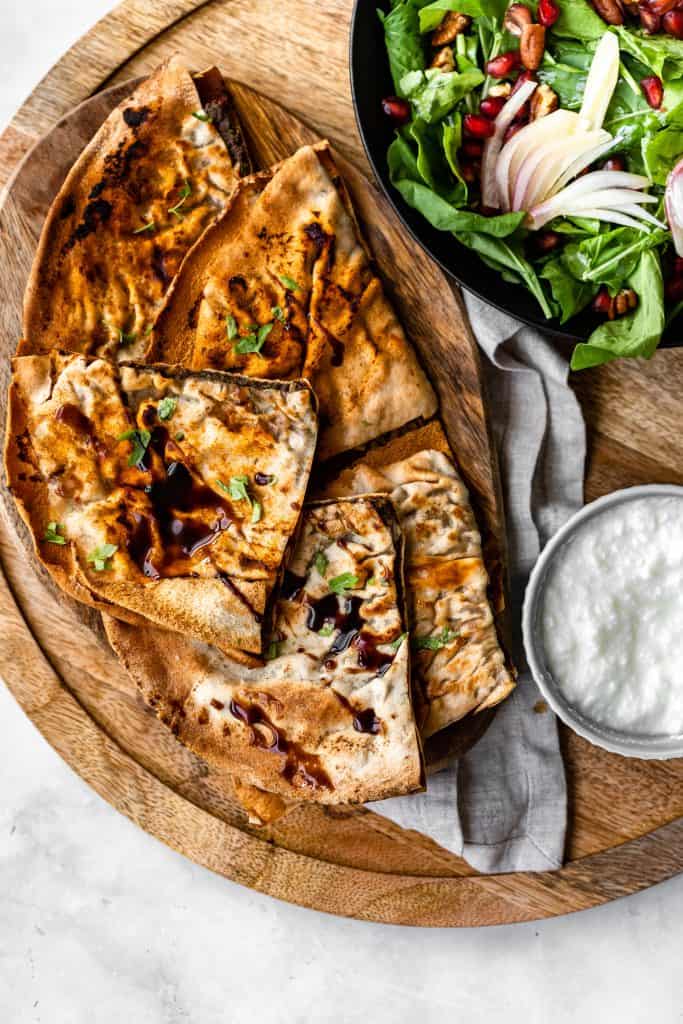
Tomato paste: Something my mom does is rub some tomato paste on the outside of the pita bread. It gives a beautiful dark red color in places, and adds a tart tangy flavor. I do it with some pita breads, and leave some plain for my kids.
How to make the kafta mix:


- It’s the easiest process ever! Once you have your parsley chopped and your onion grated, there’s nothing to it.
- Simply mix together all the ingredients in a large bowl. I like using gloved hands so I can really work in the spices and herbs into the meat. Give it a good mix!
- You can also pulse the onion in a food processor, as well as the parsley, then add the meat and all the other ingredients in and pulse. You have to be careful with this though and barely pulse once the meat is added so that you don’t overwork the meat and it ends up too dry.
- Once the meat is all mixed, it’s ready to be used to fill the pita bread.
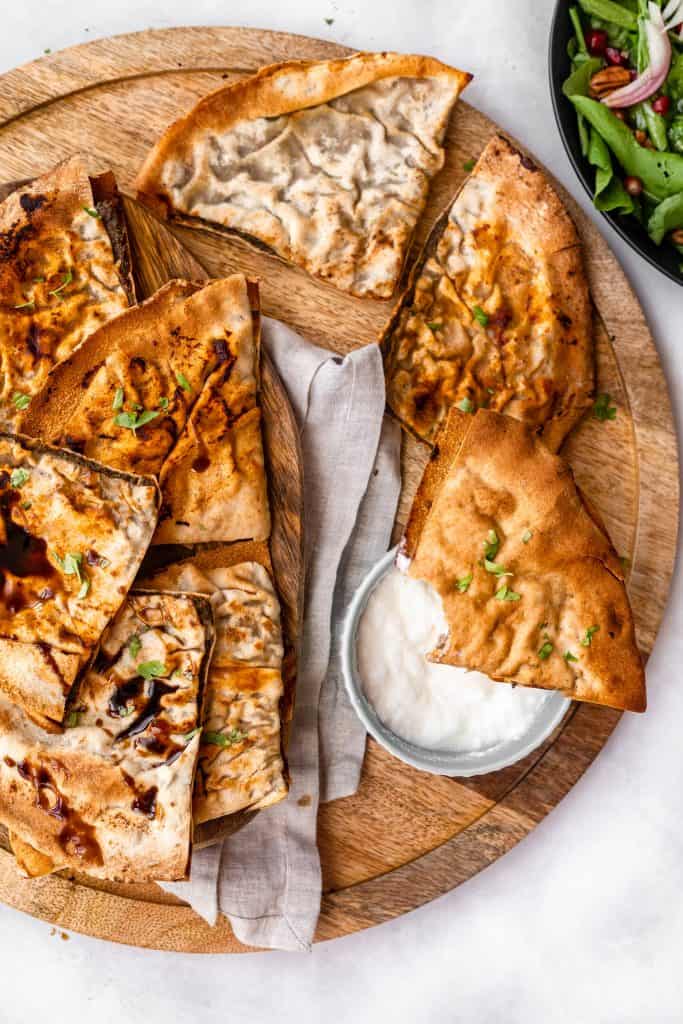
How to assemble arayes:
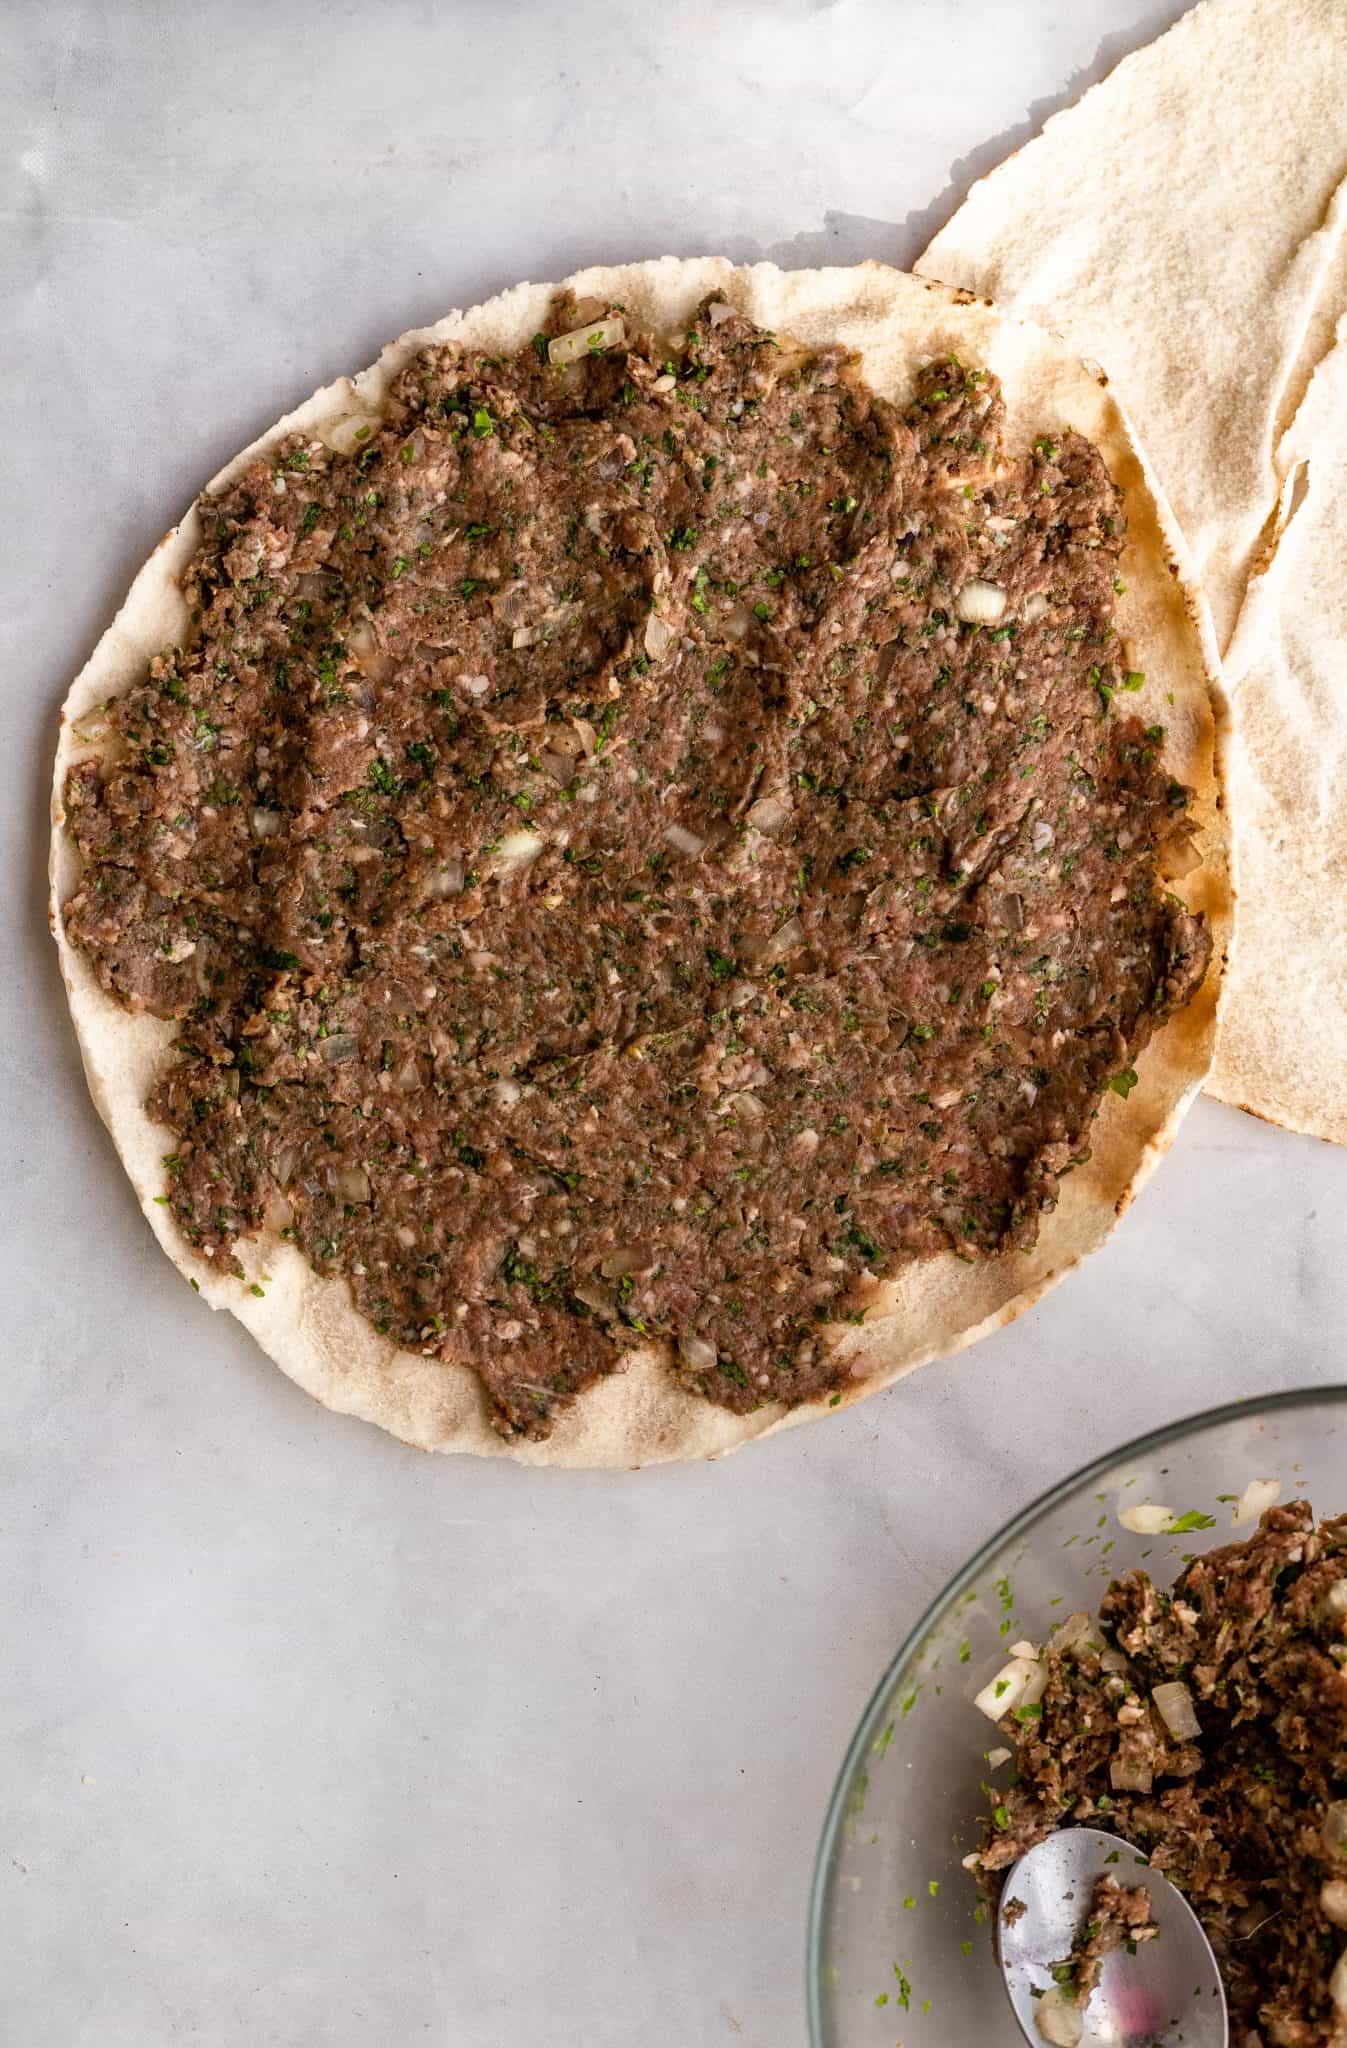


Cut each pita bread in half. You can do this two ways, either by cutting in half so that you have two half circles with a pocket in them, or you can cut them the other way, sort of peeling the top half of the pita off the bottom half.
Either way, fill with a good amount of meat filling. You’ll probably use about 1/4 cup of meat per bread half, and spread it evenly so that the thickness is the same throughout.
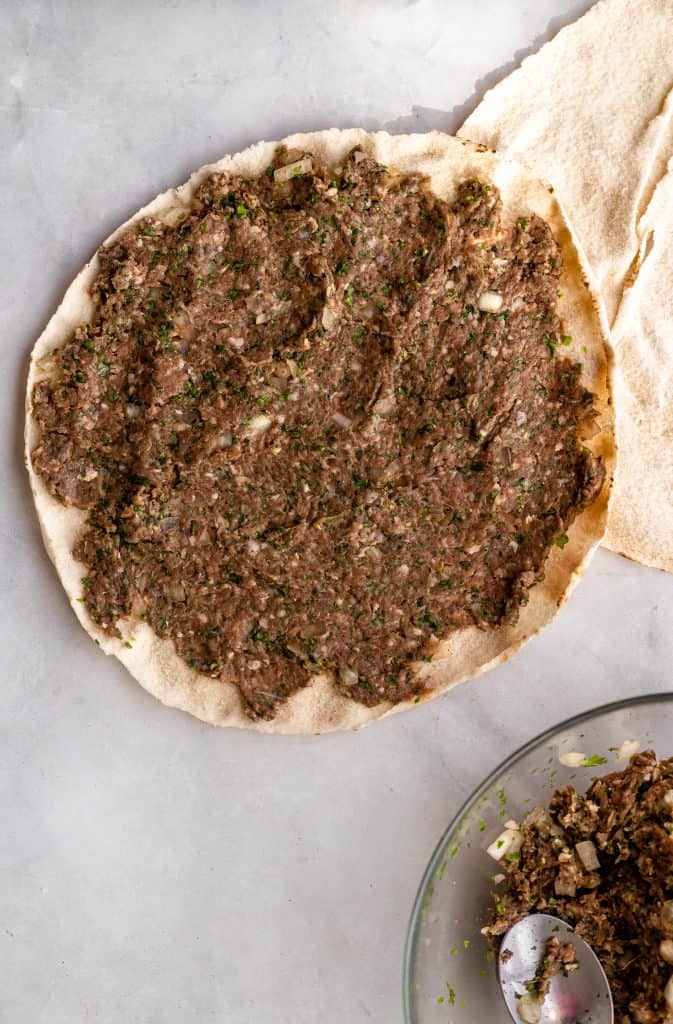
Once filled, cut each pita half into half again so you are left with pita quarters.
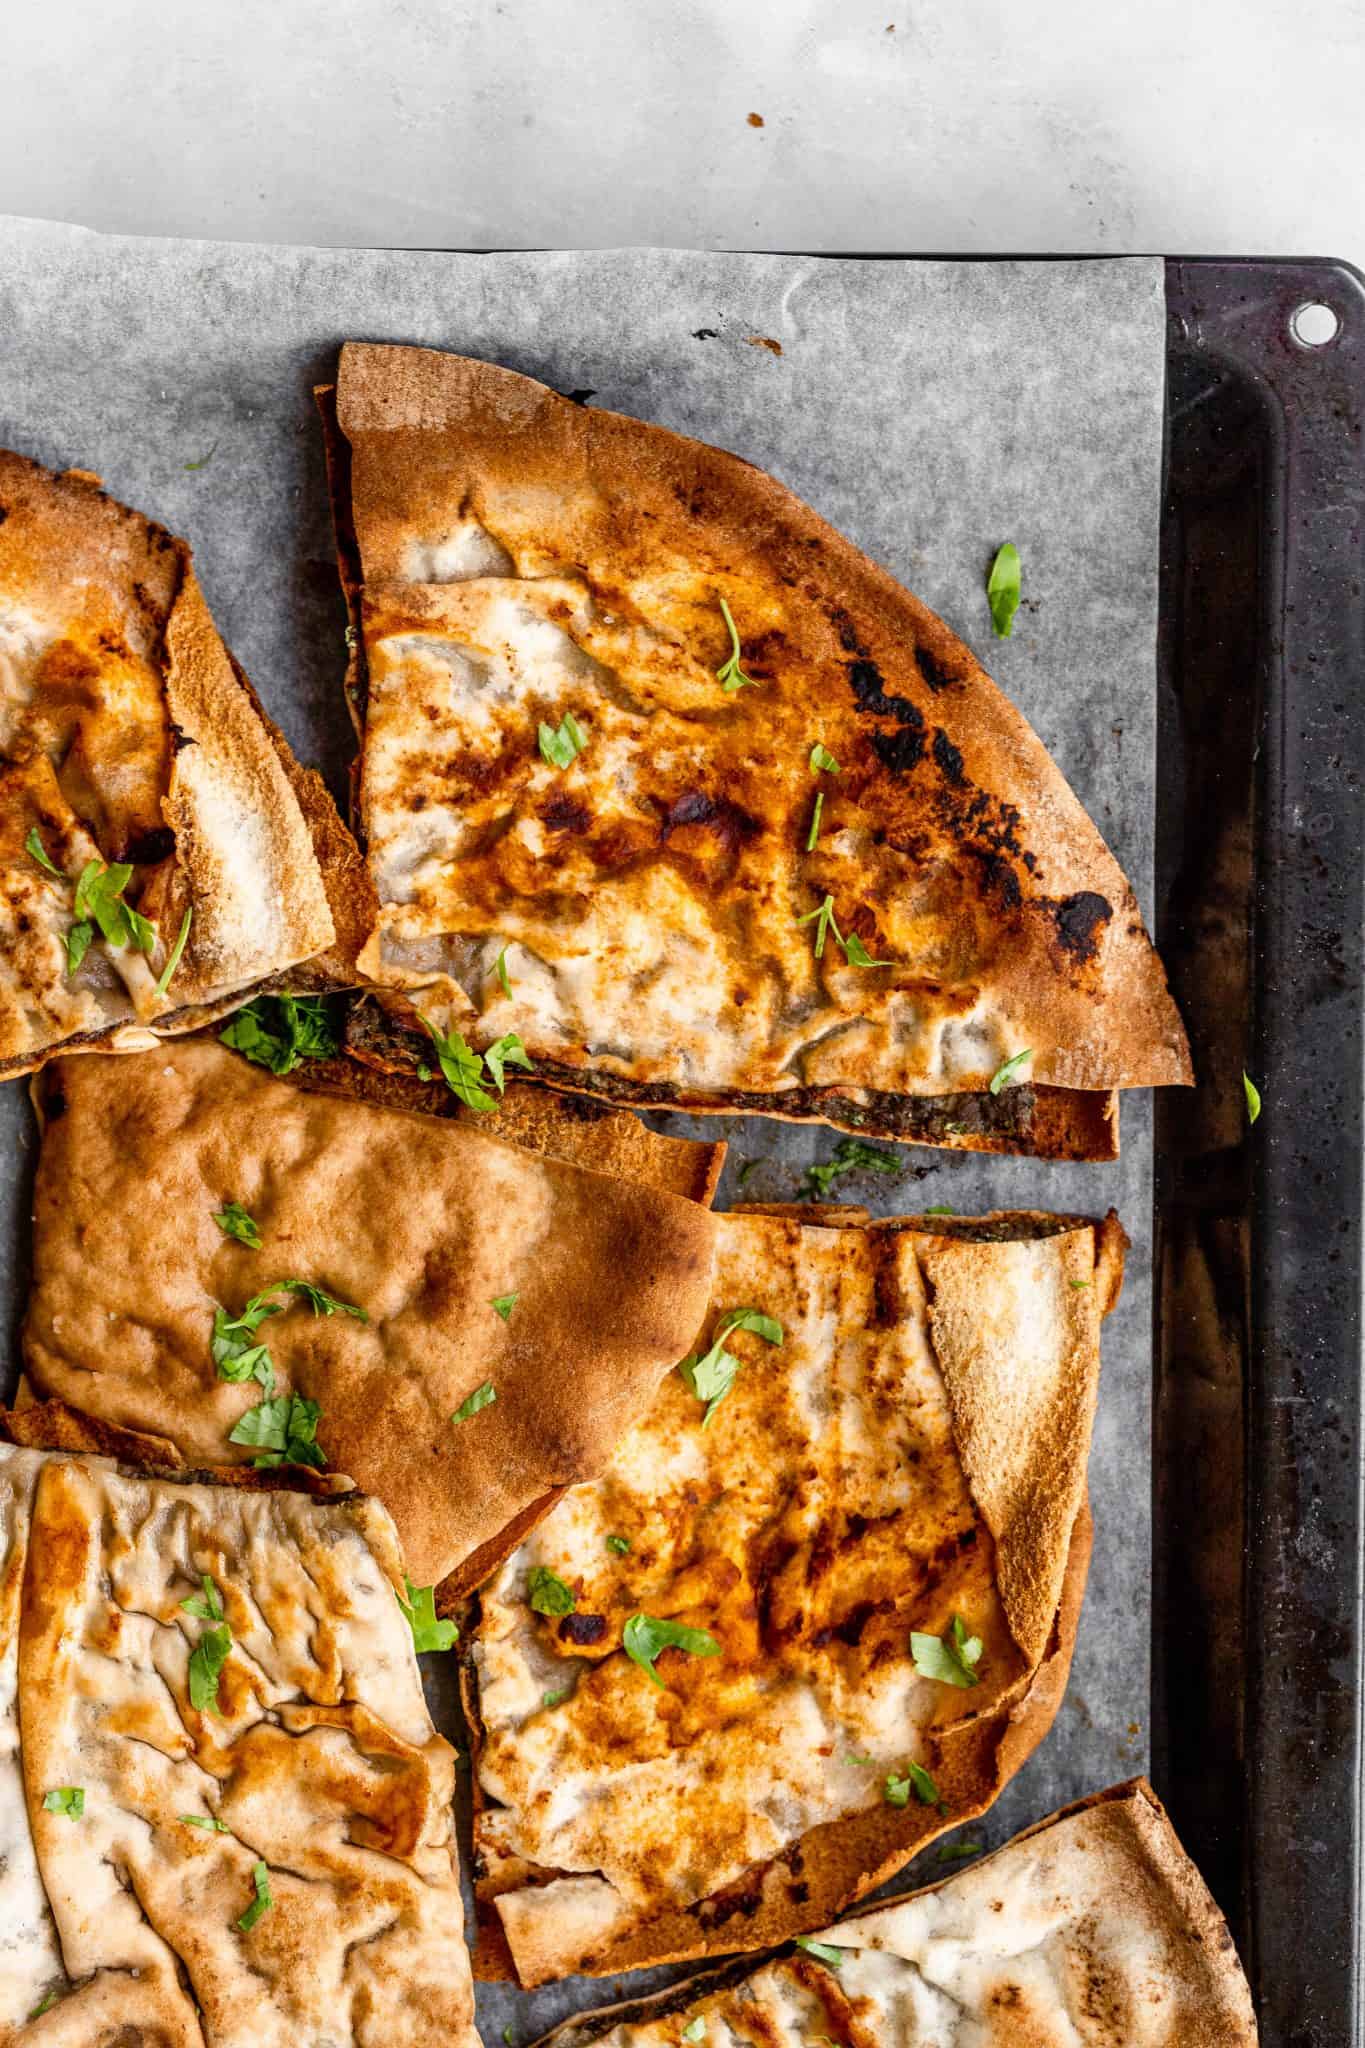
Place on a baking sheet lined with parchment paper, spreading them out so they aren’t overcrowded, making it easier for them to crisp up. Drizzle or brush with olive oil on both sides and sprinkle a little salt on top. If using tomato paste, gently rub a little tomato paste onto the outside of the bread.
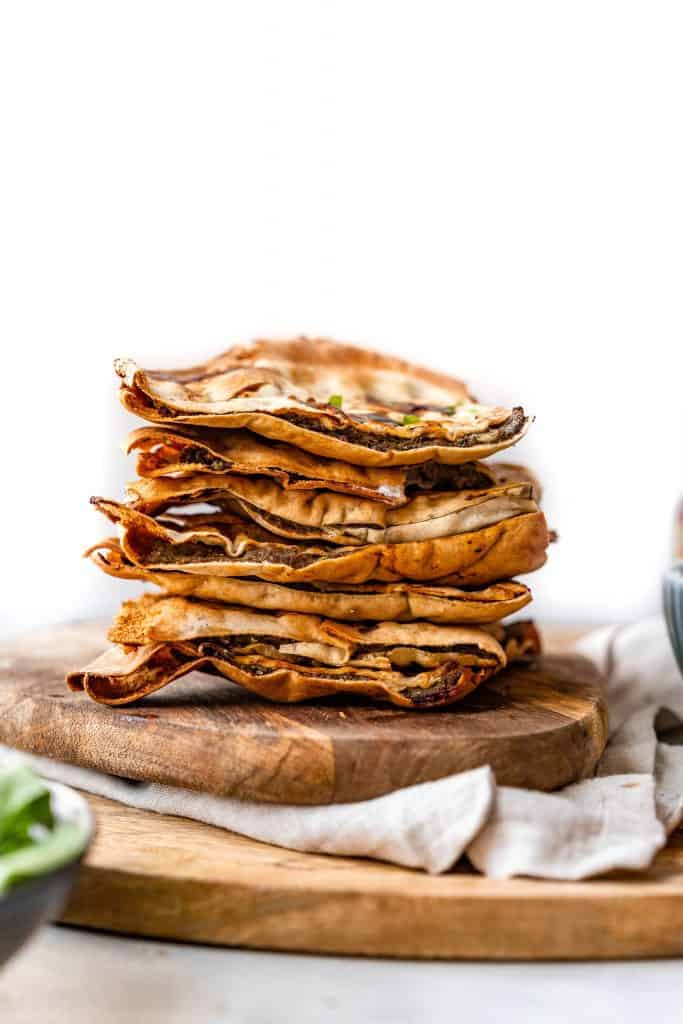
Bake at 400F (205C) for 18-20 minutes. Flip over halfway through. Arayes are done when they are crisp and golden brown and the meat has cooked through.
Air fryer meat stuffed pitas:
If you want to cook these in the air fryer, they’ll come out great. Preheat air fryer to 375F (190C) and air fry each pita for 10-12 minutes, flipping halfway through.

What to serve meat stuffed pitas with:
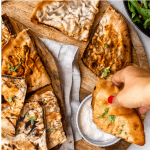
I’m a huge proponent of serving with extra pomegranate molasses drizzled on top. These are also great with yogurt on the side. They are very commonly dunked into yogurt. I like serving with a very simple yogurt and cucumber salad.
You can also serve with a tahini sauce on the side.
They would be great with simple salad, like this Mediterranean olive salad.
Lebanese Arayes variations:
- You can make beef arayes or lamb arayes instead of doing a 50/50 mix.
- You can make cheese arayes by sprinkling shredded mozzarella or kashkaval cheese on top of the meat filling, or mixing some feta cheese in with the meat. So yum!
- You can add finely diced red and green bell peppers to the meat mixture for some added texture.
- Make these gluten free arayes by using gluten free bread.

Storing leftover arayes:
Leftovers keep well in the fridge for 2-3 days. They reheat well in a hot oven, and in a microwave (although they might get a little soggy in the microwave).
These freeze very well for up to two months. Freeze first in a single layer on a baking sheet until set, then you can place them in a freezer bag all together. They’ll thaw quickly, and you can even bake/reheat directly from frozen.
Recipe tips and tricks:
- Use fresh pita bread that’s soft, so that it’ll be easy to stuff and cut the bread. Stale pita bread gets dry very quickly.
- Use good quality lean meat. If you use fatty meat, the interior may get too soggy.
- Brush the arayes well with olive oil to help them brown and crisp up on teh outside when cooking.
Recipe FAQs:
Either! You can use the thicker spongier bread (similar to gyro bread), or the thinner pita bread. Your baking time and the amount of meat you use for filling will vary accordingly. If using the thicker pita bread, you can broil for the last couple of minutes to make sure they get golden brown.
You can stuff the pita bread the morning of cooking (brush with oil right before cooking). If you want to prepare this further in advance, make the kafta mixture and store in the fridge for 1-2 days, then fill and bake before serving.
Definitely. I do this frequently! You can also do all lamb arayes. Just make sure you are using good quality, lean meat.
For more easy Middle Eastern recipes:

Love this recipe? Please leave a 5-star 🌟🌟🌟🌟🌟rating in the recipe card and a comment!
Stay in touch with me through social media @ Instagram, Pinterest, and Facebook. Don’t forget to tag me when you try one of my recipes!

Arayes
Ingredients
For the kafta:
- 1/2 lb ground beef 250g
- 1/2 lb ground lamb 250g
- 1/2 onion grated or pulsed in food processor
- 1 handful parsley, finely chopped
- 1 tablespoon pomegranate molasses
- 1 teaspoon salt
- 1.5 teaspoon seven spices or all spice
- 1/2 teaspoon cinnamon powder
- 1/4 teaspoon cumin powder
- 1/4 teaspoon black pepper
- pinch red chili flakes
To assemble:
- 4-5 large pita breads
- olive oil
- tomato paste optional
- salt for sprinkling
For serving:
- pomegranate molasses, optional
- yogurt or a green salad
Instructions
- Preheat oven to 400 F (205C). Prepare baking sheet by lining with parchment paper.
- Add all the ingredients into a large bowl and mix well until combined. You can use a spoon, or gloved hands to mix.
- Cut each pita bread in half, and fill each pita pocket with about 1/4 cup of meat mixture. Cut each half into quarter ( I like using kitchen scissors for this). You can also peel open a pita bread to separate the two halves, spread the meat filling all over evenly, top with the other half then cut into quarters (see video under the nutritional facts to see what I mean).
- Place all stuffed pita quarters evenly spaced onto the baking sheet, and drizzle both sides with olive oil (you can brush the oil on if you want). I like to rub a little tomato paste on some of the outside of the pita breads, it gives a little color and flavor. Sprinkle salt onto the pita bread. Bake for 18-20 minutes, flipping over halfway through until both sides are crisp and golden brown.
- Serve warm, preferably drizzled with pomegranate molasses, with a side of yogurt or a simple salad.
Leave a Reply