
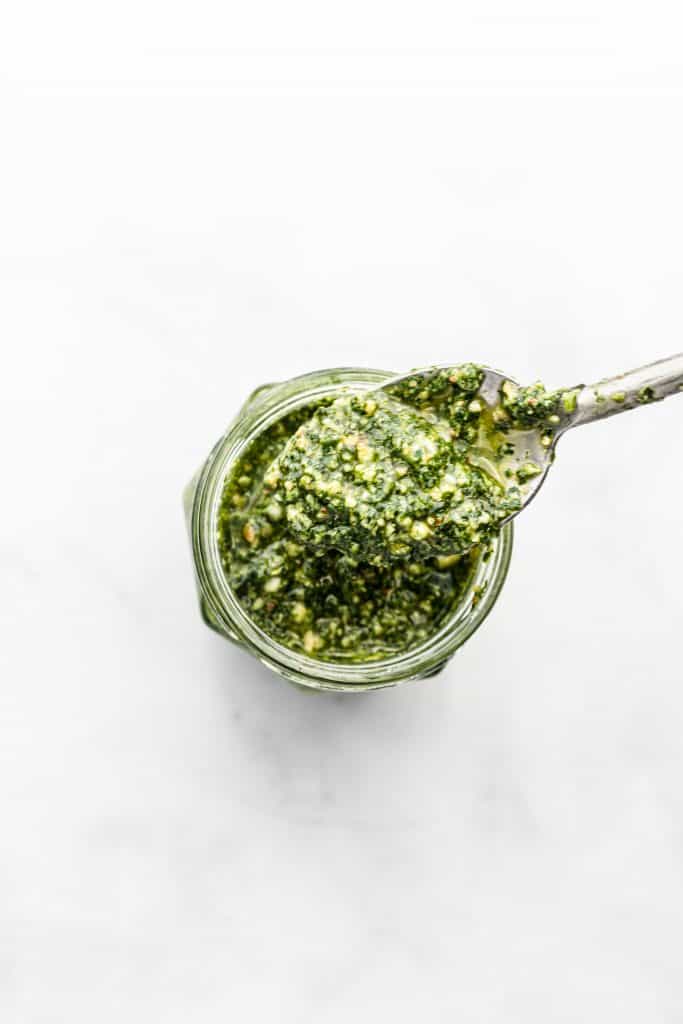
Easy, beautiful, bright homemade pesto sauce with lots of fresh basil, parmesan cheese, and toasted nuts. What’s not to love about pesto?
A 5 minute, super easy blender recipe for the best flavor packed vibrant homemade pesto sauce. This makes plenty, so I included freezer instructions too! So much flavor.
What is pesto?
Pesto sauce is an uncooked Italian sauce usually made with fresh basil, nuts, parmesan cheese, garlic and olive oil. Other variations exist, like spinach pesto, but we are sticking to a classic here with just a few twists.
Ingredient breakdown:
Fresh basil
Olive Oil- good quality stuff here! You’ll use a lot and the flavor is very evident so go for the fancy stuff.
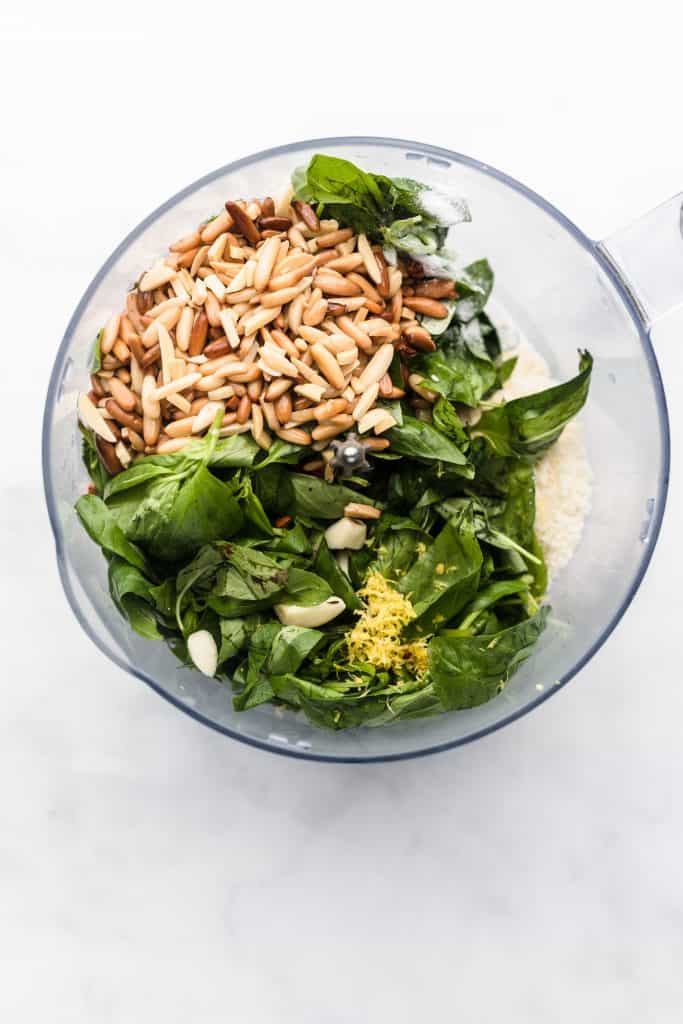
Toasted nuts: I used a mix of pine nuts and slivered almonds, but you can use either or. I think toasting the nuts gives SO much more flavor, and it just takes an extra couple minutes. Find instructions on toasting pine nuts here:
Garlic cloves- roughly chopped. I use quite a bit, because I’m a garlic addict, but you could halve the amount if you prefer, taste, then decide whether to add more.
Fresh grated Parmesan cheese
Lemon juice and zest- the zest gives such a beautiful brightness to the flavor
Pinch of red chili flakes- because I can’t resist a tiny bit of heat (still totally kid friendly, and you can omit this)
Salt
How do I make homemade pesto sauce?
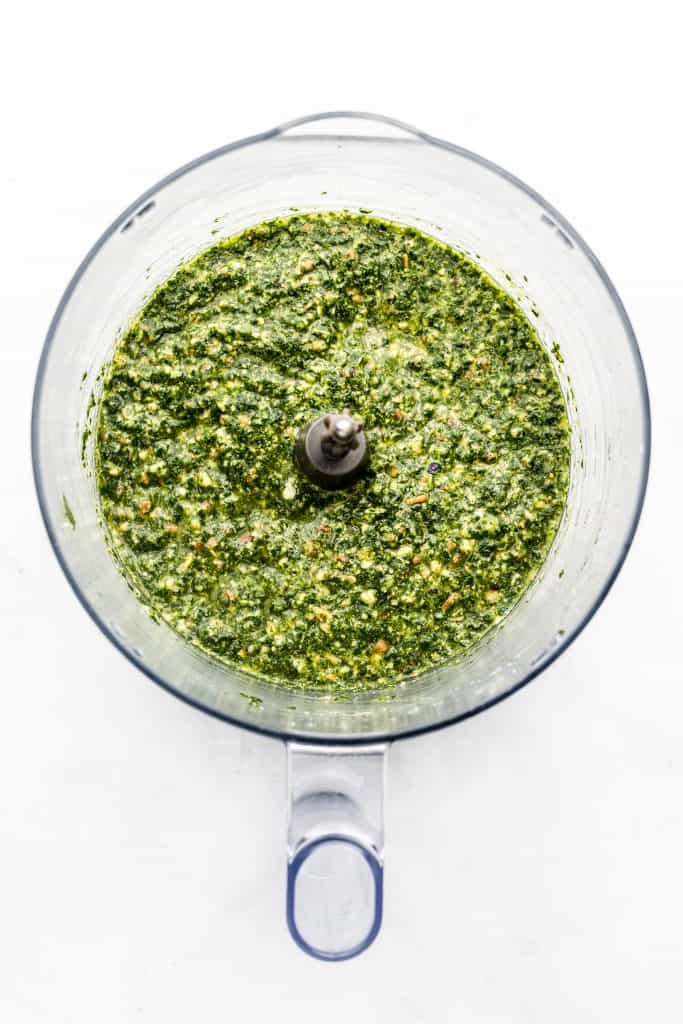
It couldn’t be easier. You add all the ingredients except the olive oil into the bowl of food processor. Mix mix mix until the basil is chopped finely and everything has combined. Then, slowly drizzle in the olive oil while the mixer is running so that it properly combines and emulsifies. Stop one you’ve gotten a paste that still has some chunky bits in it.
Storing leftover pesto:
I make a big batch (this will give you one full jar of pesto), and since pesto has so much flavor, you won’t need to use a lot in whatever recipe you’ll go on to use this for. Good news, pesto is one of the best things you could have in your fridge or freezer! It stores very well and defrosts beautifully.
To store in the fridge: cover the top of the pesto jar with a little olive oil to prevent the basil from browning. Store for up to 2 weeks in the fridge.
To store in the freezer: Using a mini muffin tray or an ice cube tray, fill the cavities with pesto sauce. Pop in the freezer until pesto has frozen into little pesto cubes, then remove from tray and place in a freezer safe bag. This way, you have the perfect individual sized pesto cubes you can use whenever you need (they’ll take just 30 min- 1 hour to thaw) and you won’t have to defrost a whole jar at a time.

What to use pesto with?
Pasta of course!
Scramble a little into your eggs
For the perfect sandwich spread (Turkey, pesto, and provolone trust for the win)
To liven up your grilled chicken or salmon
To mix into dips or salad dressings
On top of a pizza instead of or in addition to pizza sauce
To bake into homemade bread
Smear some on bruschetta

Homemade Pesto Sauce
Ingredients
- 4 packed cups fresh basil leaves 100 g
- 1/2 cup grated Parmesan cheese
- the zest of one small lemon
- 2 tablespoon lemon juice
- 5 garlic cloves
- 1 teaspoon salt
- 2/3 cup toasted pine nuts, cooled
- pinch red chili flakes
- 1 cup good quality olive oil
Instructions
- In the bowl of a food processor or blender, add all the ingredients from the basil leaves through to the red chili flakes (everything except the olive oil).
- Blend to combine until basil is chopped up. Then, drizzle in the olive oil while blending until all the olive oil is added and a paste with some texture forms. Taste and adjust seasoning as desired.
- Store in a tightly covered jar covered with a thin layer of olive oil in the fridge for up to 2 weeks, or freeze for up to 6 months (instructions in the post)
Notes
Nutrition
If you liked this recipe, you might like:
Did you make this? Tag @everylittlecrumb or hashtag #everylittlecrumb and I’ll share your images!
Leave a Reply